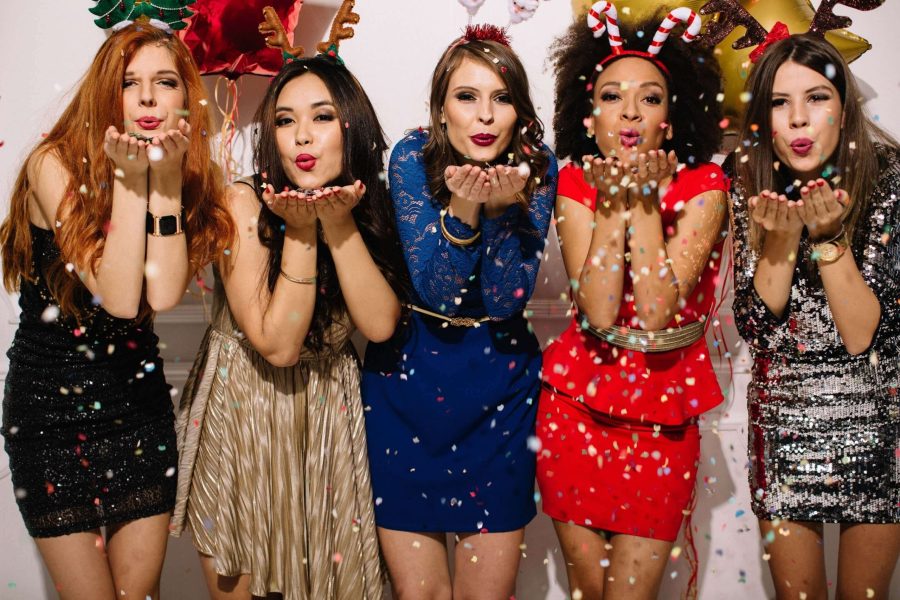
On New Year's Eve, everyone wants magic and the fulfillment of their most secret desires. The easiest way to attract a fairy tale into your life, at least for one night, can be a New Year's carnival. During the party, you can try on a mask and feel like a completely different person, create a mysterious and enigmatic image for yourself. Leave all worries behind the threshold and enjoy the atmosphere of transformation.
A proper costume and accessories are a must for such a party. A couple of months before the New Year 2025, future participants of the masquerade are already starting to storm shops and salons in search of an outfit. But it is often difficult to find something suitable in size, taste and price.

The absence of a costume is not an argument for missing such a fabulous holiday, and there is a way that will solve this problem in your favor even before those who have acquired ready-made outfits. A New Year's mask works wonders even before the New Year. In combination with a black tight dress, which you can probably find without problems, a cat mask will successfully complement the image. For men, too, the image of a stranger can easily be created with the help of a Venetian mask and an ordinary tuxedo, for what an effect! In such outfits, you will not go unnoticed by the opposite sex and perhaps this carnival will become fateful.
Masks made with your own hands, not ready-made plastic carnival accessories. Don't be scared if the last time you picked up scissors was back in school. Surely you still have the skills, you can handle this task. It will take you only a few hours to create, but at the party you will have no equal, because the mask will be original, unique and author's! To make the task easier, here are some master classes for inspiration on making a carnival mask.
1. Openwork mask

What could be more exquisite than lace? It works wonders, and a lace mask will make your dress the most fabulous carnival outfit. Black lace adds mysticism, but if you want a mask in the same color as your dress, or prefer contrast, you can choose any color.
Materials: a piece of tulle, sharp scissors, organza or velvet ribbon, black fabric paint (in a tube), cling film, thick paper, tape, glue that holds the fabric well.
Making a mask

Download and print any version of the openwork half mask on paper. Place the paper with the pattern on a hard surface and cover it with cling film on top so that the surface is smooth and without irregularities. It is better to attach the film to the table with tape. Cut off a piece of tulle large enough to cover the size of the mask template. Outline the pattern with black paint from the tube. All details of the pattern should be well painted. Then let the paint dry thoroughly and remove the tulle from the template. Cut out the mask along the contour with sharp thin scissors, not forgetting to make holes for the eyes. Measure out two pieces of velvet ribbon according to the circumference of the head, adding a margin so that it is convenient to tie. Glue the ties to the mask and let it dry. The mask is ready.

2. Minimalist style mask

The simplest classic cardboard mask that even a schoolchild can handle. You can use this mask for a school New Year's ball or a matinee in a kindergarten.
Materials: sheets of colored double-sided cardboard, sharp scissors, paper, pencil, sequins, colored feathers, crystals, a long wooden stick, paint, velvet, satin or organza ribbon, glue gun (you can also use regular glue).
Making a mask

Find or draw a mask template that suits you best. Cut out the template and apply it to colored paper, tracing it with a pencil. Cut out the mask with scissors. Use decorative elements to create a design on a cardboard base and attach it to the mask. Take a mask stick and paint it in the main color of the template, attach it to the mask. You can decorate the stick with organza or ribbon. The place where the stick is attached can be covered with two rectangles of the same color as the mask template. The image for the mysterious stranger is ready.
3. Cat mask

A lace cat mask will add grace to any cocktail or evening dress, giving its owner a mystical twist. You don't have to be a professional seamstress to make such a mask.
Materials: a piece of black lace, scissors, 20-30 centimeters of black organza or velvet ribbon, two large crystals, thread and a needle, 4-6 small feathers, glue that holds the fabric well, or a glue gun.
Making a mask

Try on a piece of lace guipure on your face, determine the length and width. Cut out two identical pieces. In the inner parts of the guipure, you need to roughly cut out semi-ovals so that they match at the top and bottom of the future mask. It is also better to leave the middle for the bridge of the nose. Fasten both parts by gluing from the inside of the temples and bridge of the nose. Let the glue dry. Trim off the excess lace of the lower part after trying it on and marking the highest part of the cheekbone. This will make it more comfortable to wear the mask at the carnival. Make a mini-fan out of 2-3 feathers, make two of them and decorate them with stones or rhinestones. By gluing this on the sides of the mask, it will look like cat ears, if you experiment with the shape of the feathers (sharper-rounder), you will get a panther mask. By changing the shape, you can also get an owl mask. It remains to cut out the ties from organza according to the circumference of the head, and attach the ties to the inside of the mask.
4. Mosaic mask

Every year, before decorating the tree, we find broken New Year's toys that did not survive the summer. Many balls were very beautiful in life, and some kept the memory of past years, so why not give them a second life, so as not to throw them in the trash. They can be used to decorate a carnival mask.
Materials: a plastic mask from the store or a mask made of papier-mâché, several glass balls of matching shades, thick fabric or a towel, feathers, rhinestones, a hammer, pliers, ribbon, a glue gun.
Making a mask
Remove the fastening elements from the broken Christmas balls, wrap the toys in thick fabric and break the toys into small pieces. The fastening parts can also be made flat with a hammer and laid out together with sequins or crystals - this will be an excellent decoration for the future mask. Place the pieces of glass on the base with small gaps in a chaotic order, gluing with a glue gun. Form a mosaic pattern. Attach a lush feather to one of the side parts. Cut two pieces of tape to the circumference of the head and attach to the mask. Let it dry and the mask is ready.
5. Papier-mâché mask

It is difficult to choose a mask for yourself if they are printed in stores according to a certain template, because the anatomy and proportions of each person are individual. But thanks to papier-mâché masks, you can make a mask for the whole family, from the youngest to the oldest member of the family. You can make several templates, which can then be decorated depending on the theme of the party or for different costumes.
Materials: Vaseline (or any fatty glycerin cream), toilet paper (can be replaced with napkins), newspaper sheets, scissors, wheat flour, water, brushes, paints, PVA glue.
Making a mask
To prepare the paste, pour a glass of water into a bowl, put it on the fire and bring to a boil. Separately, take a glass of flour and mix it with 4 tablespoons of cold water. Put the resulting mixture in boiling water, stir and let cool. Add 4 tablespoons of PVA glue. Tear the paper into small pieces. Pre-grease the face of the owner of the mask with greasy cream, so that the mask does not turn out to be lifelong. Soak pieces of paper in clean water and apply the first layer of the mask to the nose, cheeks, forehead, chin. You should get one layer without gaps. The second layer also needs to be glued, but this time the paper should be soaked in paste. In total, you should get 5-7 layers, depending on how thick the paper is. Lay the last layer of napkins. You can dry the finished result with a hair dryer. After that, you can remove the workpiece from the face and put it to dry until it hardens. Use scissors to trim the sharp edges, make holes on the sides for the tie. All that's left is to paint it the desired color and decorate it to your taste with stones, glitter, ribbons, feathers or any other material.


Оставить Комментарий