The arrival of the New Year is always accompanied by the expectation of a miracle, joy and a festive mood. One way to create a festive atmosphere in your home is to decorate windows with stencils. Stencils for the New Year 2025 offer a variety of designs reflecting the symbols of the year, New Year fairy-tale characters and other elements of the holiday. In this article, we will look at how to carefully cut stencils on windows and present some interesting ideas for decorating windows in a New Year style.
How to neatly cut out window stencils
The process of cutting out window stencils may seem complicated, but with the right preparation and instructions, you can handle the task. Here are detailed instructions on how to create window stencils:
- Choose the right material: You can use a variety of materials to create window stencils, such as thick paper, cardboard, or special stencil film. Keep in mind that the material you choose should be transparent or translucent so that light can pass through the stencil.
- Choose a design: Decide what stencil design you would like to cut out on your windows. You can choose year symbols, New Year fairy tale characters or other holiday elements. For example, in 2025 the symbol is a green wooden Serpent.
- Prepare a template: Draw or print a template of your chosen design. If you are not confident in your artistic skills, you can use ready-made templates that can be found on the Internet.
- Transfer the template to the material: Place the template on the chosen material and carefully trace its outline. Make sure the template is securely fastened to avoid shifting.
- Cut out the stencil: Using sharp scissors or a knife, carefully cut out the outline of the stencil, following the lines of the template. Be careful and gentle so as not to damage the stencil or yourself.
- Check the stencil: Before you begin decorating your window, check the stencil to make sure it fits the size of your window and is positioned correctly. Make adjustments if necessary.
- Attach the stencil to the window: Using clear tape or glue, carefully adhere the stencil to the window glass. Make sure the stencil is tightly adhered to the window surface to avoid any paint or markers bleeding through.
- Paint the stencil: Using special window paints or markers, carefully paint the free areas of the window through the holes in the stencil. Let the paint dry and remove the stencil.
Now that you know how to neatly cut out window stencils, let's look at some interesting stencil ideas for New Year 2025.
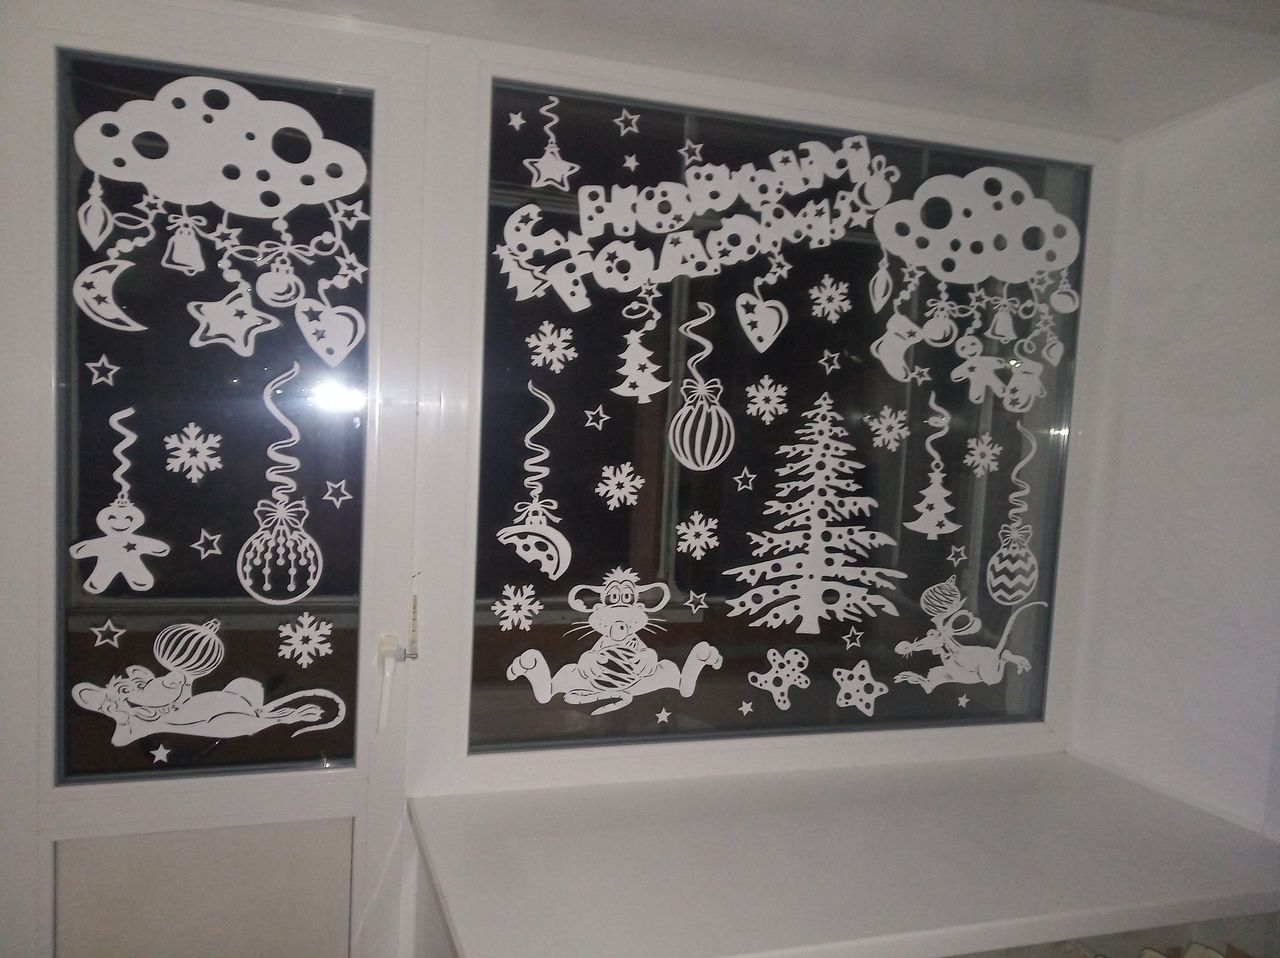
Step by step instructions
Here are detailed instructions on how to do this.
You will need the following materials:
- Paper or plastic film strong enough to serve as a base for the stencil.
- Scissors or knife for cutting material.
- Black marker or paint to apply the image to the stencil.
- Clear sticky film or sticky tape to attach the stencil to the window.
Next:
- The first step is to choose a Snake image that you would like to use as a stencil. You can find ready-made images online or create your own design. Make sure the image is the right size for the window and has enough detail to cut out.
- You will need a thick film or cardboard, which will serve as a base for the stencil. Cut a piece of material the same size as your window so that the stencil will exactly match the size of the glass.
- Transfer the image to the material: Place the Snake image on the stencil material and secure it with tape or duct tape. Make sure it is level and does not move as you work.
- Using sharp scissors or a knife, carefully cut out the outline of the Snake on the stencil material. Be careful not to damage the material and to preserve all the details of the image.
- To make the window stencil look impressive, you can create slits for the windows. Determine the places where the windows will be in the Snake image and carefully cut out these areas. This will allow light to pass through the windows and create a special atmosphere.
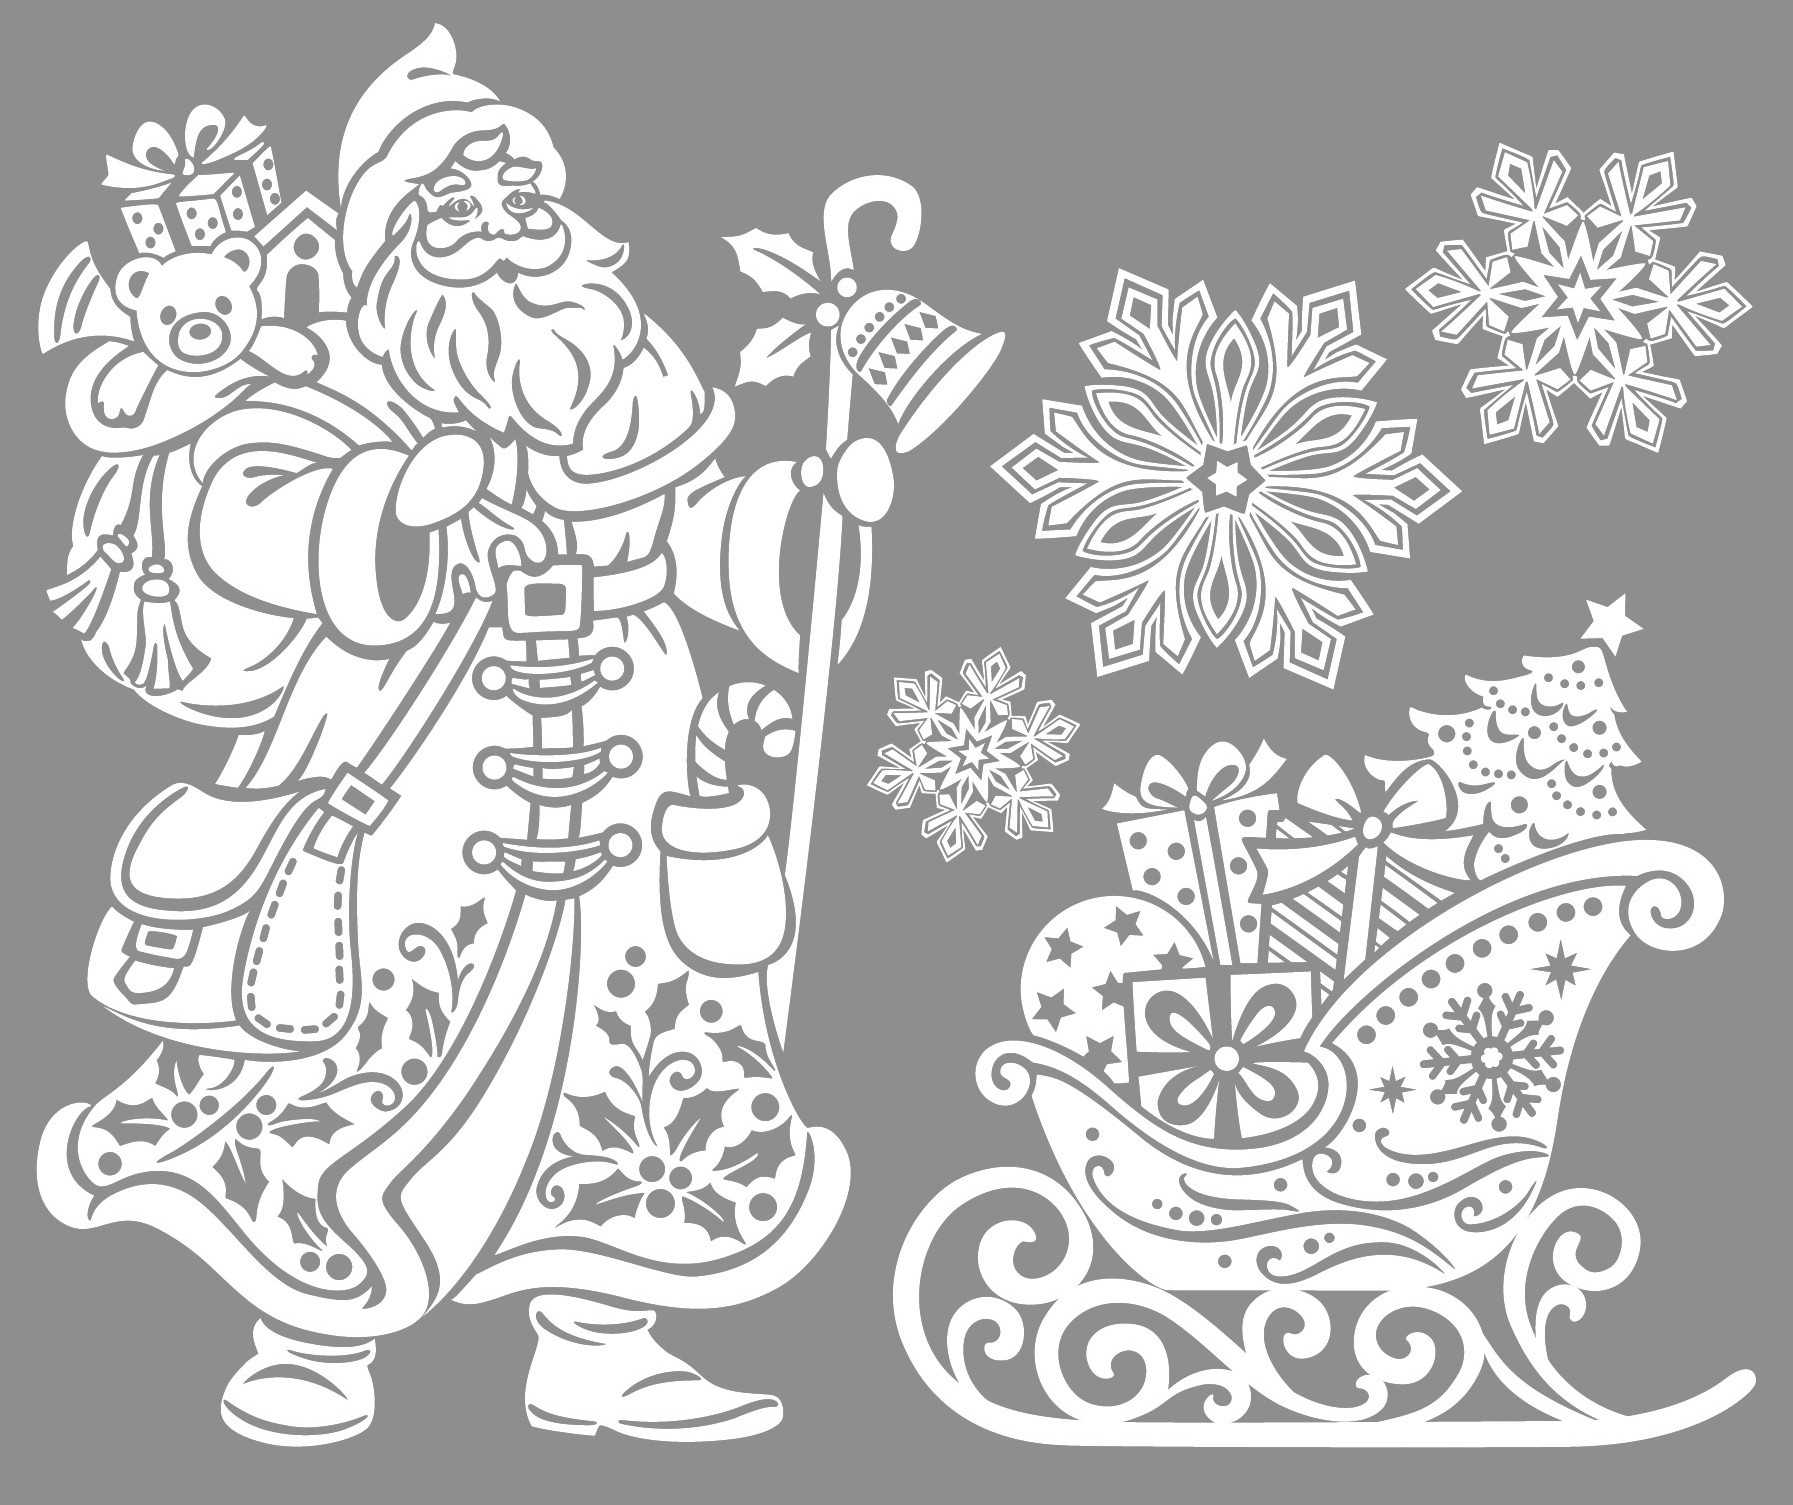
Window stencils for cutting out - Santa Claus
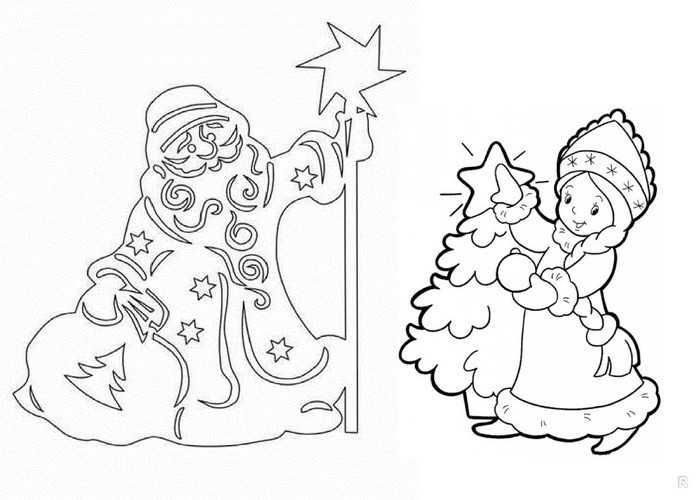
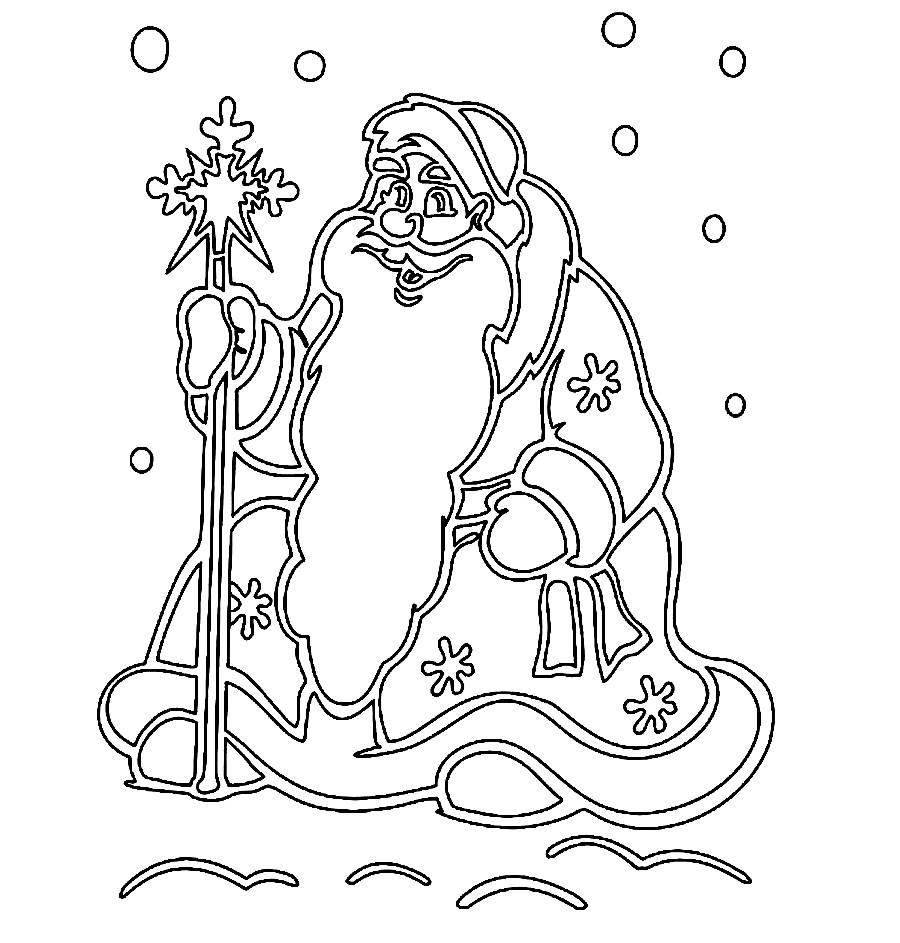
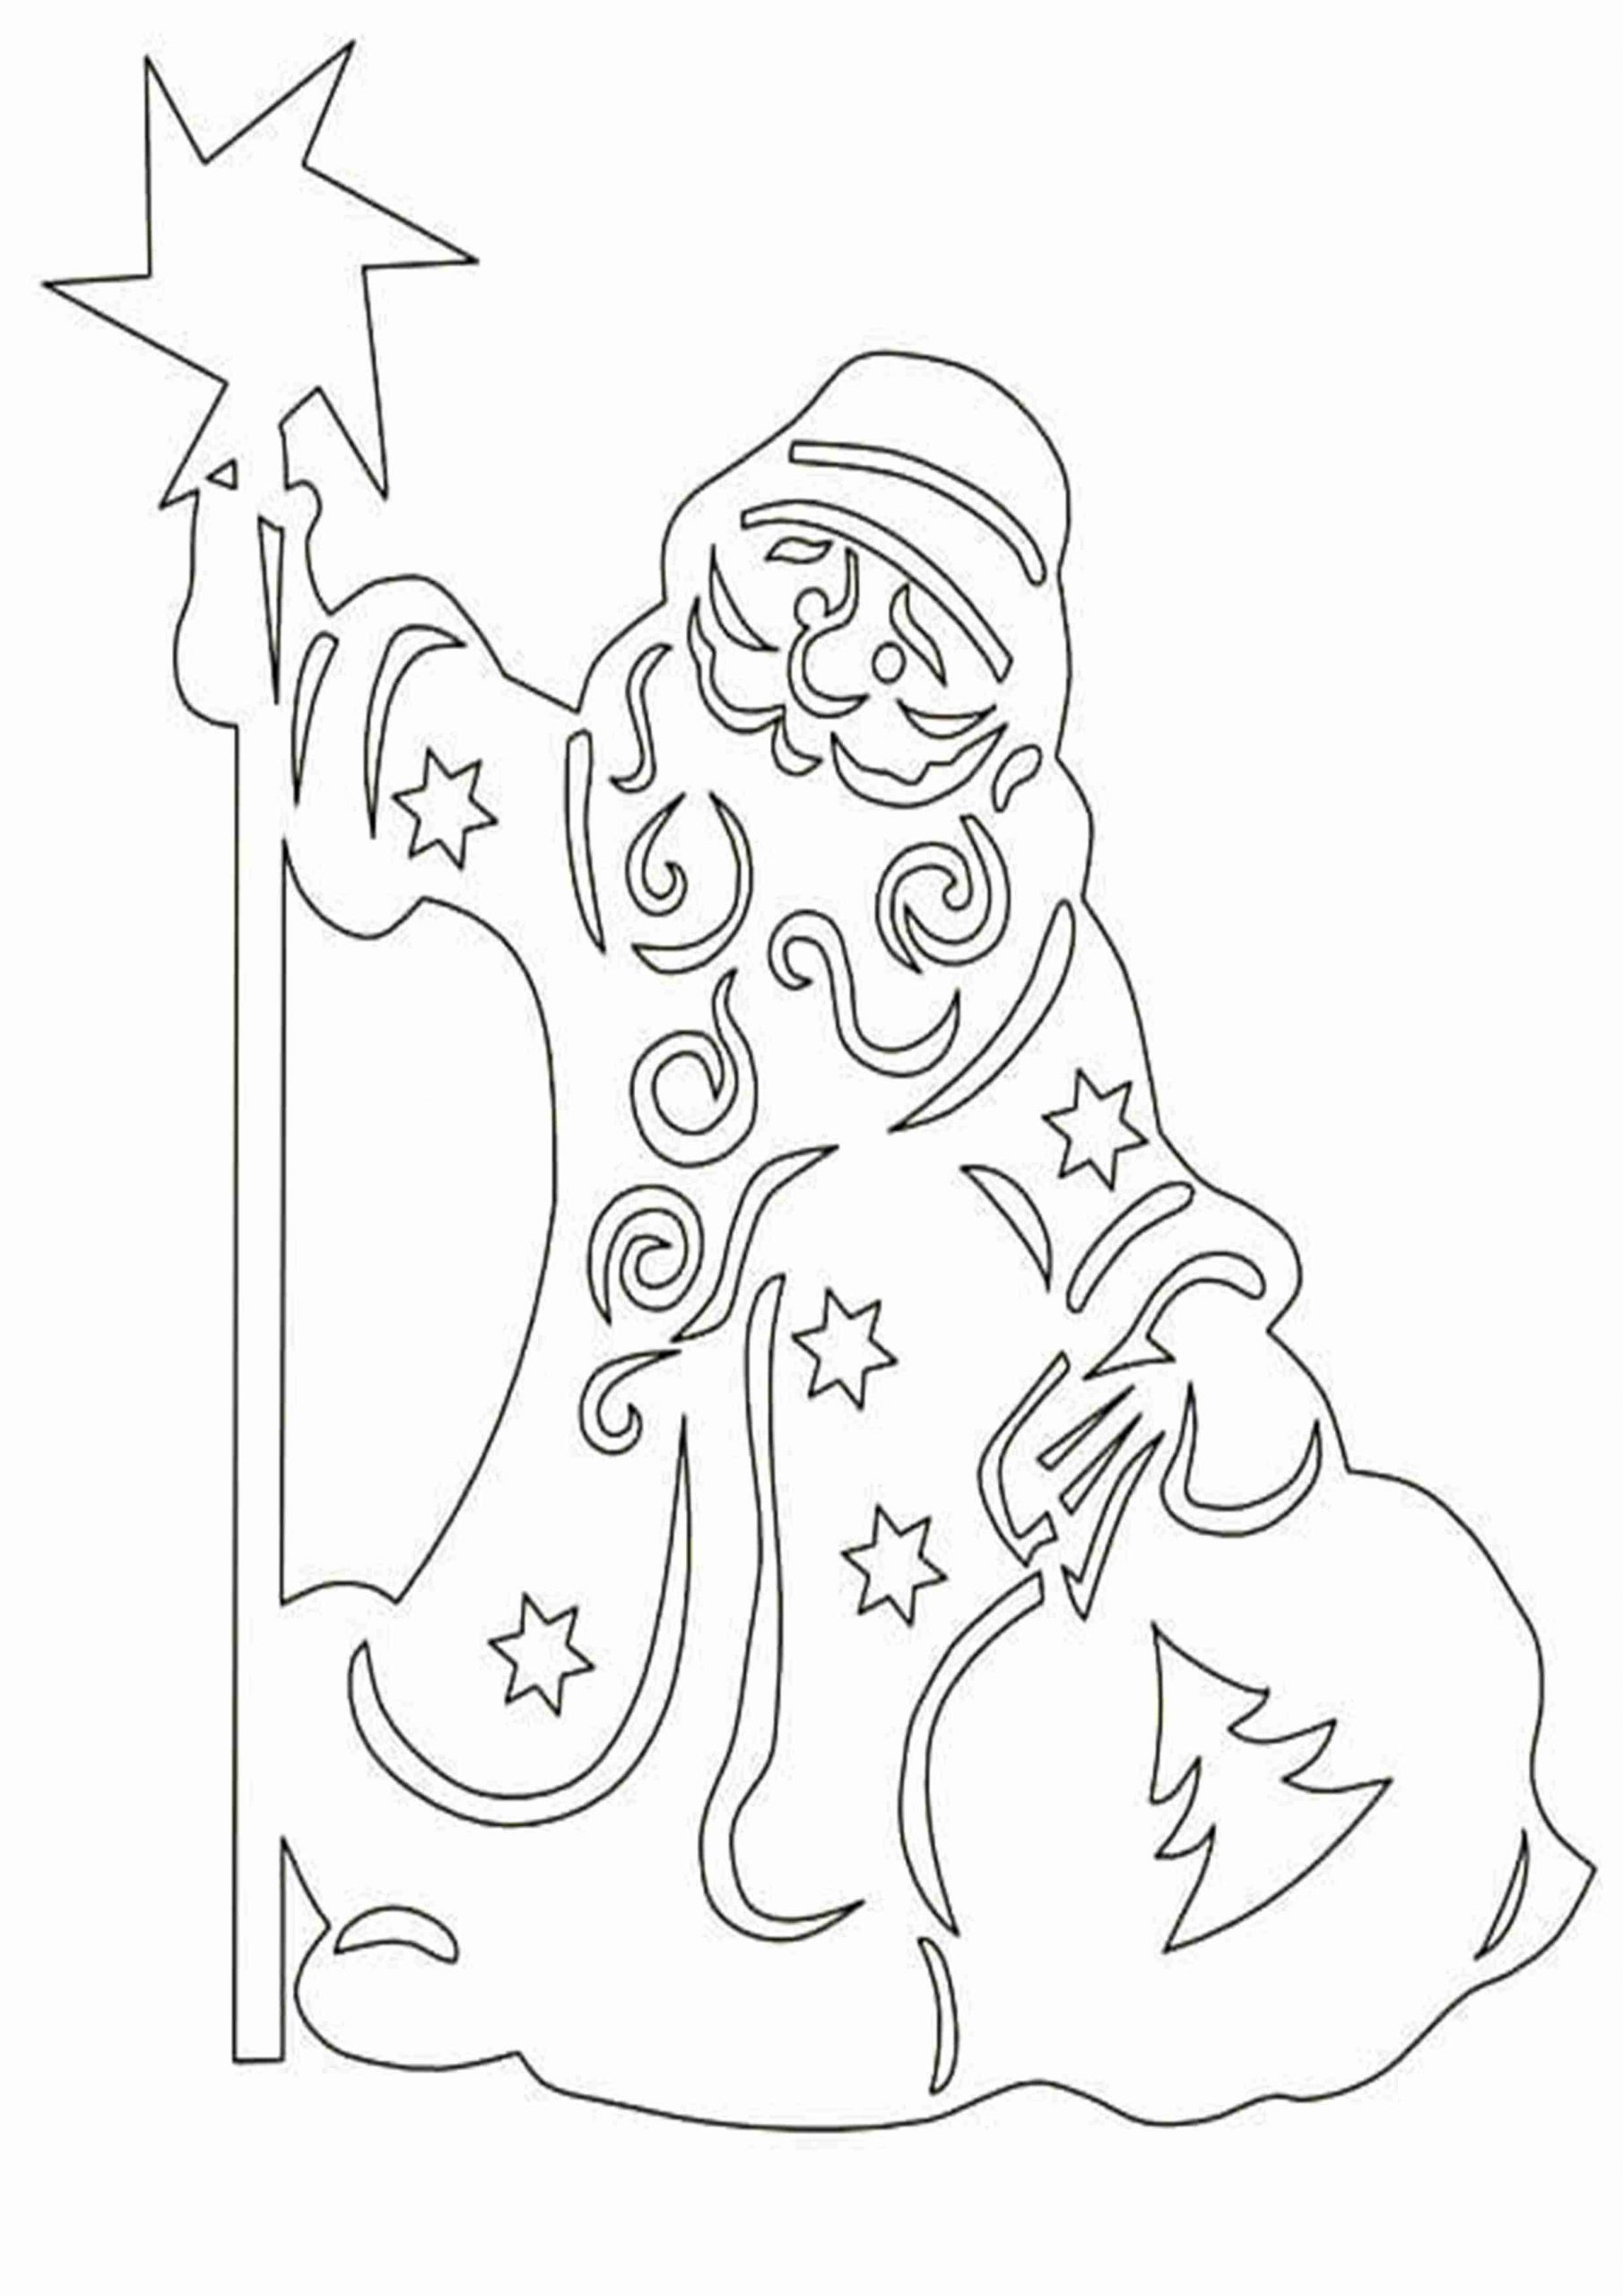
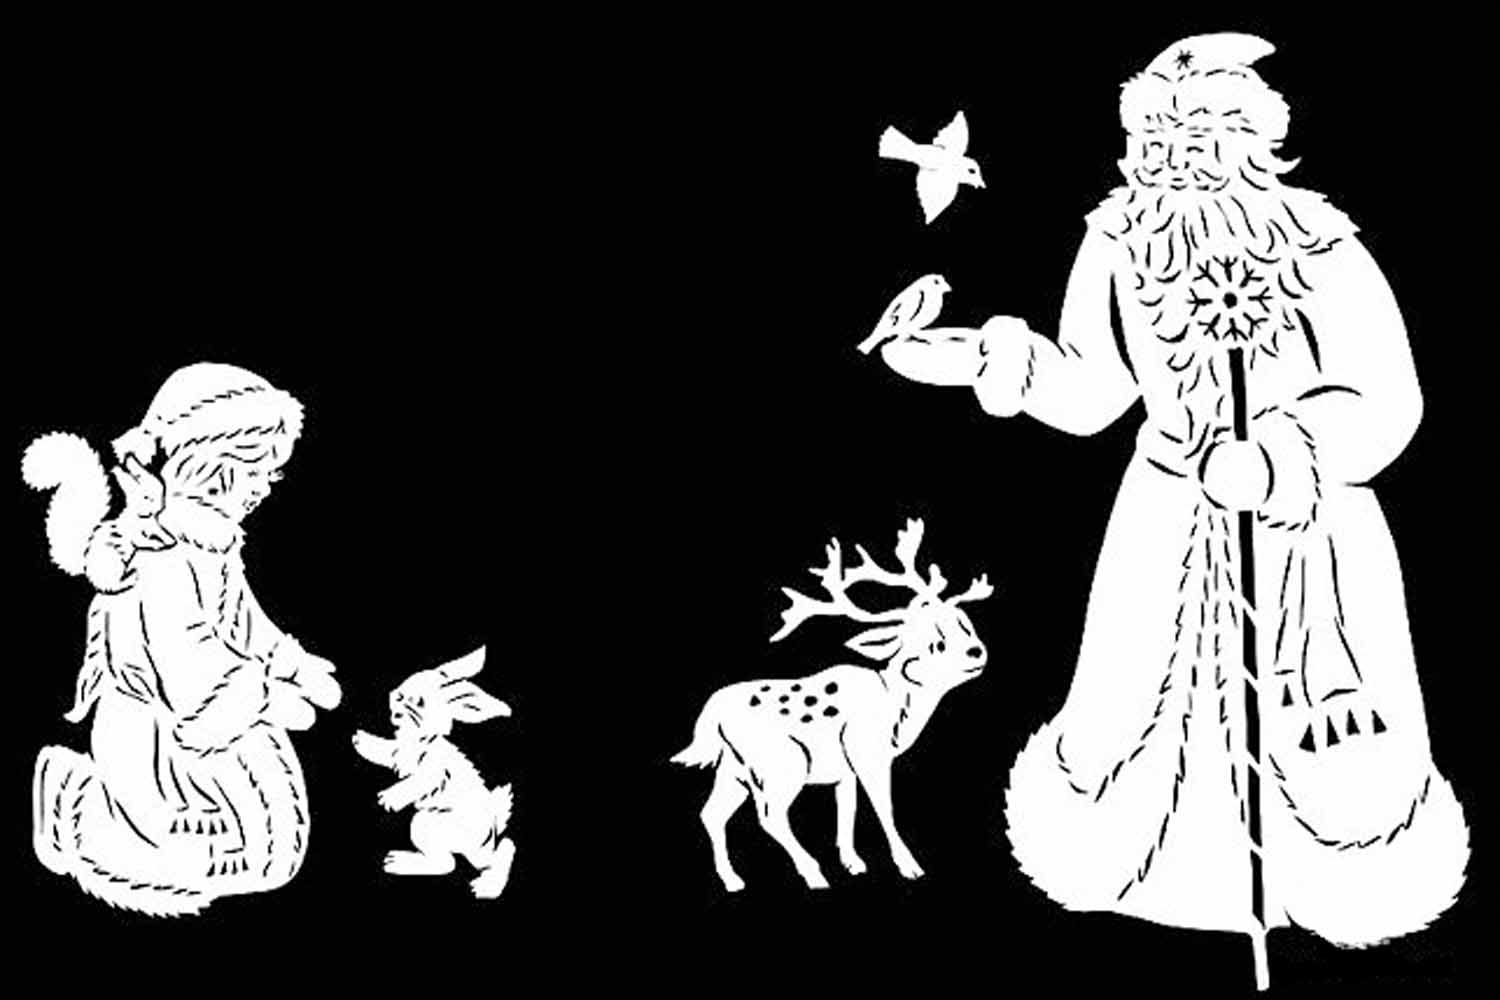
Father Frost is one of the most recognizable characters of the New Year holidays. Creating stencils with the image of Father Frost will allow you to bring to life the fairy-tale atmosphere of the New Year. You can cut out Father Frost in different poses or with his assistants - Snow Maiden and deer.
A particularly popular motif is Santa Claus. To create such a stencil, you need to purchase a special film for cutting and print out a template with an image of Santa Claus.
Step 1: Prepare materials
To create a stencil for a window, you will need a special film for cutting, scissors or a special knife, a template with an image of Santa Claus, a ruler and a pencil.
Step 2: Print the template
Print out a template of Santa Claus on a piece of paper. If you can't find a ready-made template, you can draw one yourself or find one online.
Step 3: Transferring the Template to Film
Place the film on the template and attach them to the surface. Then, using a pencil, carefully trace the contours of the image on the film.
Step 4: Cutting out the stencil
Using scissors or a special knife, carefully cut out the outline of the image on the film. Be careful not to damage the film.
Step 5: Glue the stencil to the window
Clean the window from dust and dirt. Then, using tape or glue, stick the stencil to the window. Make sure that the stencil is glued evenly and does not have any folds or wrinkles.
Step 6: Enjoy your holiday decor
Now your window is decorated with a beautiful stencil depicting Santa Claus.
Enjoy the festive atmosphere and delight the eyes of passers-by.
It is important to remember that when cutting out a stencil, you need to be careful and precise so that the image turns out smooth and beautiful. Also, do not forget that window stencils for cutting can be used not only for the New Year, but also for other holidays.










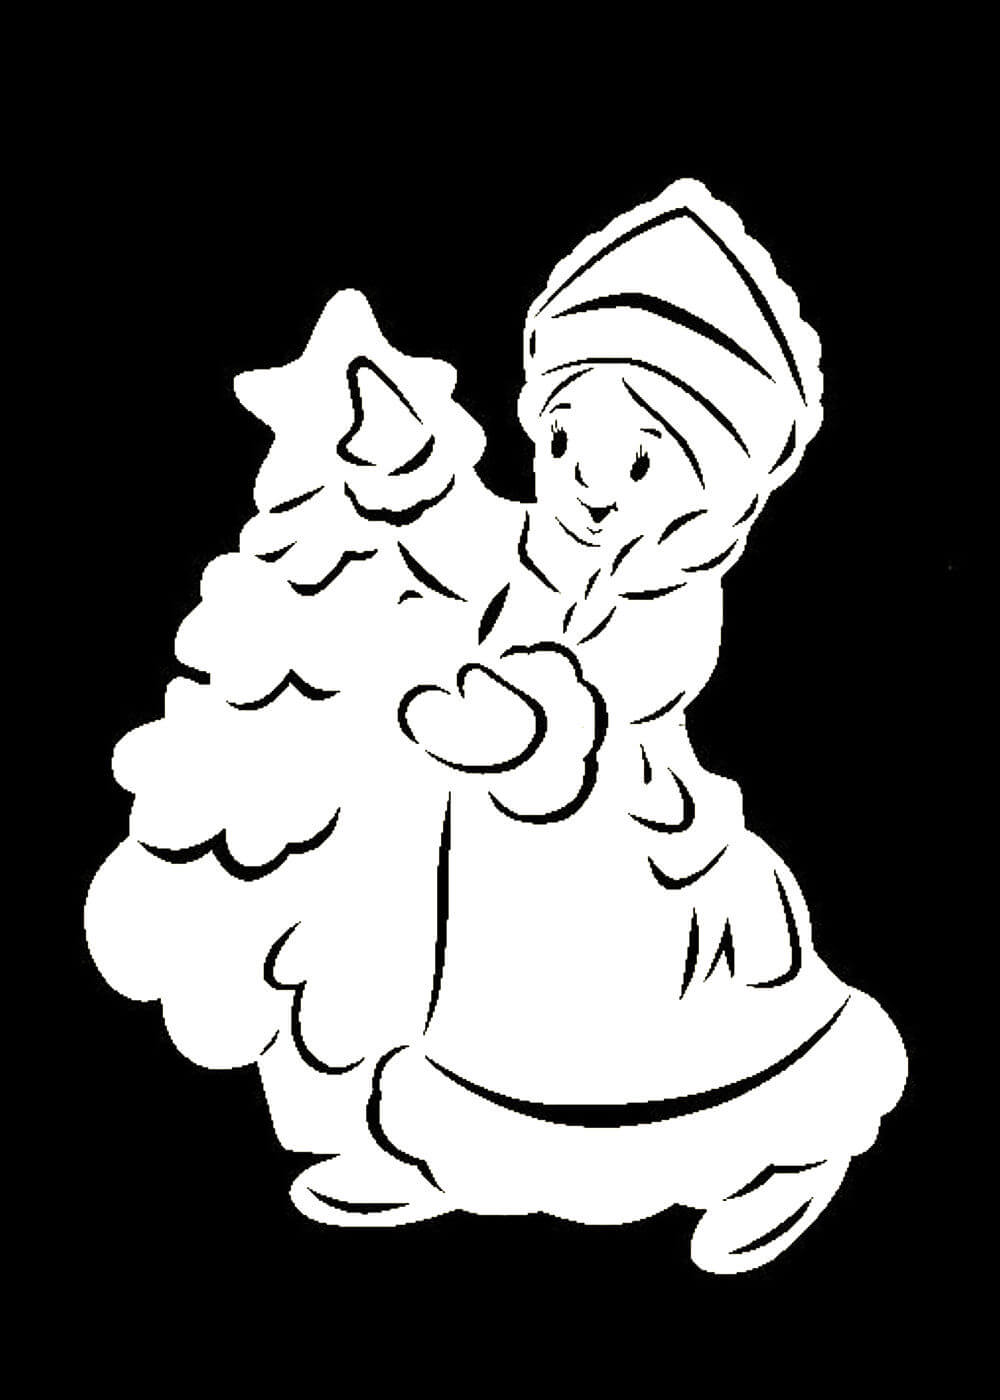
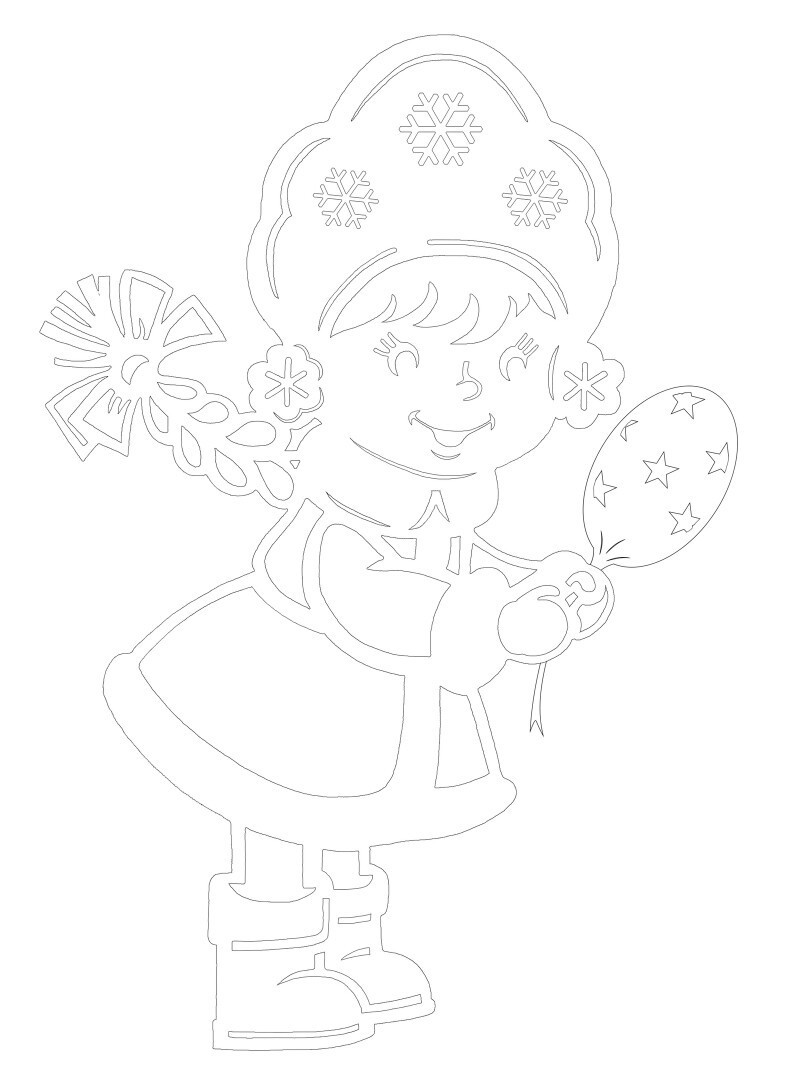
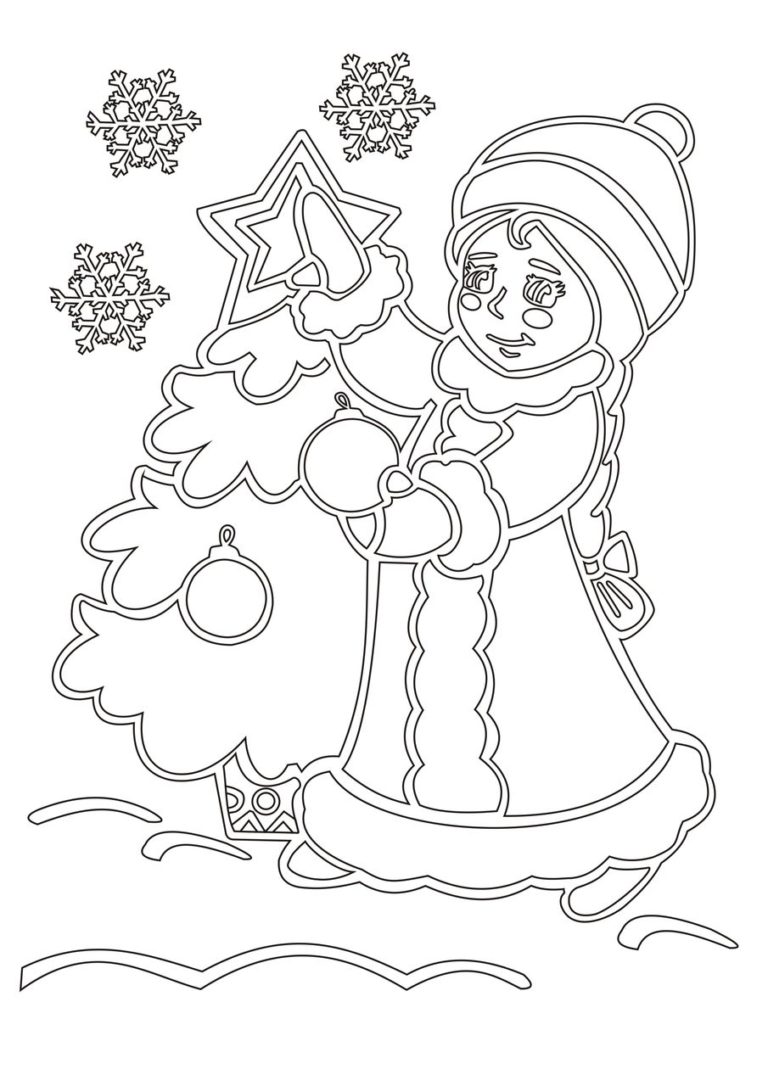
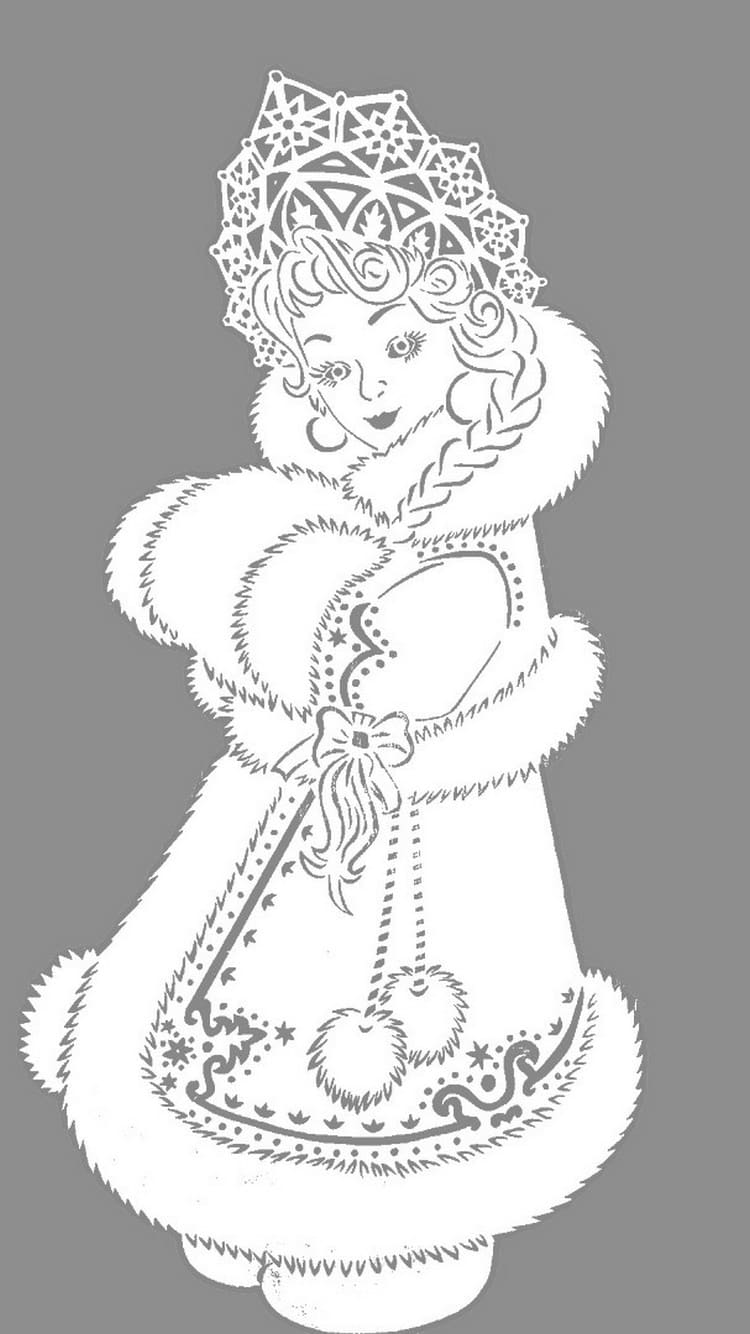
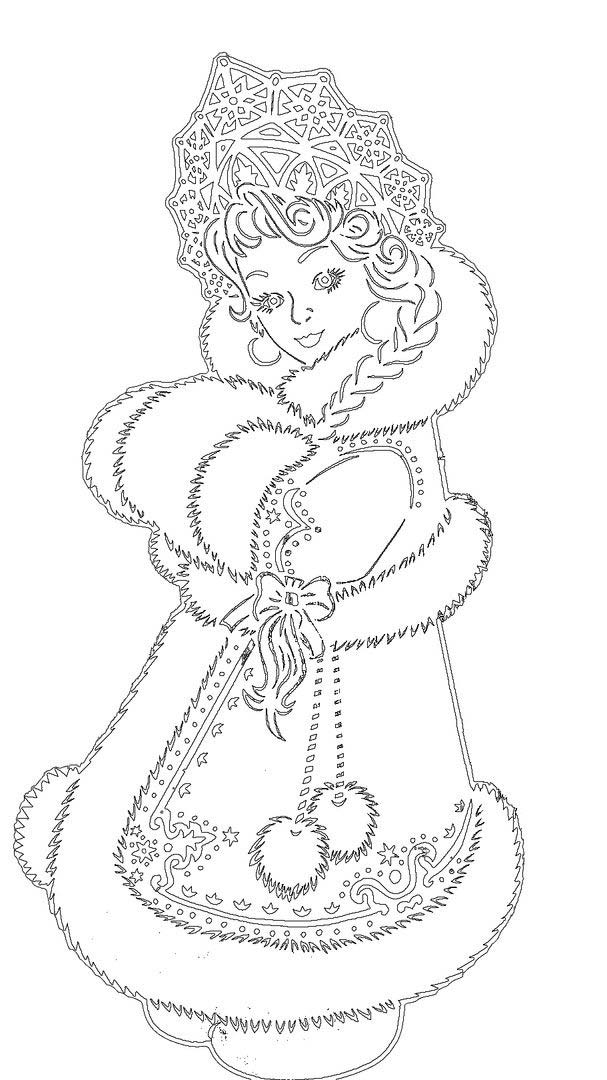
New Year's vytynanka with Snegurochka
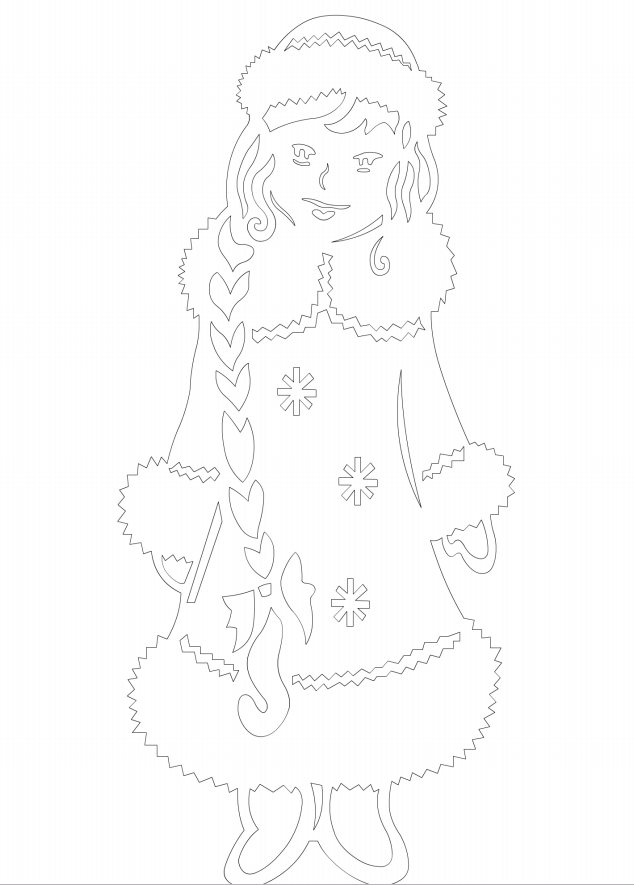
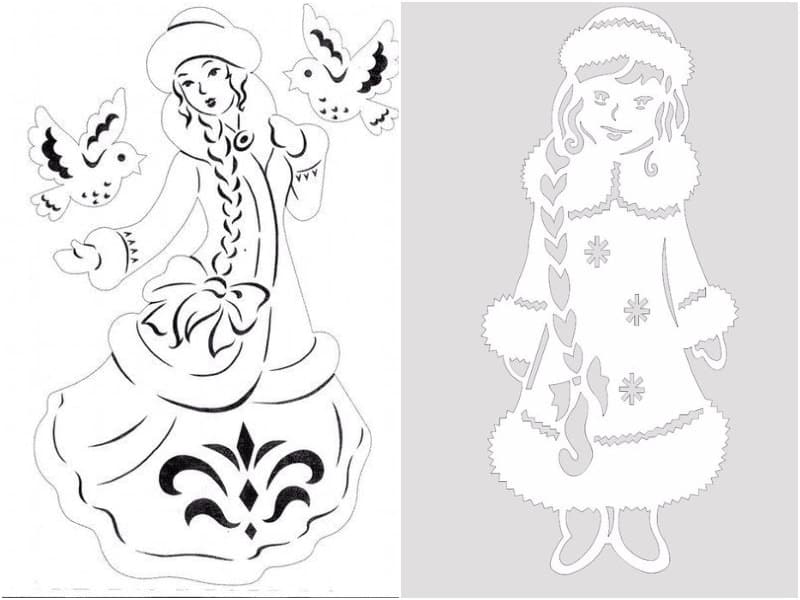
One of the most popular and beloved characters of New Year's vytynanka is Snegurochka - a beautiful and mysterious fairy-tale heroine. If you want to create a unique New Year's atmosphere in your home and please yourself and your loved ones with beautiful vytynanka with Snegurochka, follow these step-by-step instructions.
Step 1: Prepare materials
To create a vytynanka you will need the following materials:
- A4 paper or square paper specially designed for cutting out paper.
- Sharp scissors or a knife for cutting.
- A set of pencils or markers for sketching and final finishing of the cutout.
- A ruler and pencil for creating straight lines.
Step 2: Preparing the Template
Before you start cutting, you need to create a template for the vytynanka. On a separate sheet of paper, draw or print the outline of Snegurochka. You can find the template on the Internet or create it yourself, based on images of this fairy-tale heroine.
Step 3: Transferring the template to paper
Place the template on the paper of your choice and carefully trace it with a pencil or marker. Make sure the outline is drawn evenly and accurately.
Step 4: Cutting out the vytynanka
Take sharp scissors or a knife for cutting and start carefully cutting along the drawn outline. Be careful and cautious not to damage the paper or make unnecessary cuts.
Step 5: Decorating and arranging
Once the vytynanka is cut out, you can begin decorating and designing it. Use pencils or markers to add details, color in certain areas, or highlight the Snow Maiden's features. You can use different colors to make the vytynanka bright and colorful.
Step 6: Preparing the mount
If you want to hang the vytynanka, attach a small loop of string or ribbon to the top of the vytynanka. Make sure the attachment is secure and the vytynanka hangs straight.
Step 7: Show off your cutouts
Now you have a magnificent New Year's vytynanka with Snegurochka! Hang it in a prominent place in your home to create a festive mood. You can also give the vytynanka to your friends or loved ones as an original New Year's gift.
Vytynanka with Snegurochka is a wonderful way to add New Year's charm and coziness to your home. Following these step-by-step instructions, you will be able to create magical and unique vytynanka that will delight you and your loved ones throughout the New Year season. Enjoy the creative process and have a happy new year!









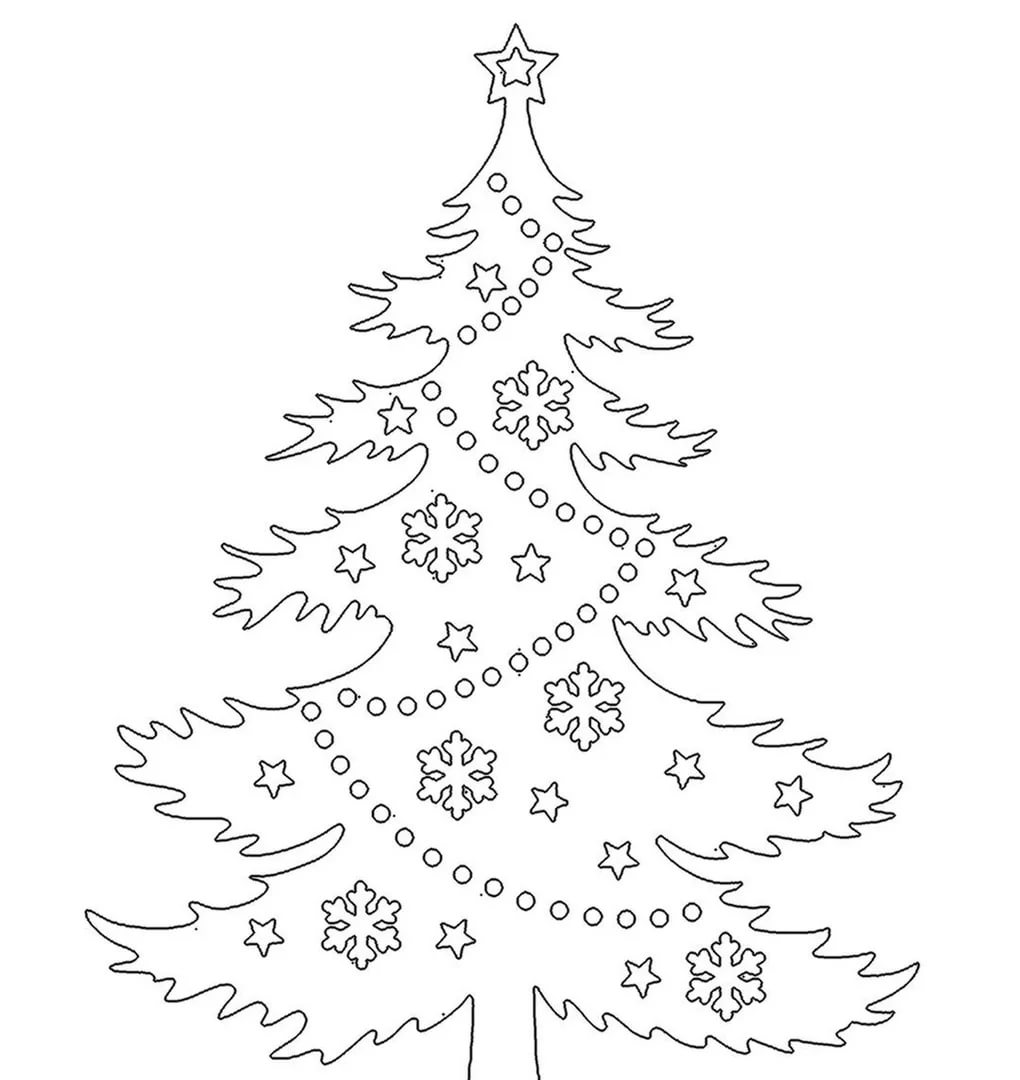
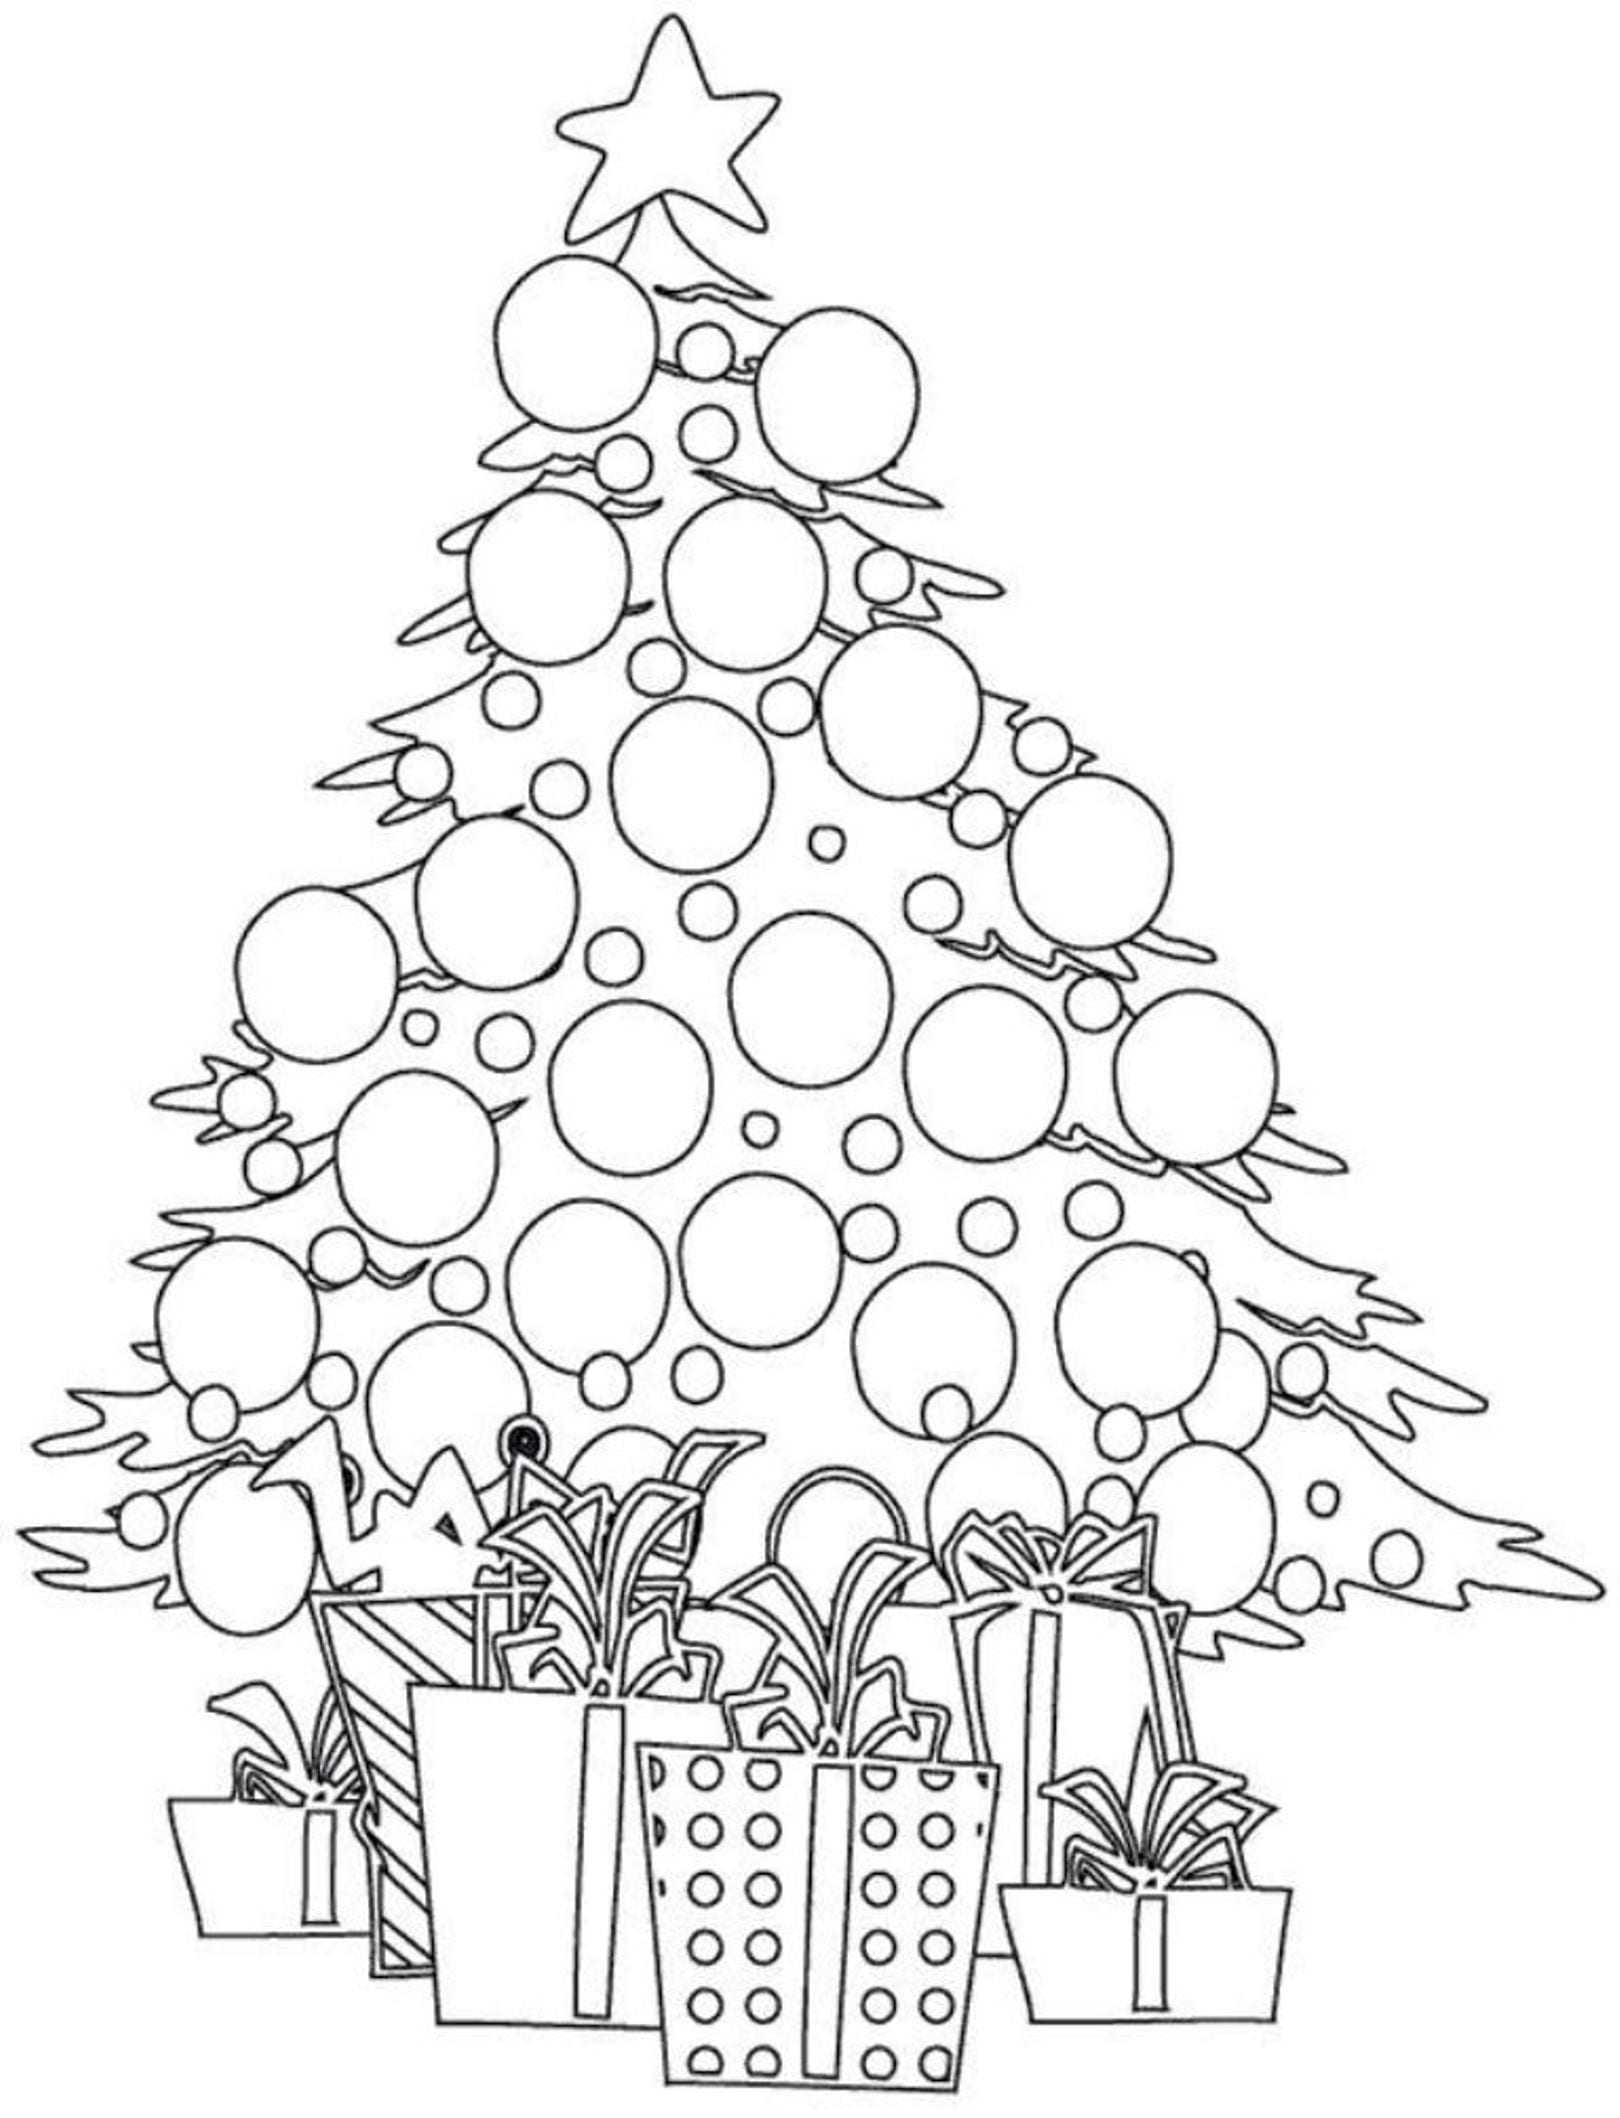
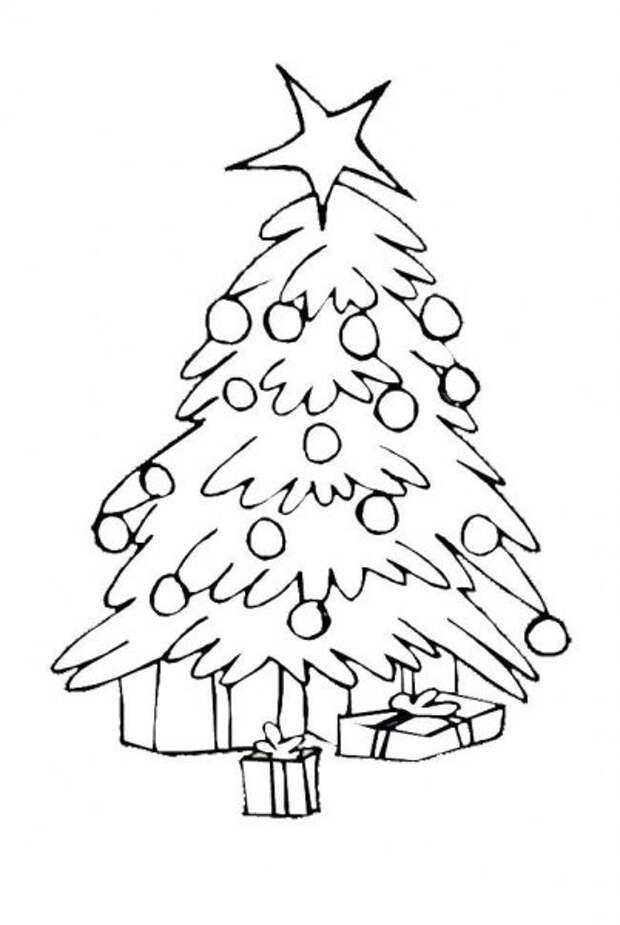
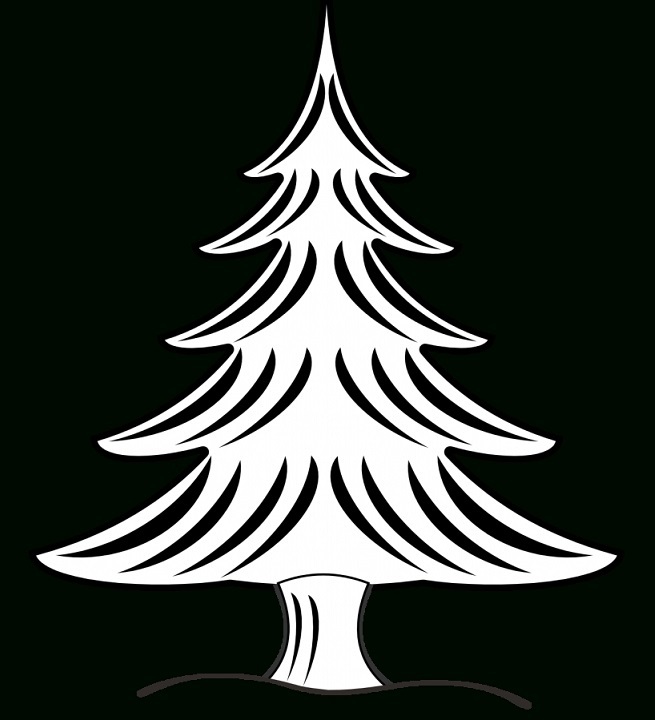
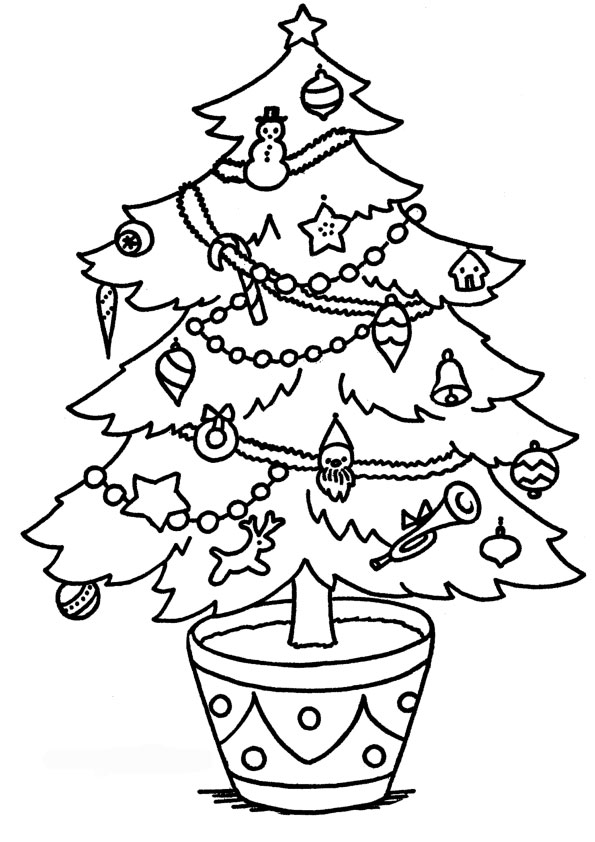
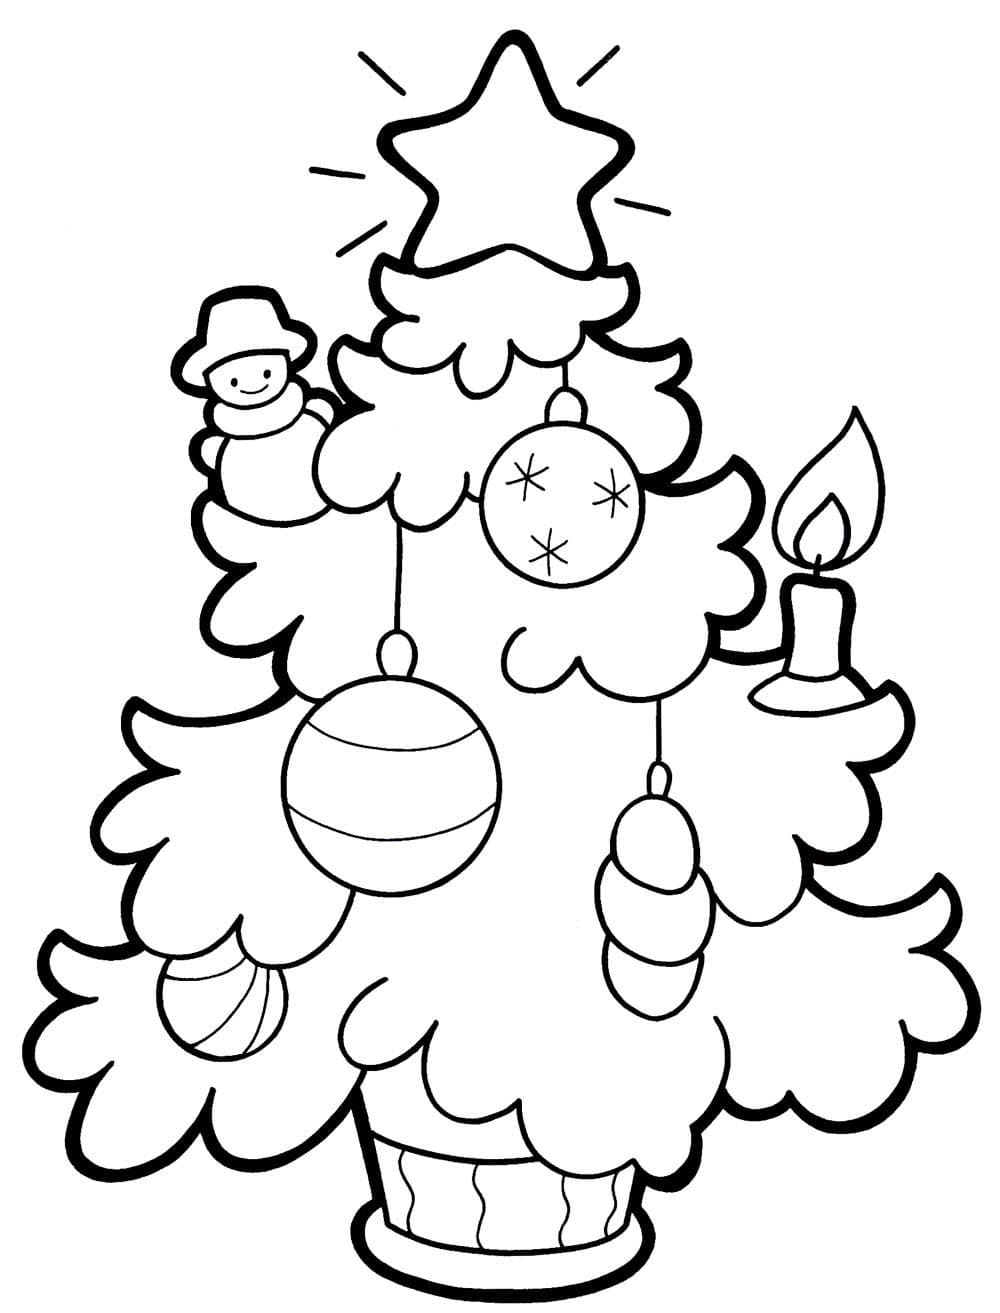
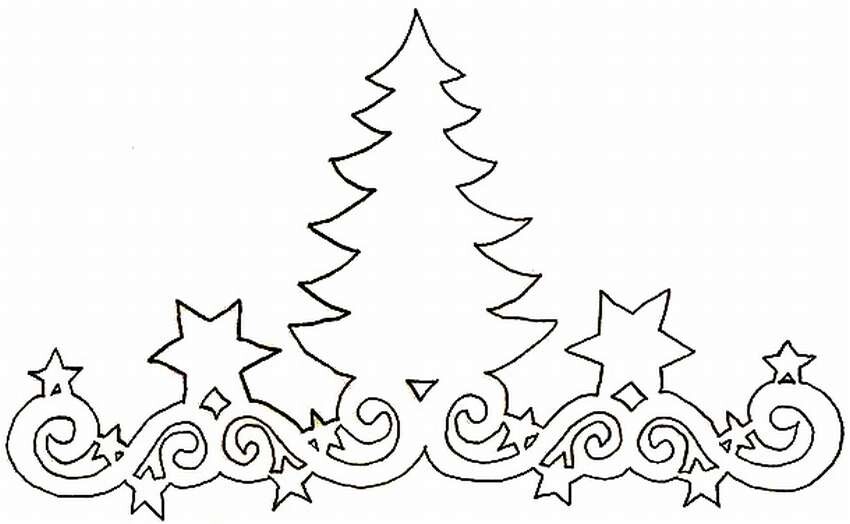
Stencils for New Year 2025 with a Christmas tree
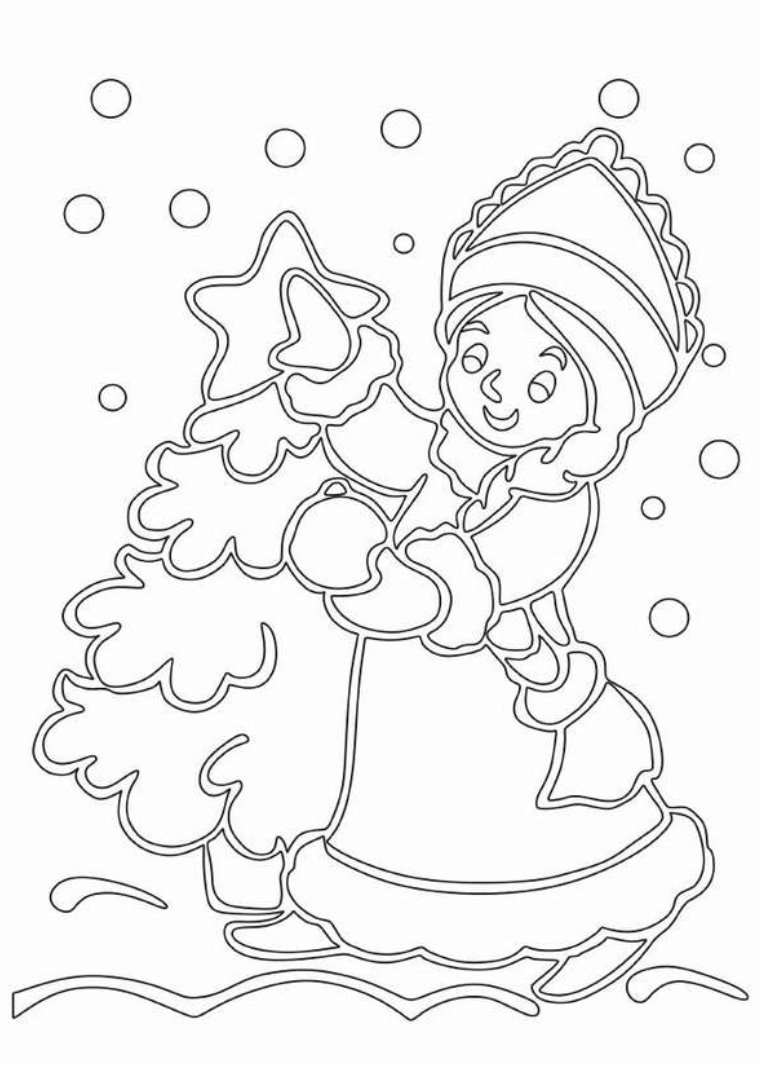
The New Year tree is an indispensable attribute of holiday decoration. Create stencils with the image of the tree and place them on the windows of your house. This will add a festive atmosphere and joy to your interior.
Step 1: Prepare your materials and workspace
Before you start creating stencils, make sure you have all the necessary materials. You will need the following things: thick cardboard, scissors, a marker or pencil, a knife for cutting along the contour, and, of course, your imagination!
Step 2: Draw and cut out the Christmas tree template
Draw the outline of the tree on thick cardboard. You can use a ready-made template or draw it yourself. To create the effect of branches, give the tree a wavy shape. Then carefully cut out the outline of the tree with a knife.
Step 3: Prepare the surface for stenciling
Choose the location where you want to place the Christmas tree stencil. Note that the surface must be clean and level. It is recommended to use a flat surface such as a wall, window or door.
Step 4: Secure the stencil and begin applying
Place the stencil on the surface of your choice and make sure it fits snugly.
Step 5: Apply paint or spray
Choose the colors and type of paint you want to use to fill the tree outline. Don't be afraid to experiment with different colors and shades to create a unique effect.
Step 6: Remove the stencil and enjoy the result
Once the paint is completely dry, carefully remove the stencil to reveal your creative masterpiece.




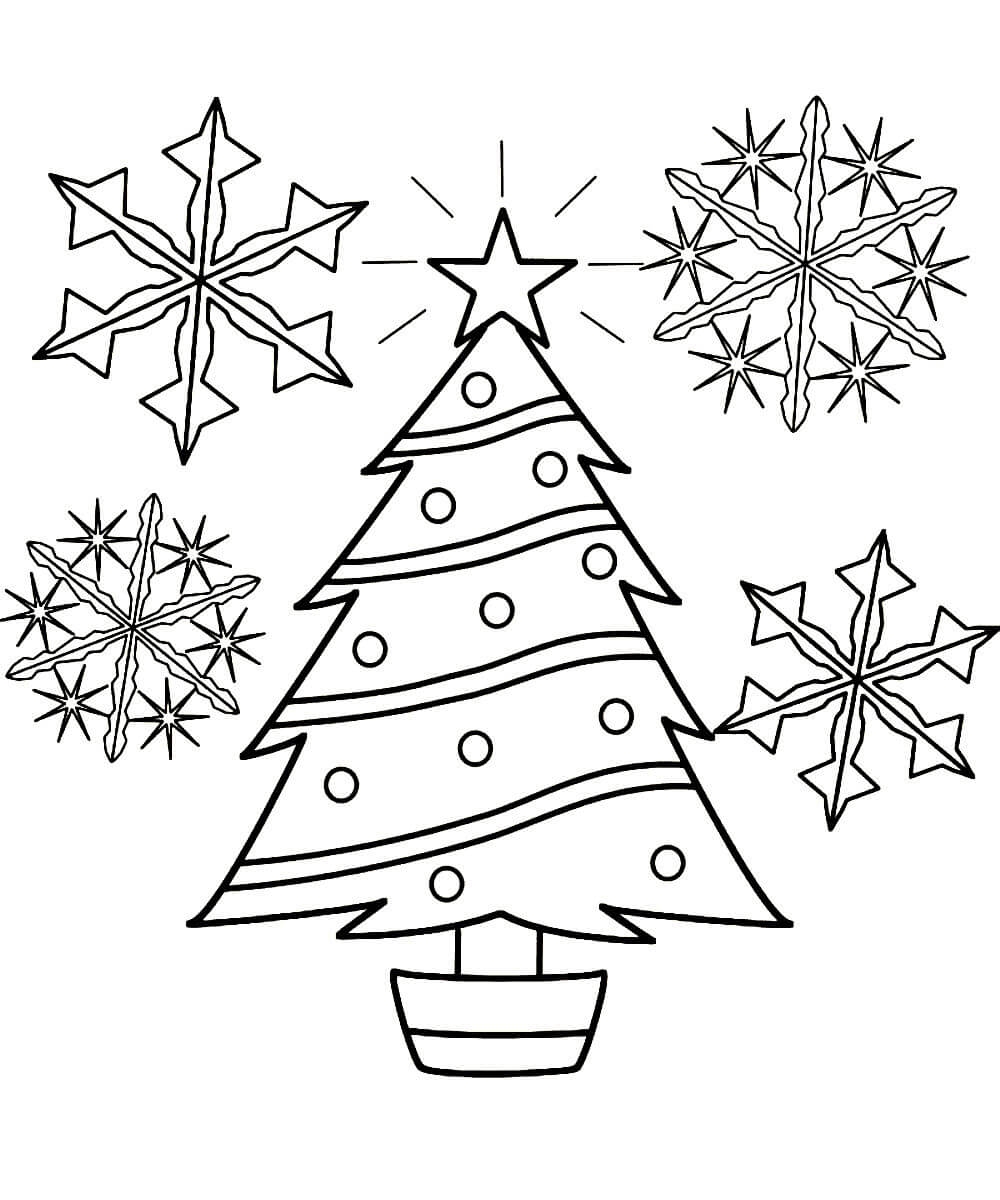





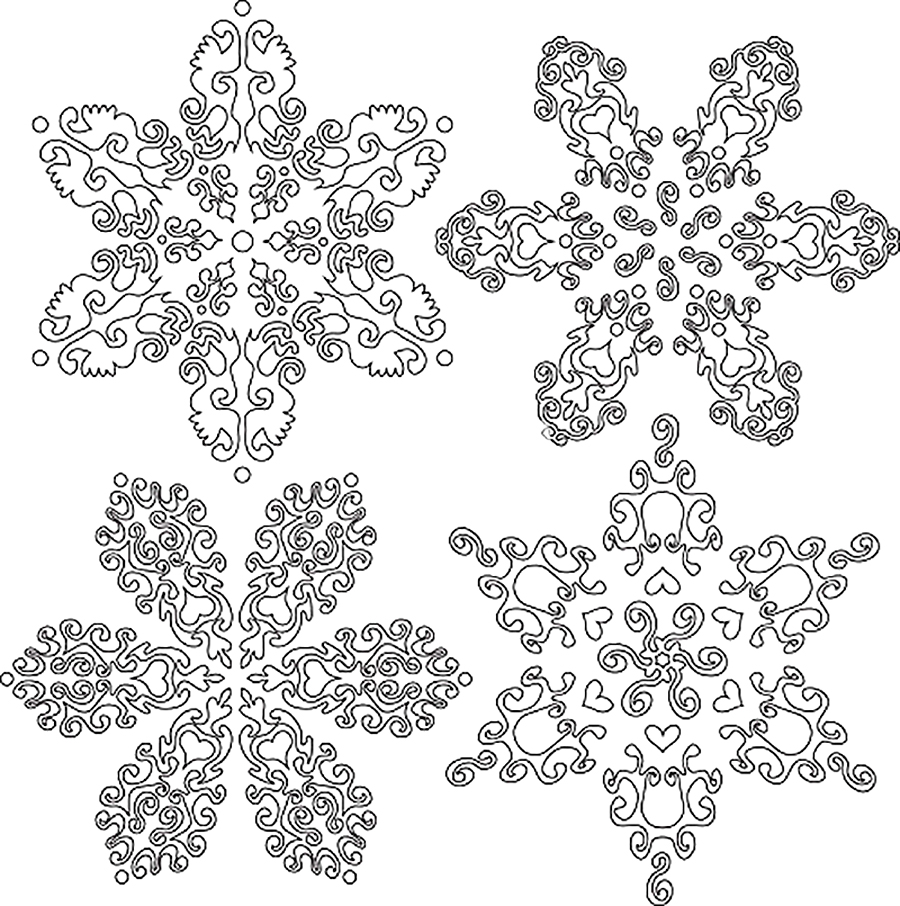
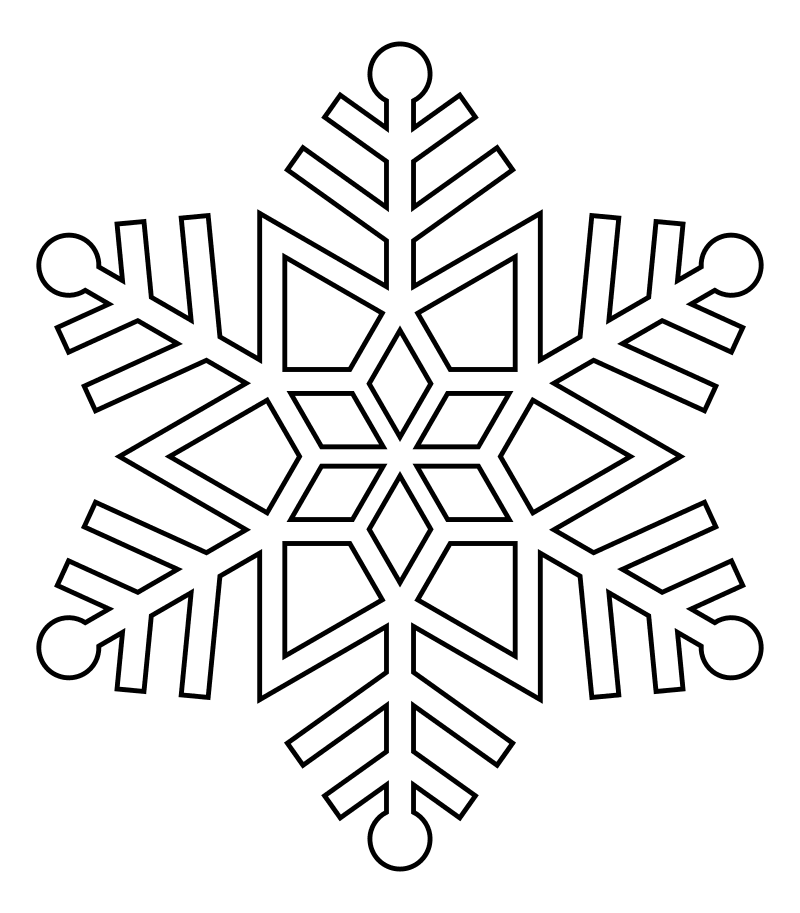
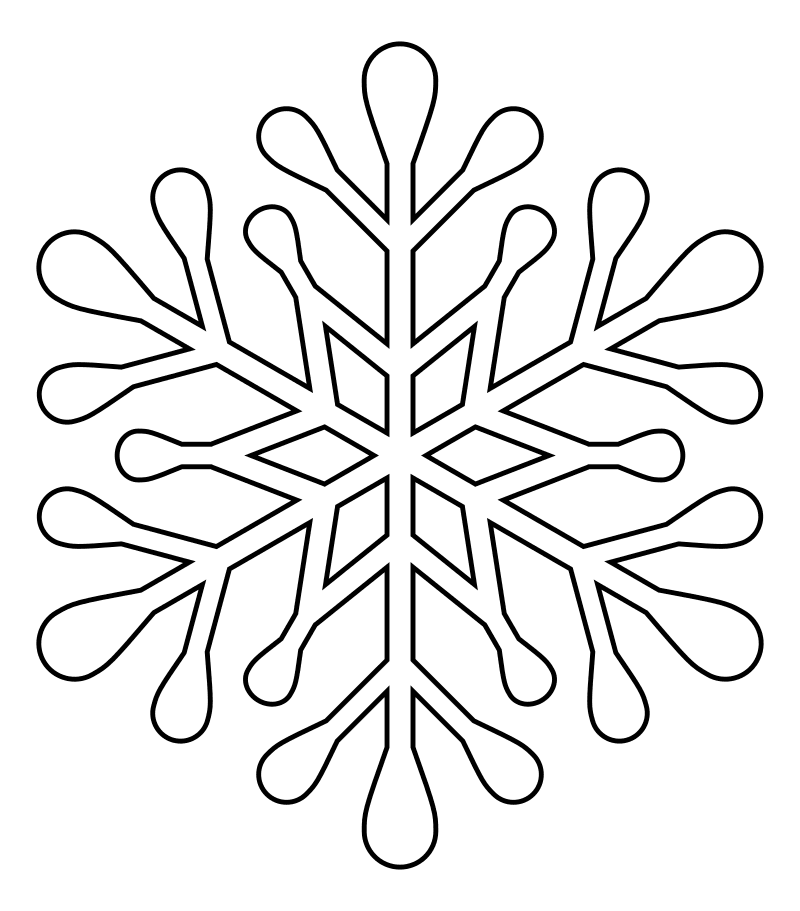
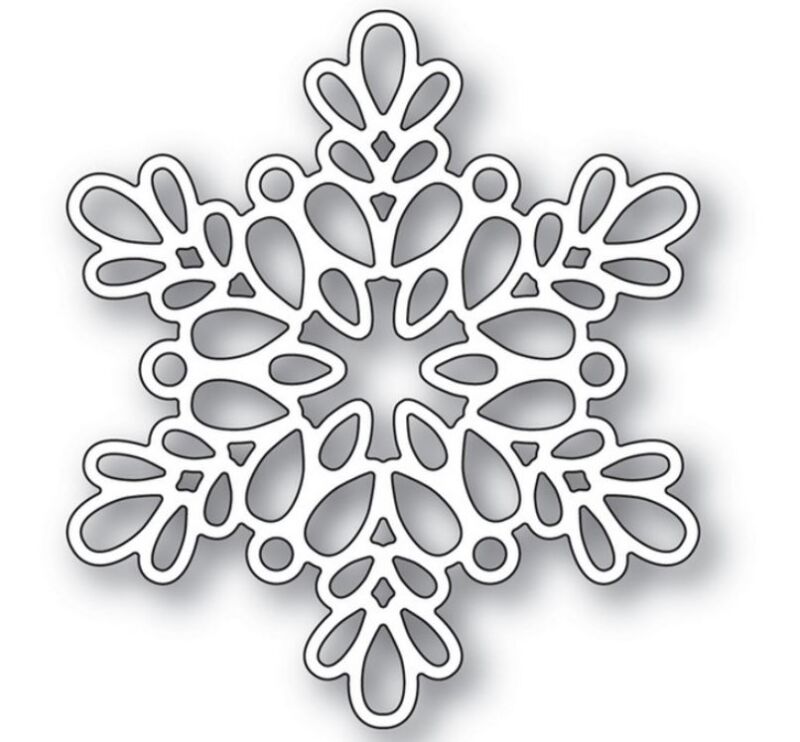
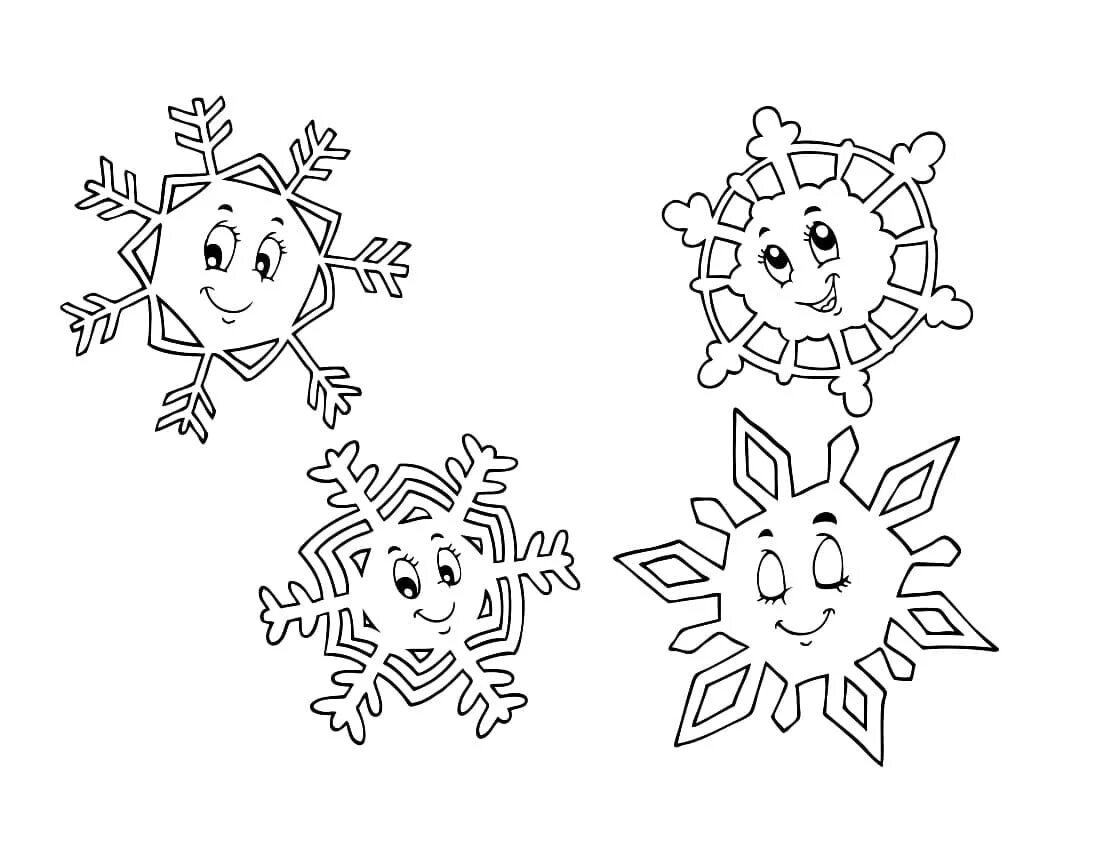
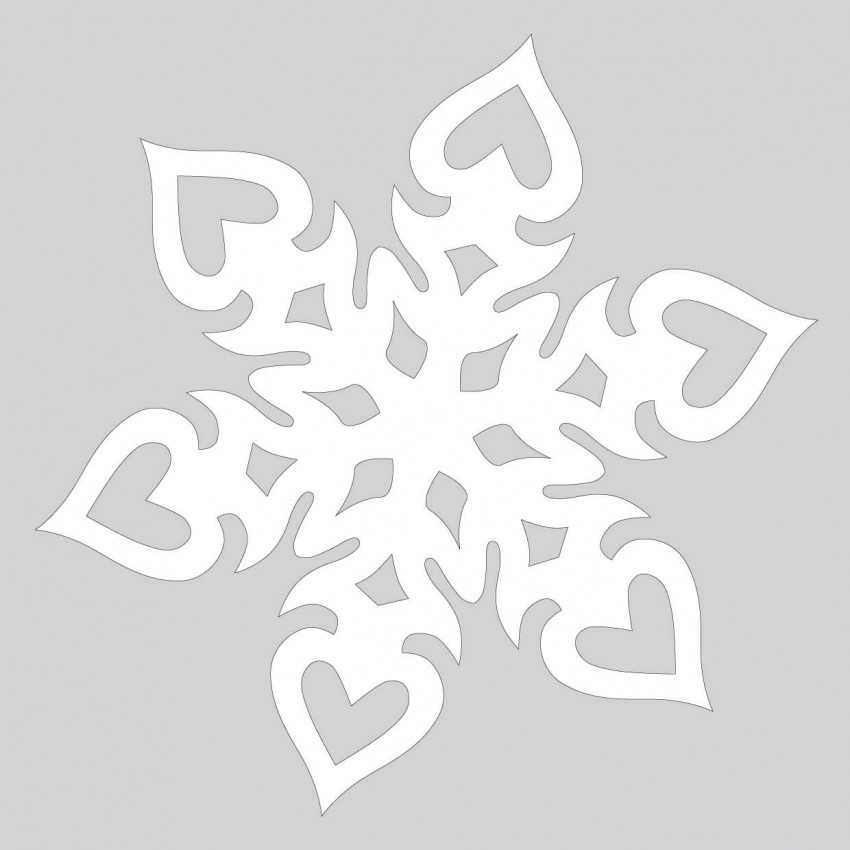
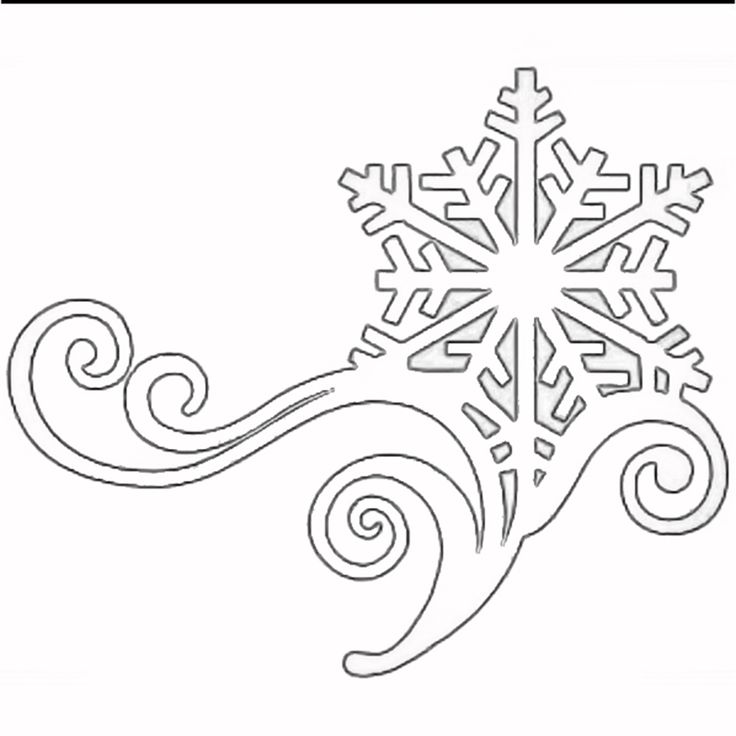
Stencils for New Year 2025 - Snowflakes
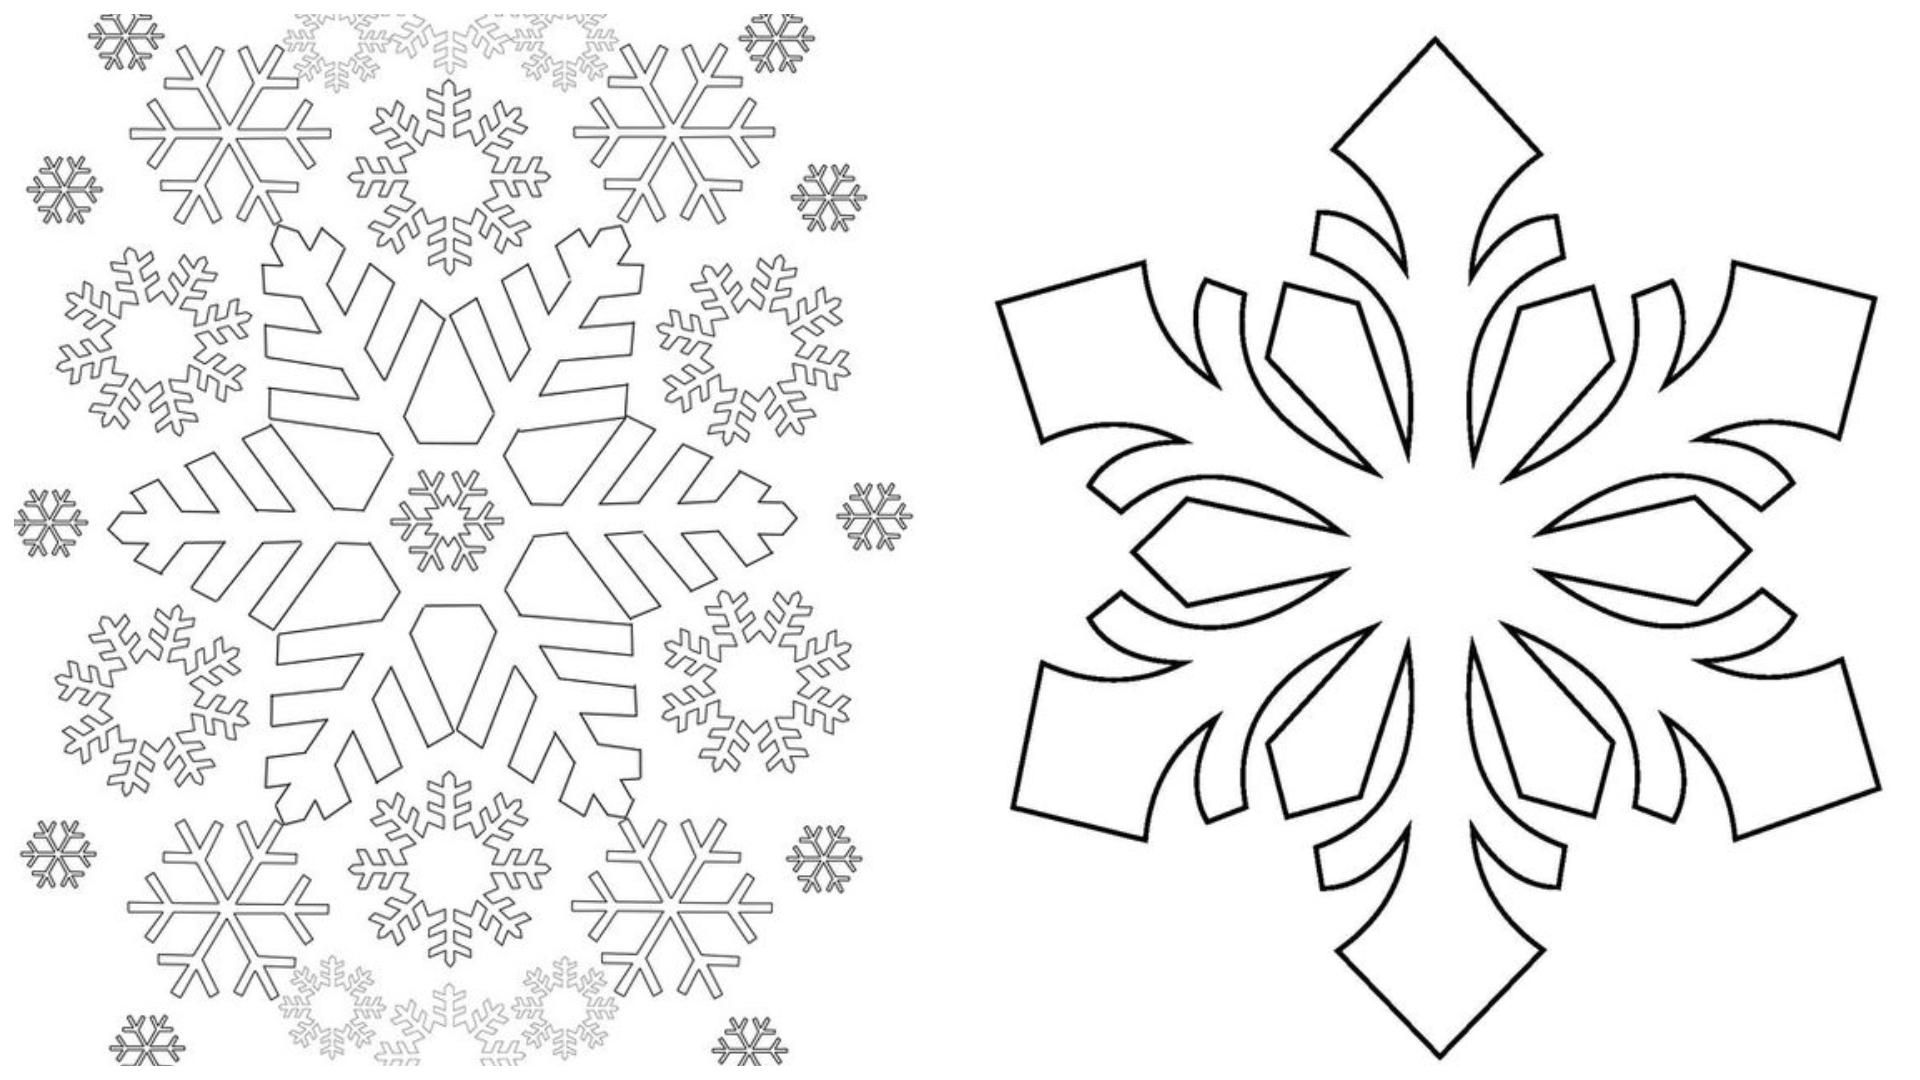
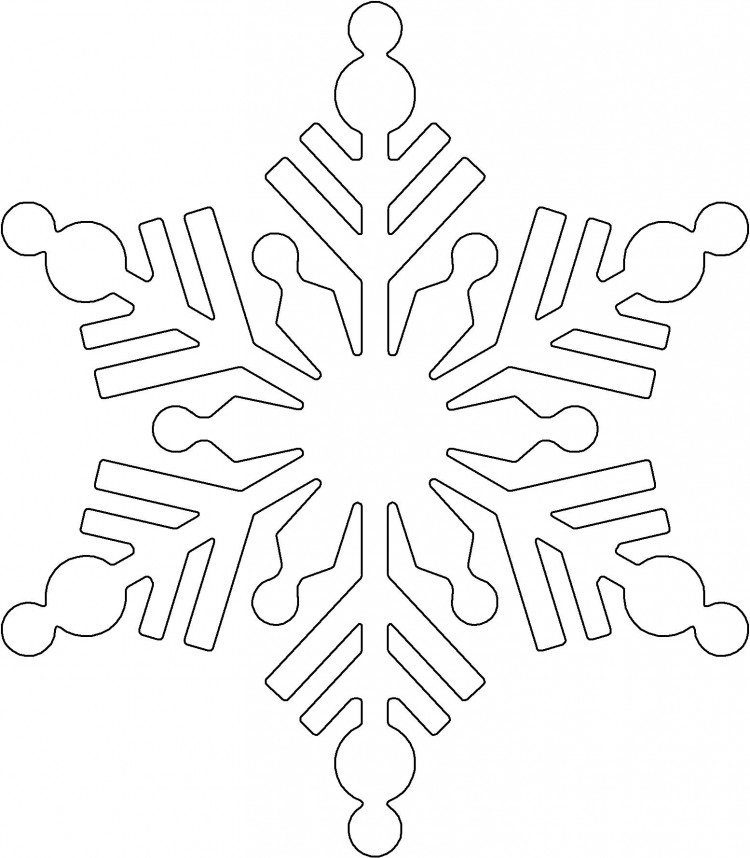
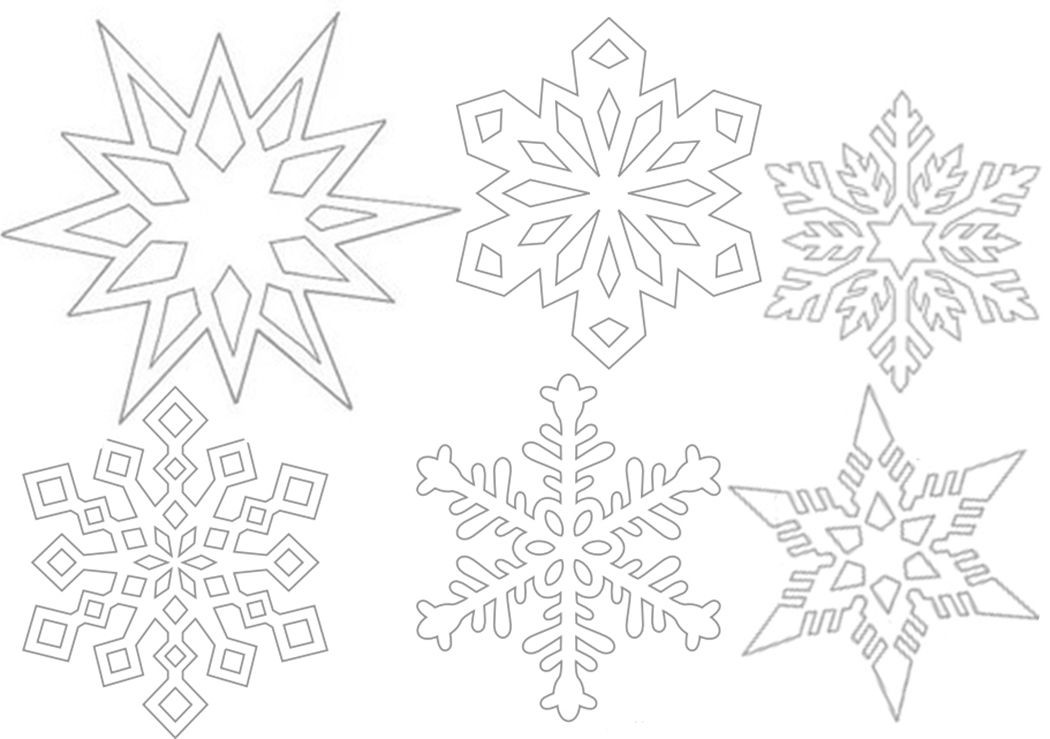
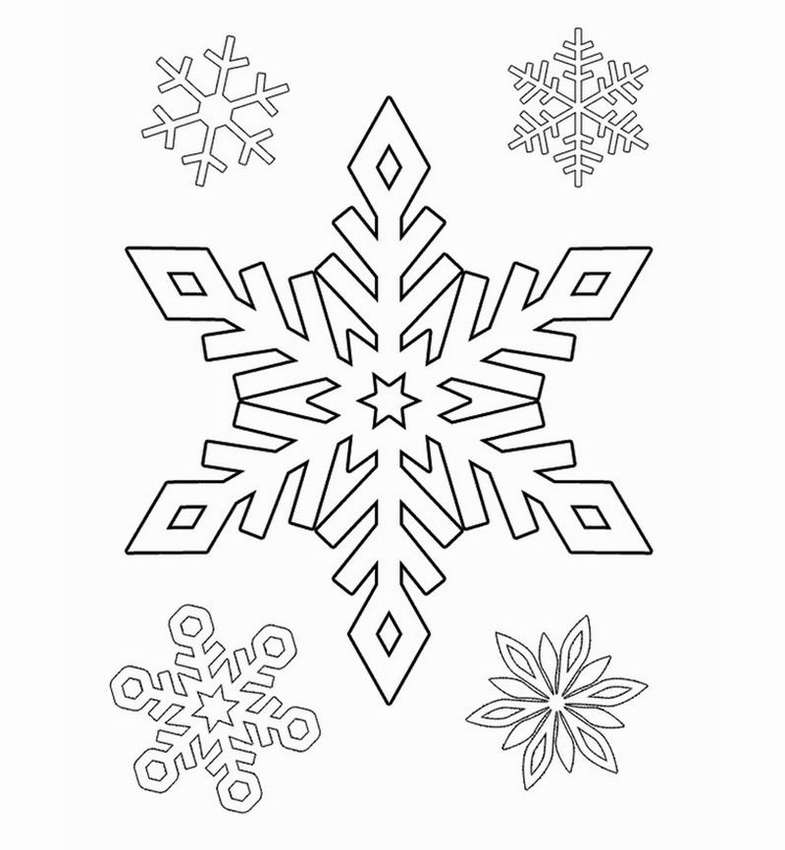
Snowflakes are a symbol of purity, beauty and a winter fairy tale. Cut out stencils with complex and exquisite snowflake patterns and decorate your home windows with them. Each snowflake can be unique, creating the impression of falling snow and creating an atmosphere of a winter fairy tale.
The beauty of snowflakes is great and unique, and using stencils is a great way to convey this uniqueness. You can use their stencils on windows, walls, doors or any other surfaces to bring the spirit of winter charm to your interior. They are available in different sizes and designs, allowing you to choose the most suitable for your idea.
All you need is a little time, some basic materials like stencils, paint and brushes, and your imagination. Simply attach the stencil to the surface, paint it in the color of your choice, and voila! You have created a magical decoration that will delight your eyes and your guests.





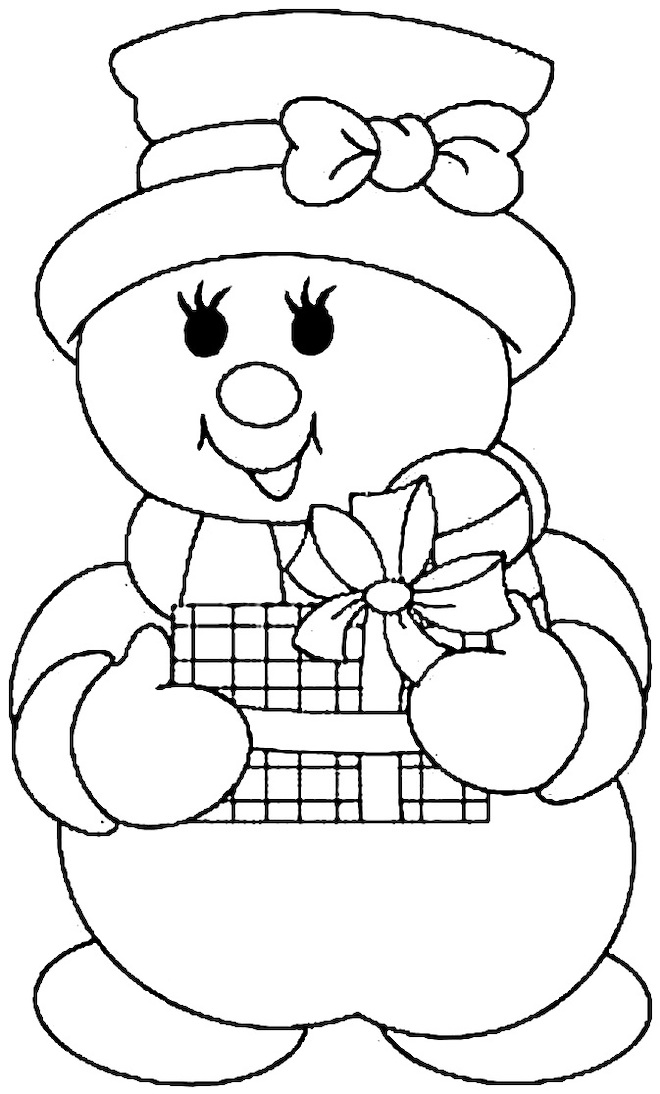
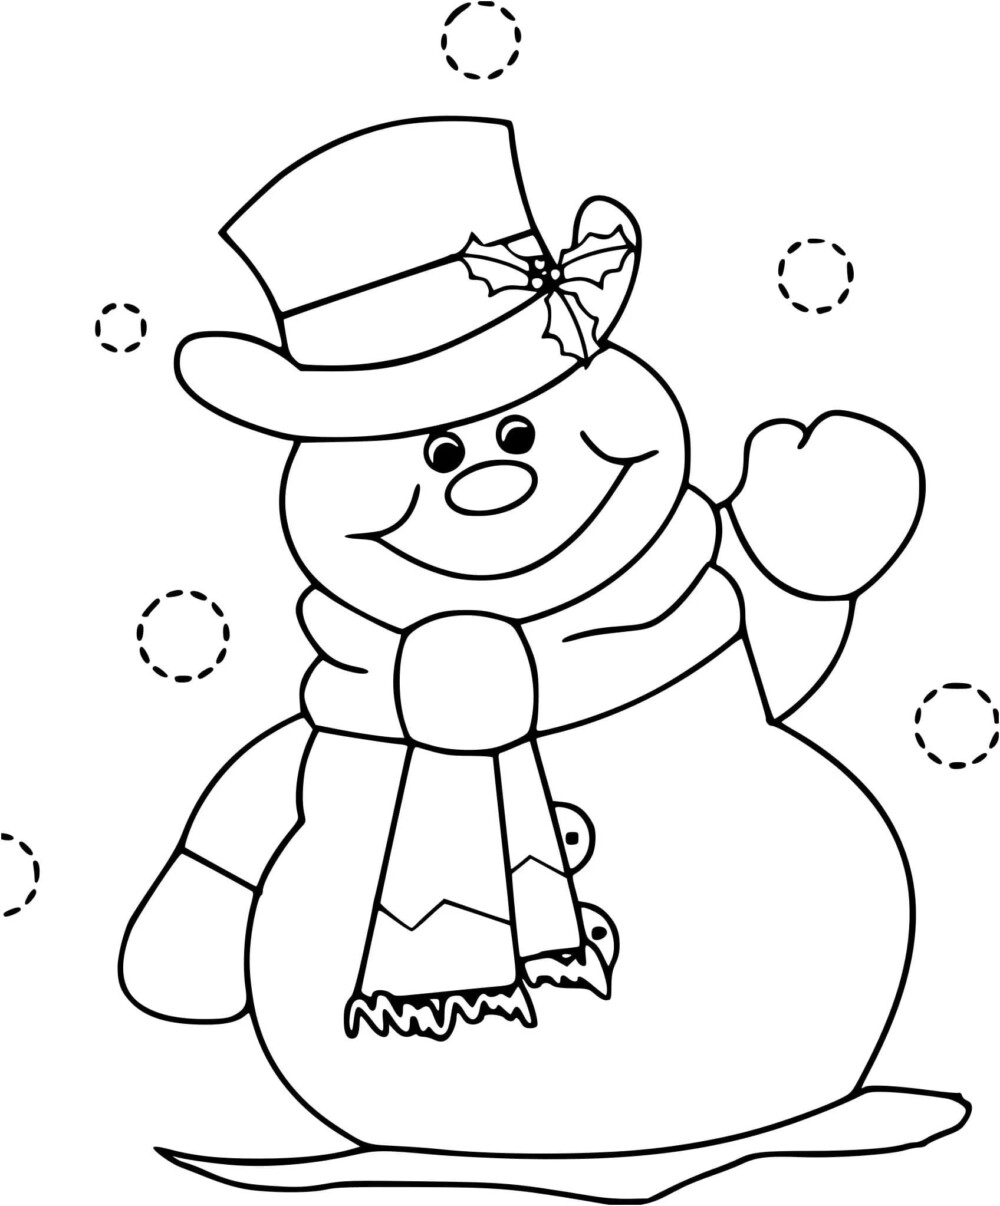
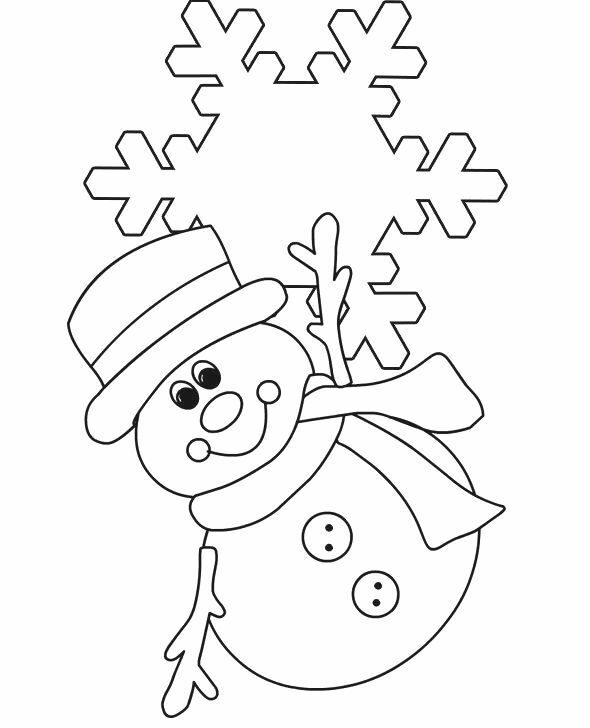
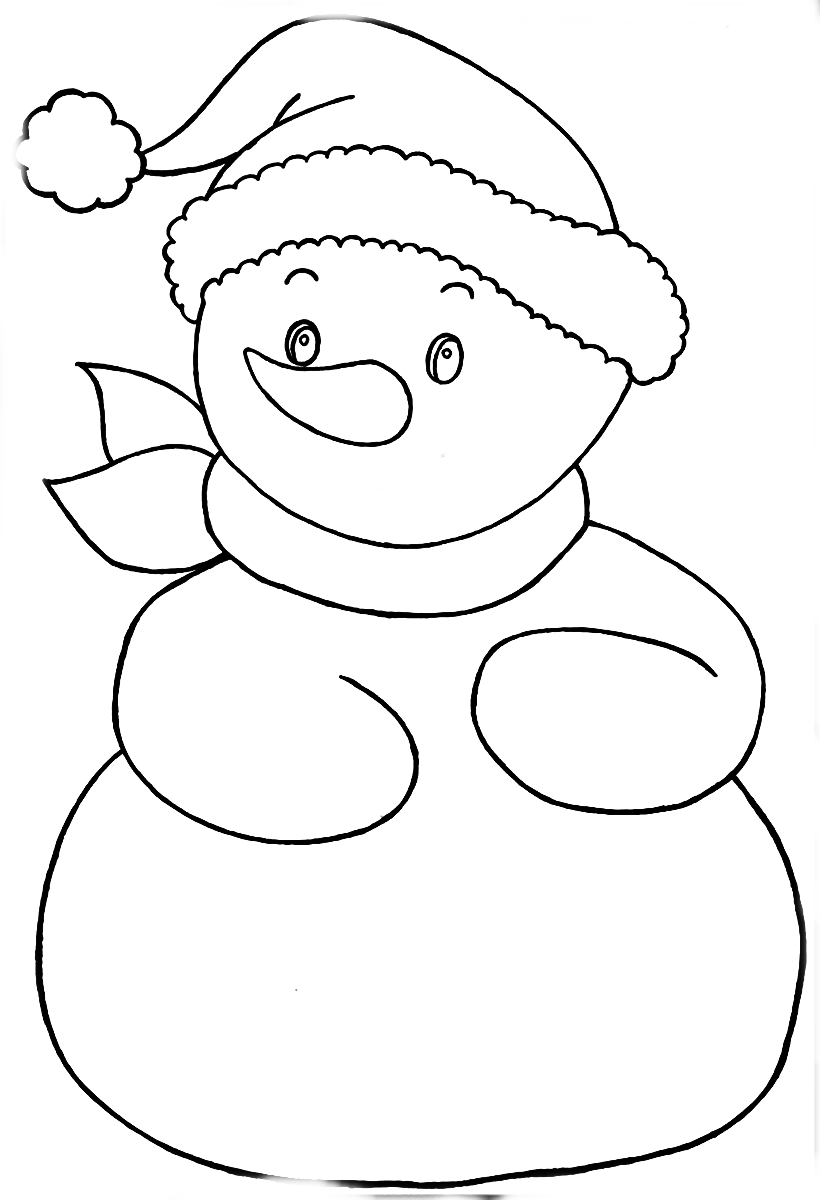
Stencils for New Year 2025 - Snowmen
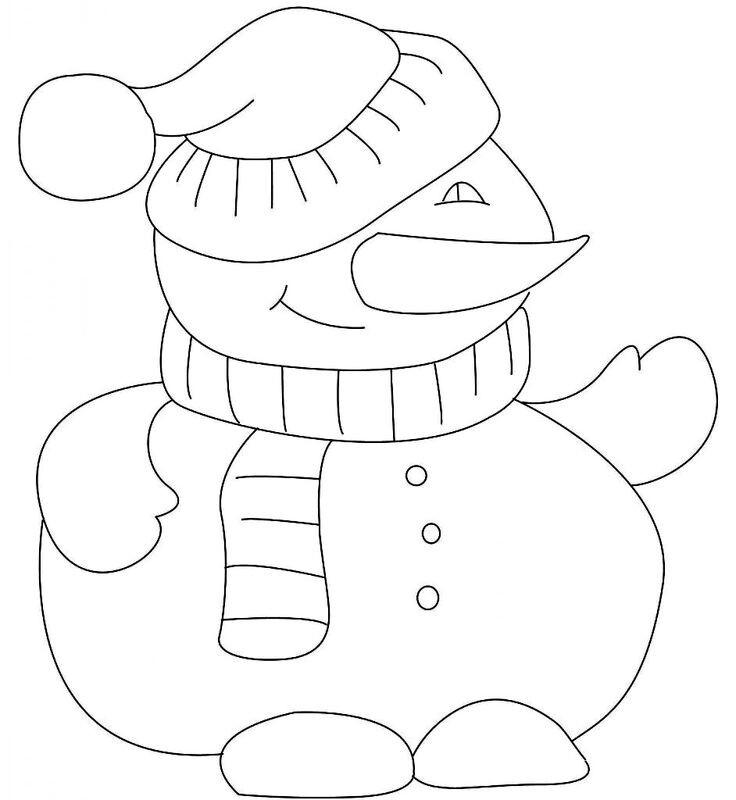
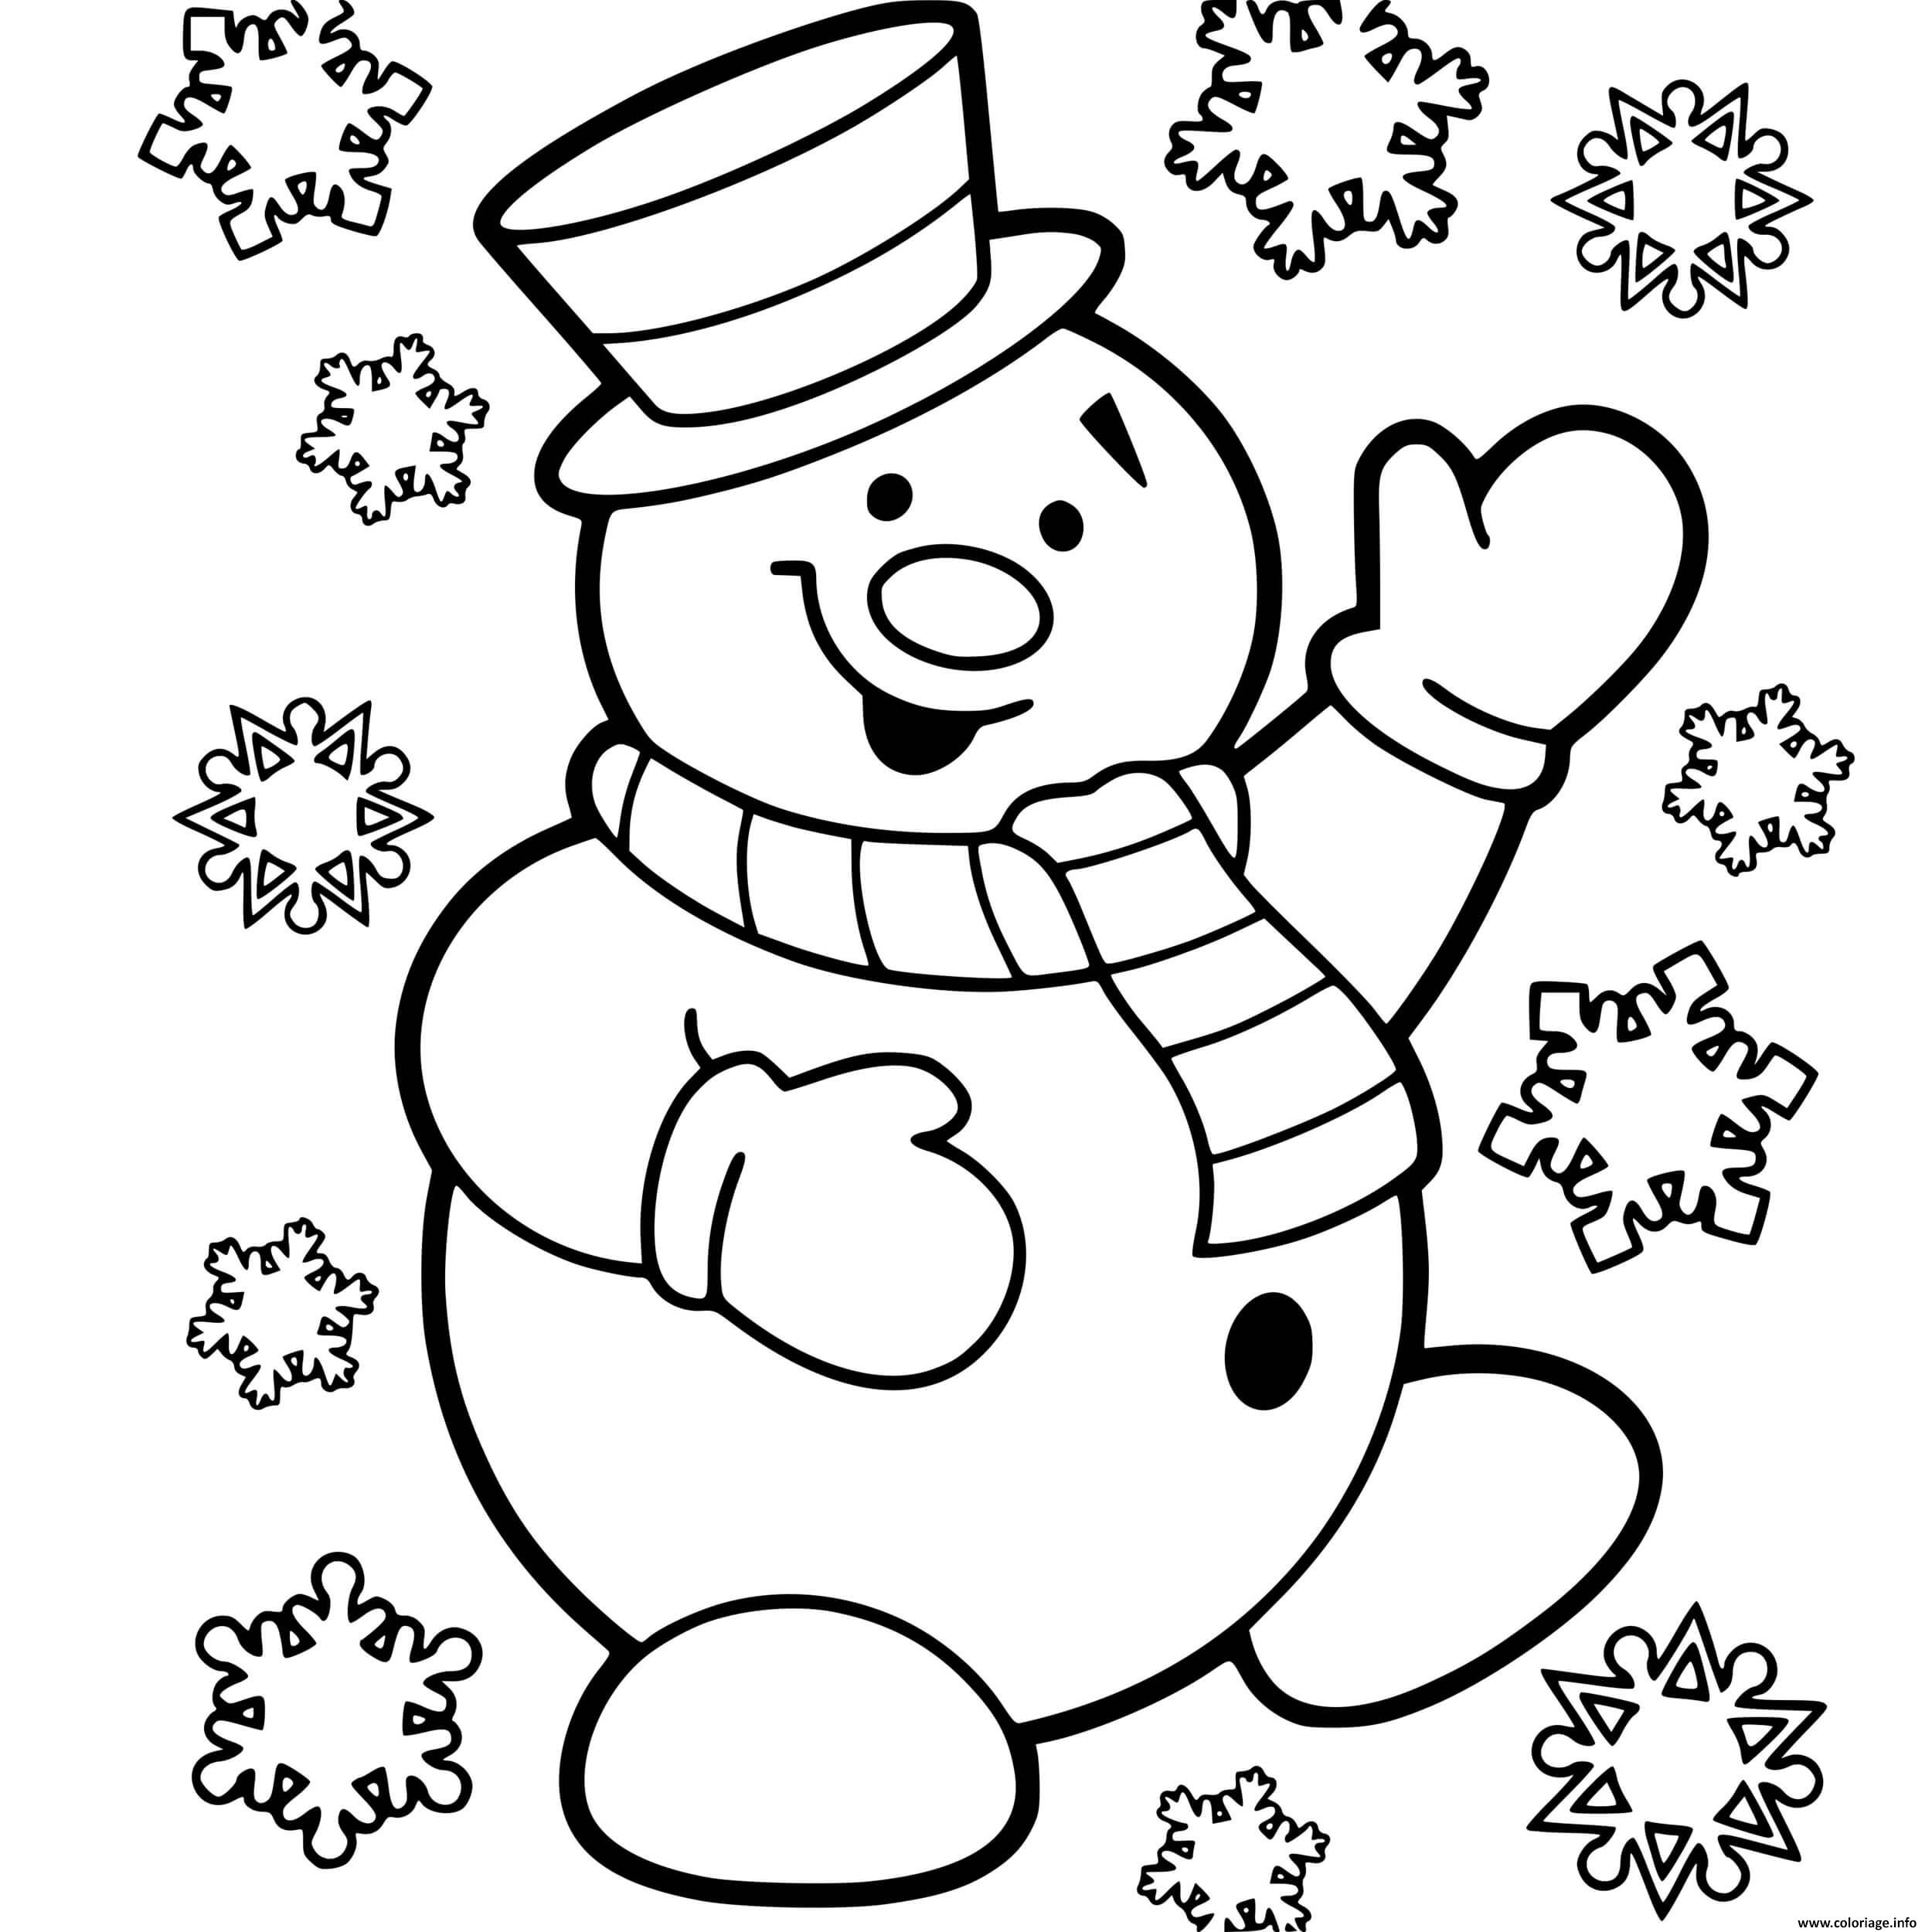
Snowmen are cheerful and friendly characters that will make a great window decoration for the New Year. Cut out stencils with snowmen and place them on the window glass. Use different colors of paint or markers to give them life and brightness.
Snowman stencils offer a huge variety of creative and decorative possibilities. You can use them to decorate windows, walls, mirrors, gift wrapping, cards or any other surface you want to transform. With stencils, you can create beautiful snowman silhouettes with their characteristic features, such as hats, scarves, carrot noses and branchy arms.
You don’t need to be an artist or have any special drawing skills to create unique and attractive decorations. Simply attach the stencil to the surface of your choice, apply paint or spray through the holes, and your snowman will come to life in front of you. It’s a great way to involve the whole family in the process of creating a festive atmosphere.









New Year patterns for cutting on windows
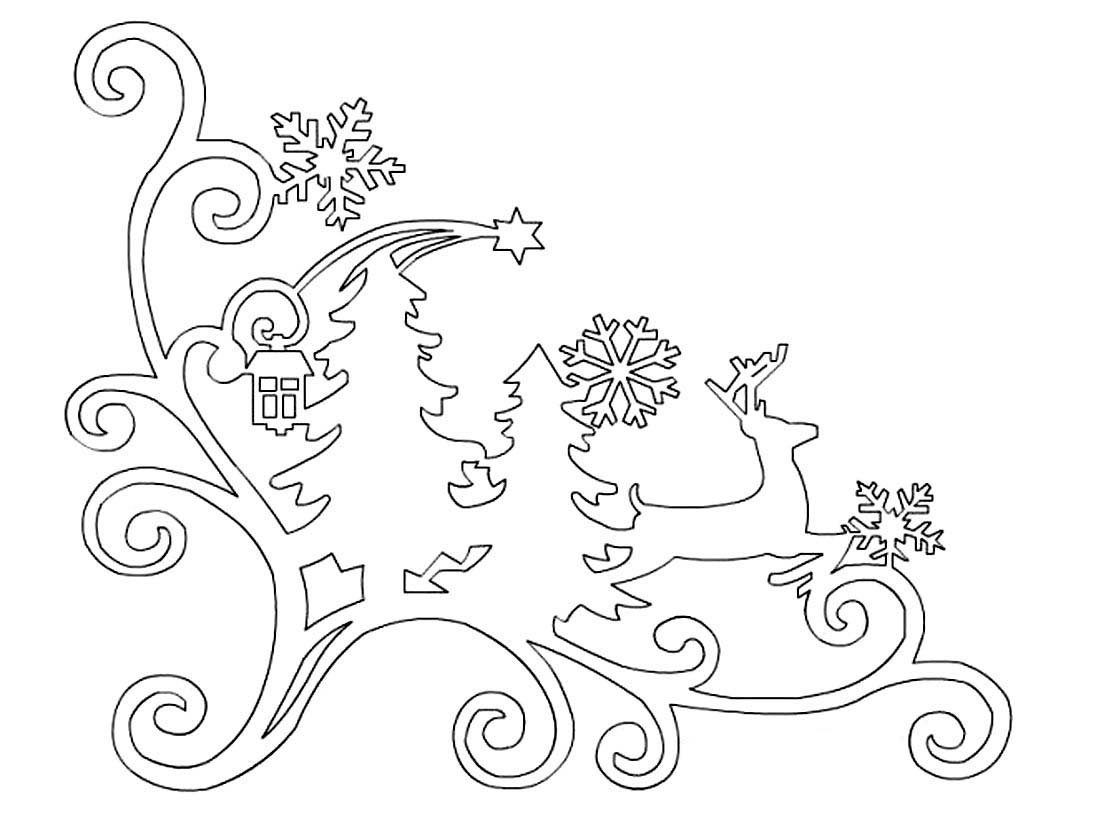
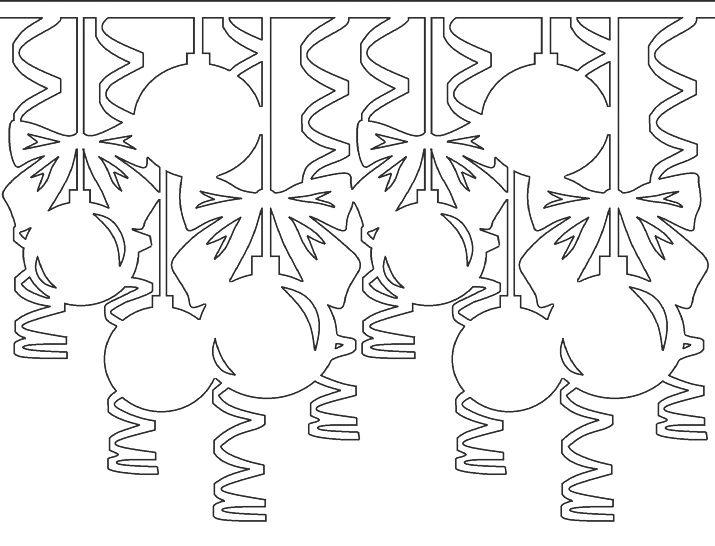
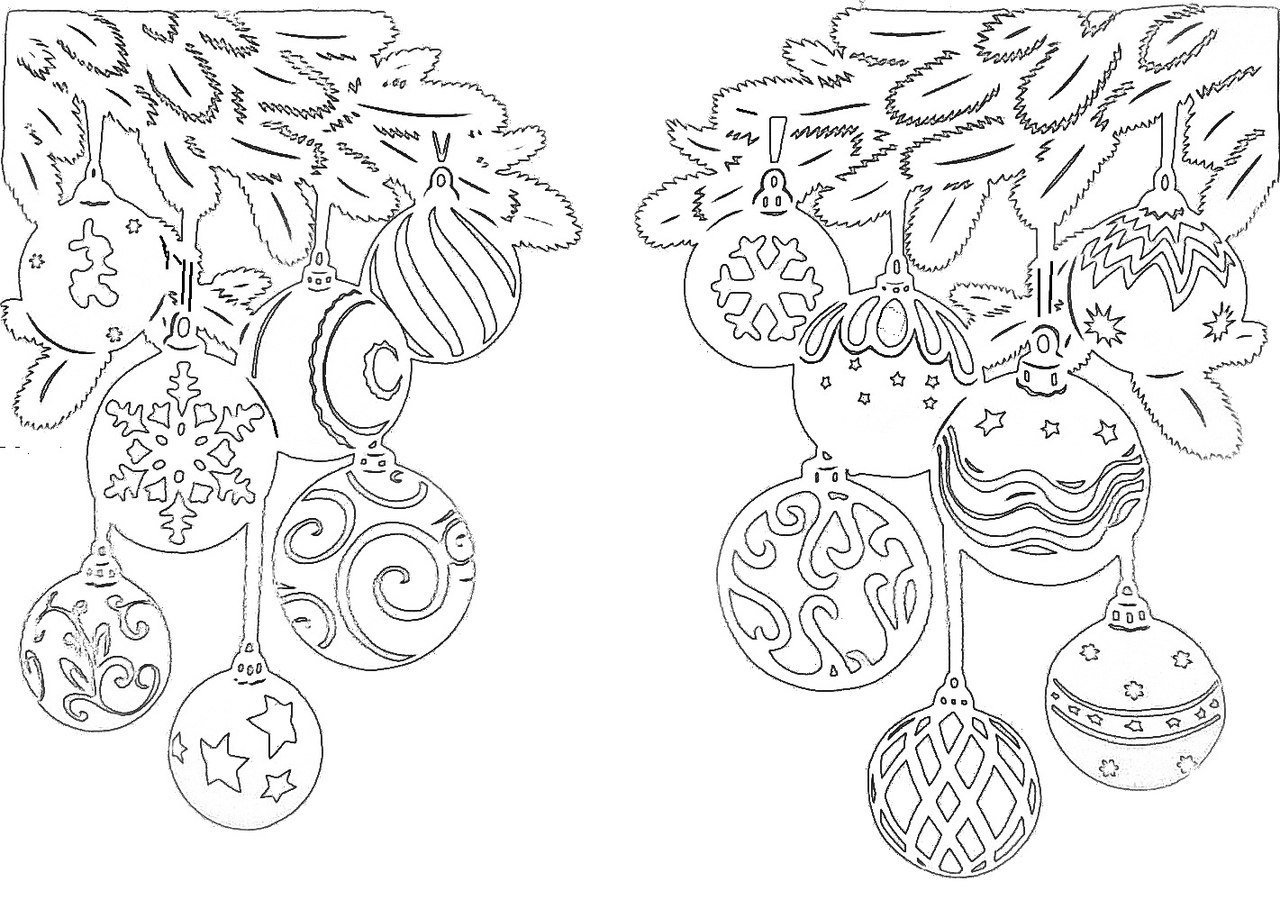
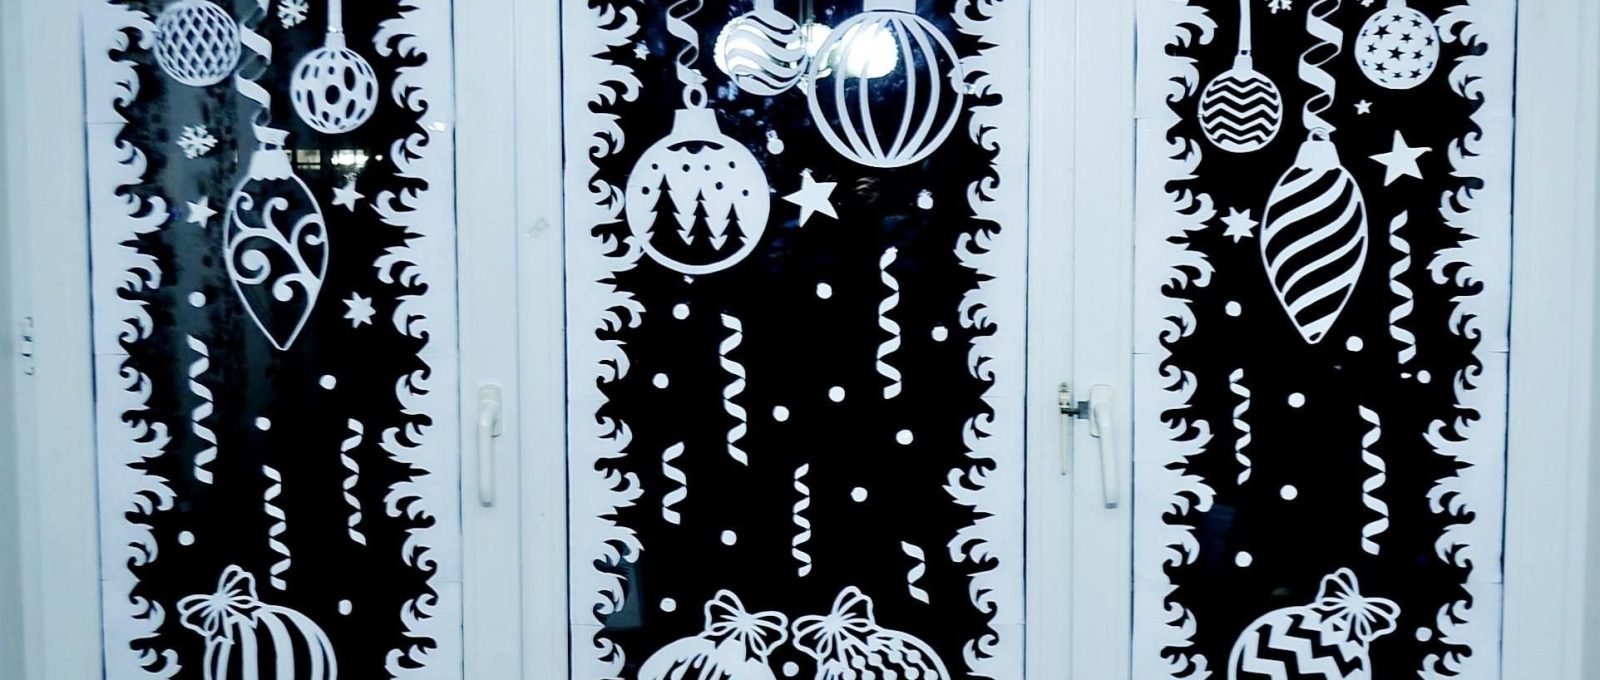
In addition to symbols and characters, you can use stencils with various New Year patterns to decorate your windows. Cut out stencils with snowflakes, stars, Christmas tree decorations or other patterns and place them on the window glass. Such decoration will add tenderness and festivity to your interior.
Window patterns offer an endless variety of designs and patterns, from classic snowflakes and snowmen to Christmas trees and stars. You can choose a pattern that suits your style and preferences and create unique compositions on your windows. Beautiful, refined lines and pattern details will add charm and sophistication to your interior. Passers-by, neighbors and guests will admire your unique patterns that attract attention and create a festive mood. This is also a great opportunity for family creativity!









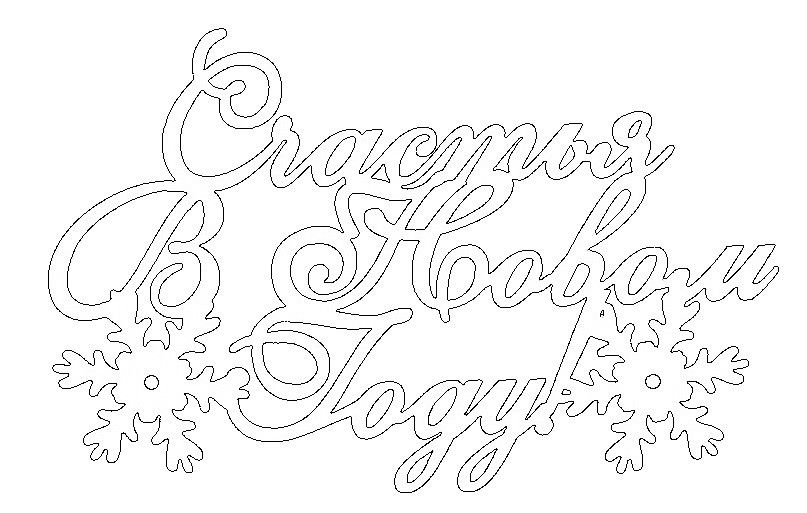
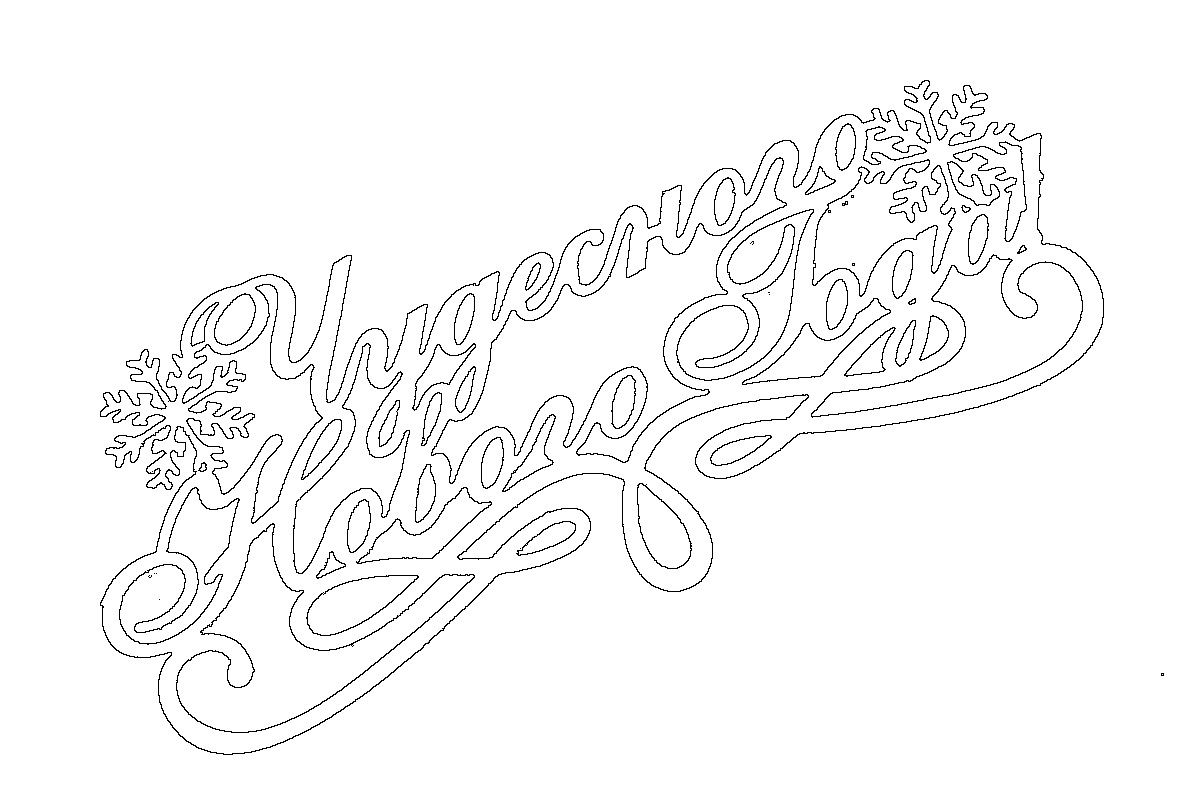
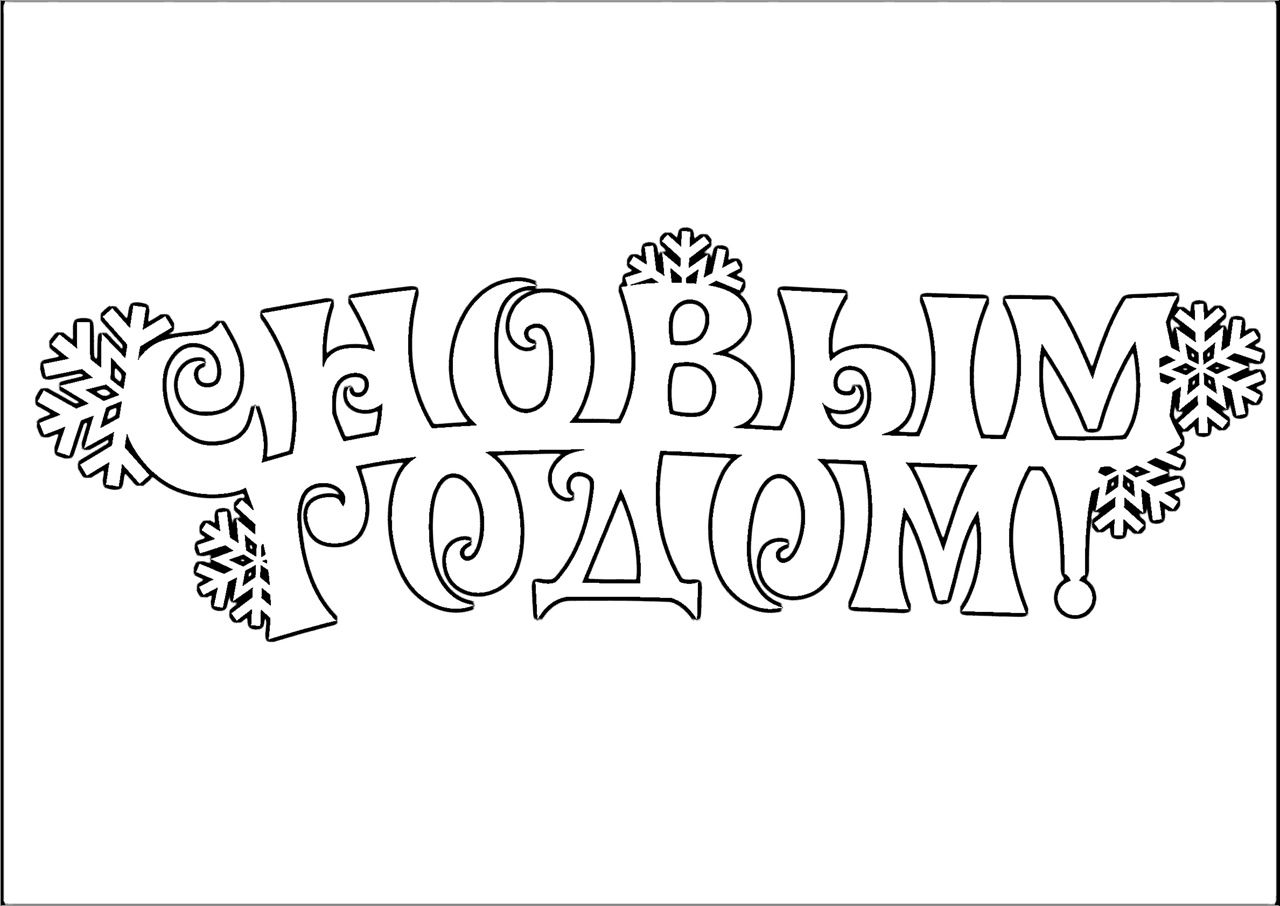
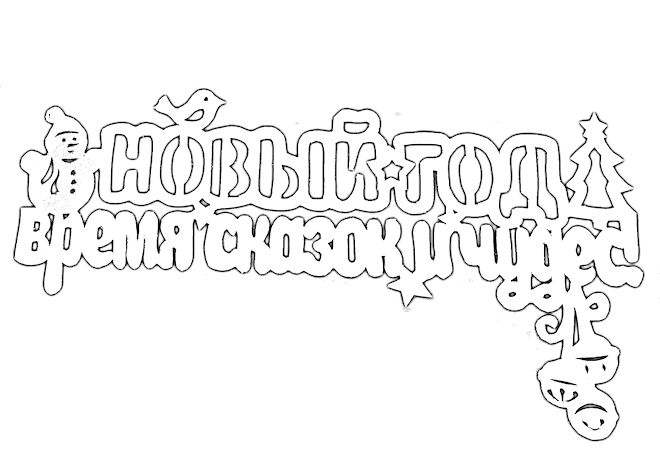
New Year's inscriptions for cutting on windows
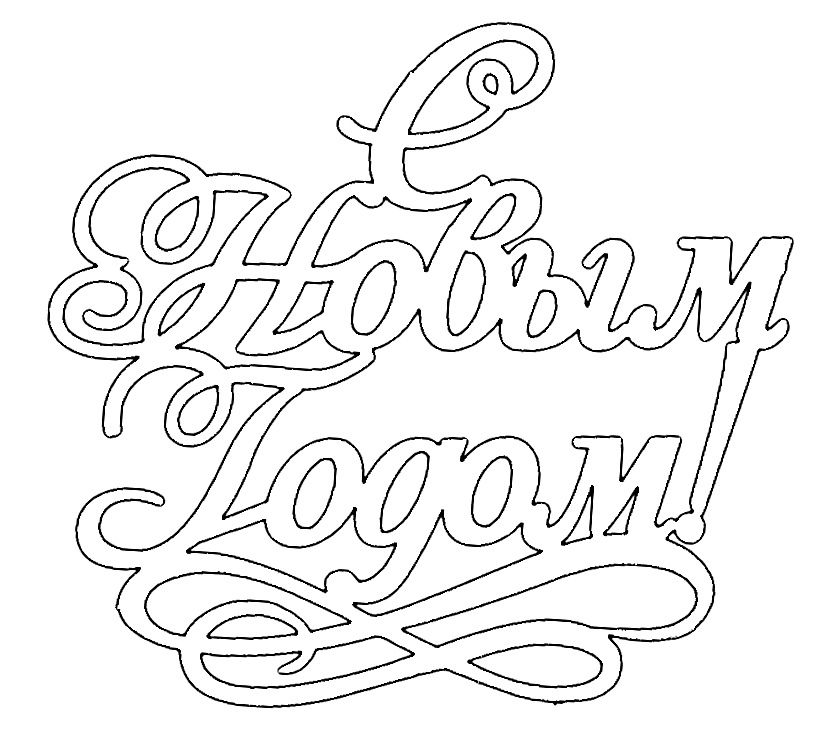
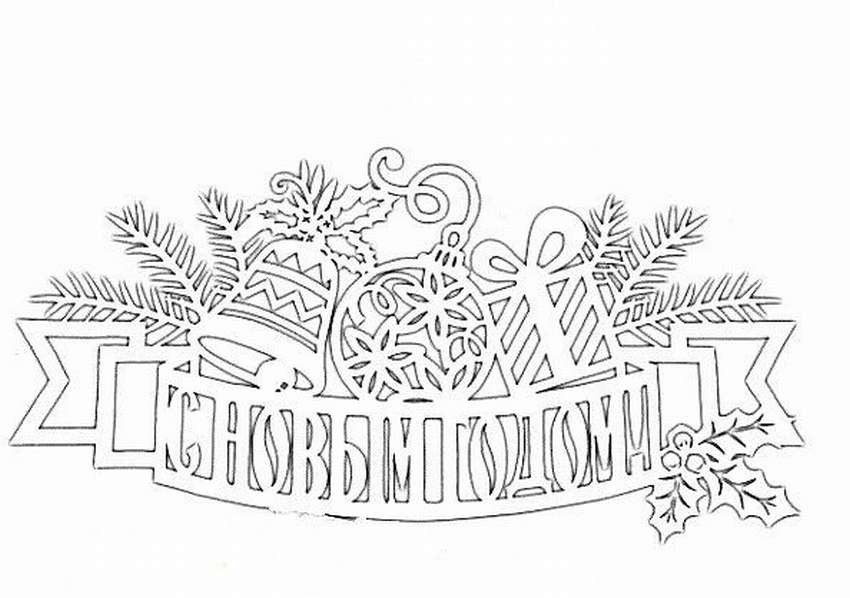
Add some holiday cheer to your home with stencils with New Year's inscriptions. Cut out the words "Happy New Year!", "Happy New Year!" or other holiday wishes and place them on the window glass. This will create a festive mood and will delight guests and passers-by.
Also popular are inscriptions with the numbers of the current year, which symbolize the beginning of a new era.








Paper stencils - New Year's fairy tale characters
In addition to cutting stencils from film or cardboard, you can also use paper to create unique stencils. Cut out New Year's fairy tale characters, such as the Winter Fairy, the Snow Queen, Carlson or your favorite cartoon characters. Place them on the windows so that your guests and passers-by can enjoy the view of these magical characters.
You can choose images of your favorite characters, such as Snegurochka, Santa Claus, elves, deer or Christmas angels. Each stencil has its own unique design that will help you create a real fairy tale in your home.


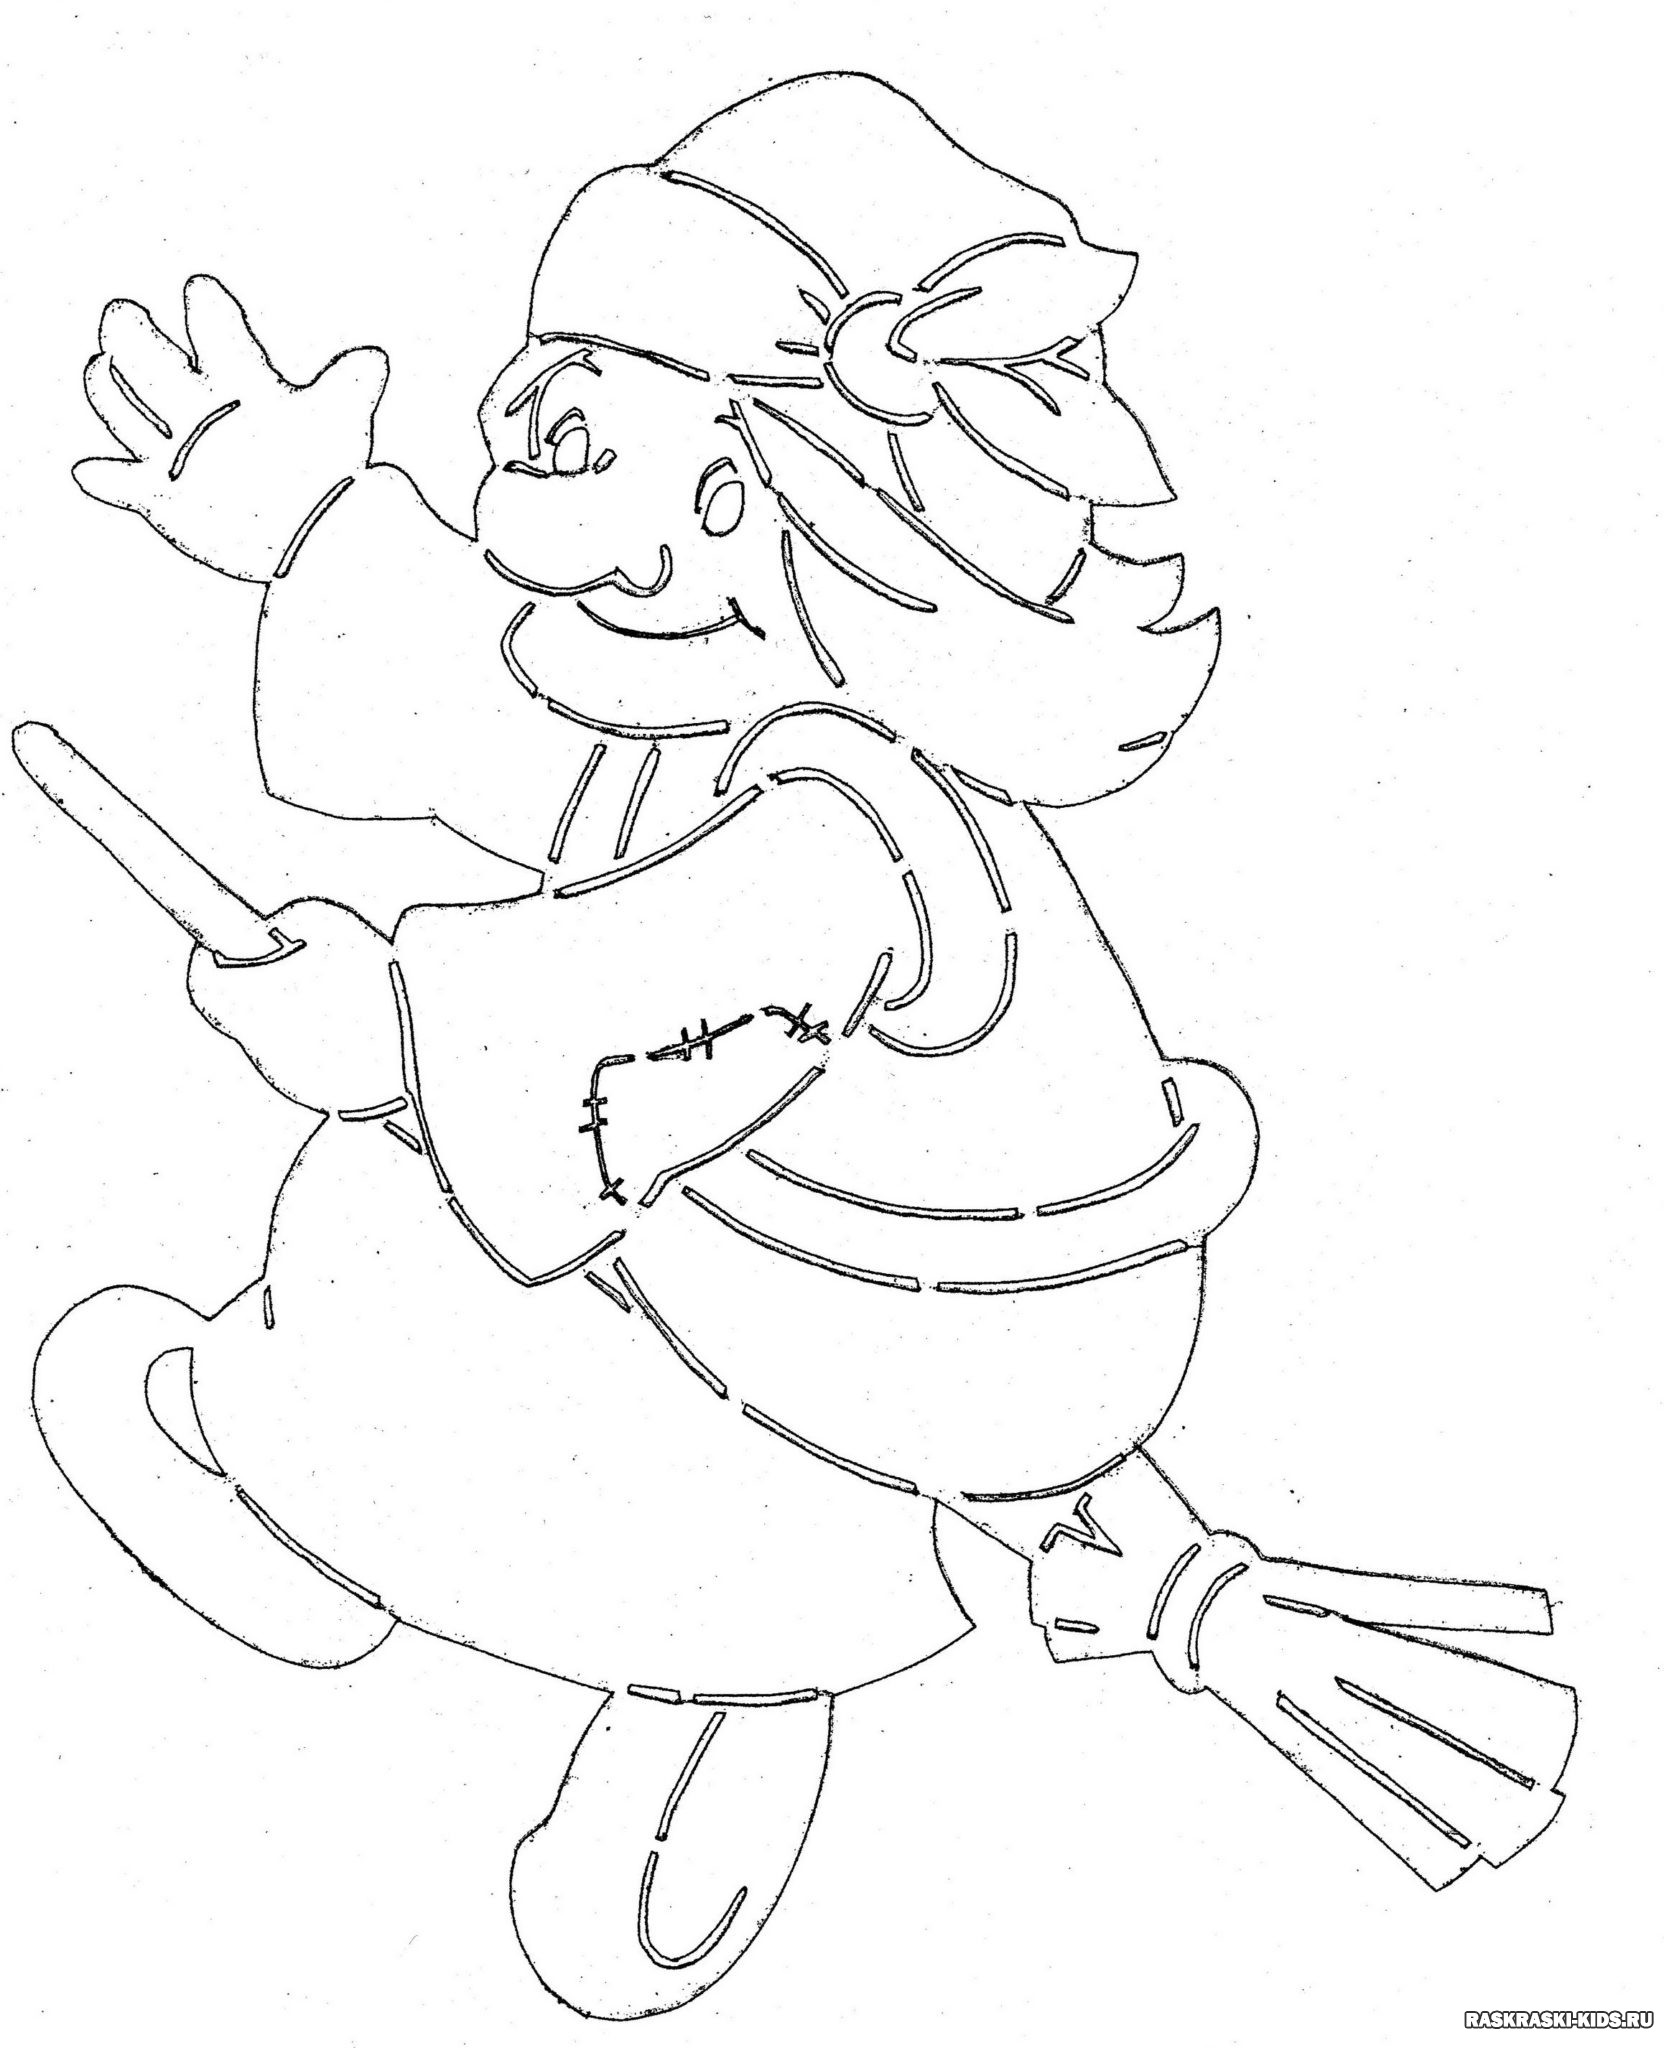


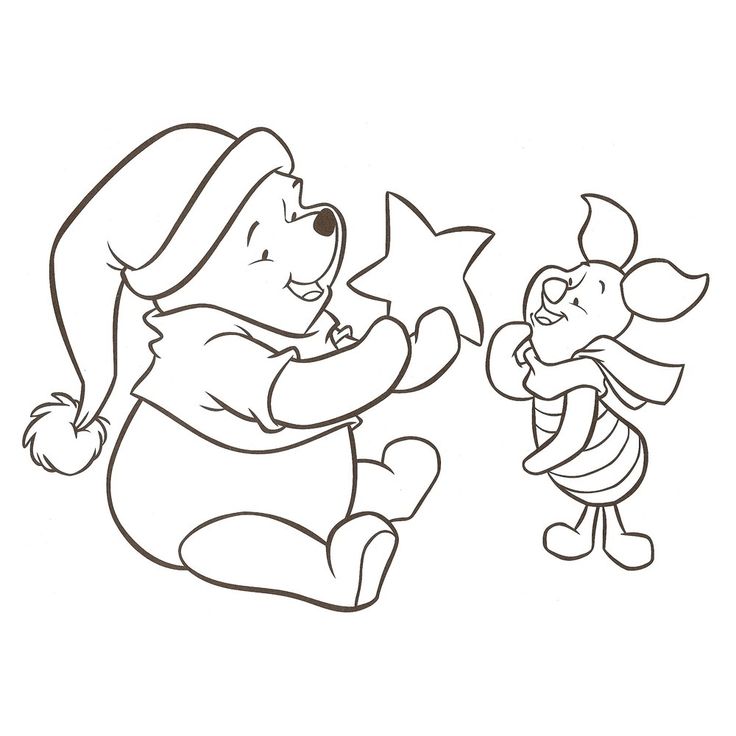
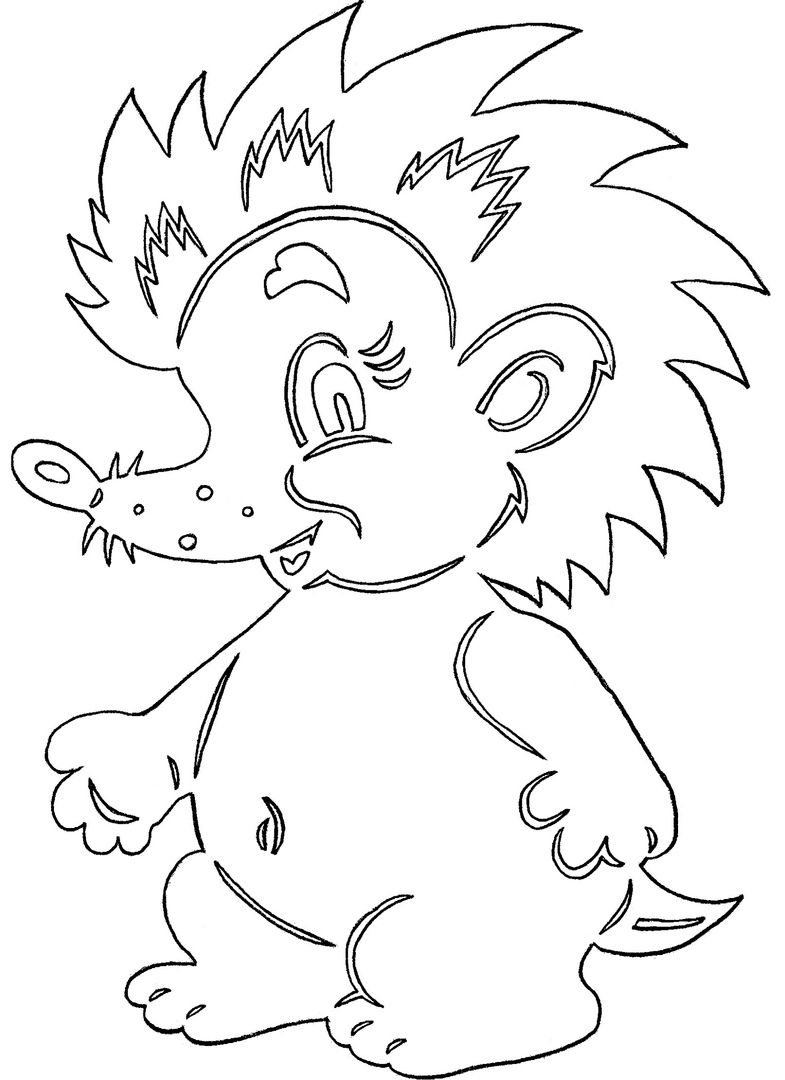


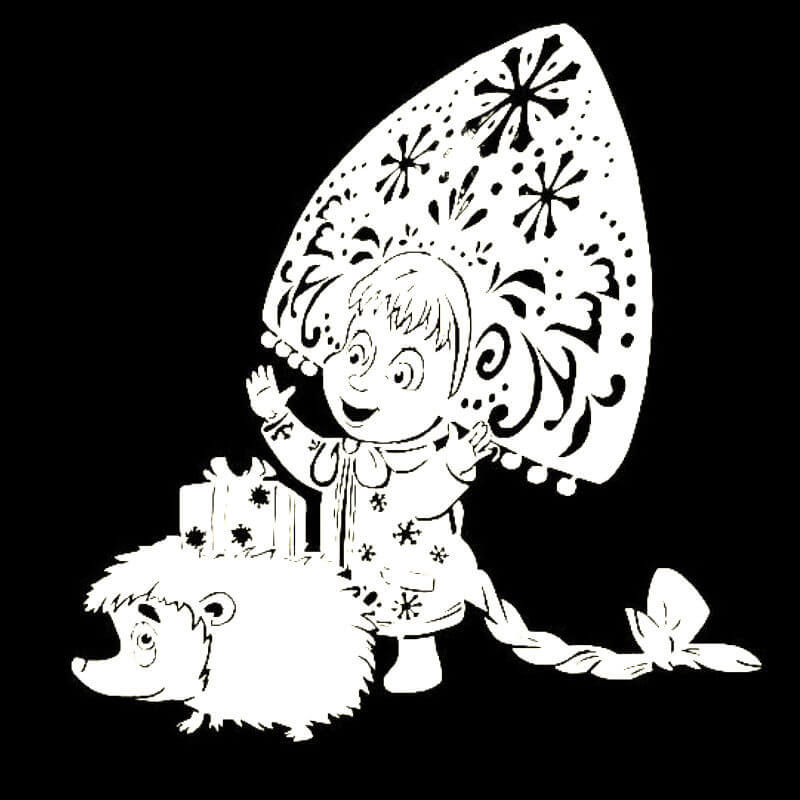
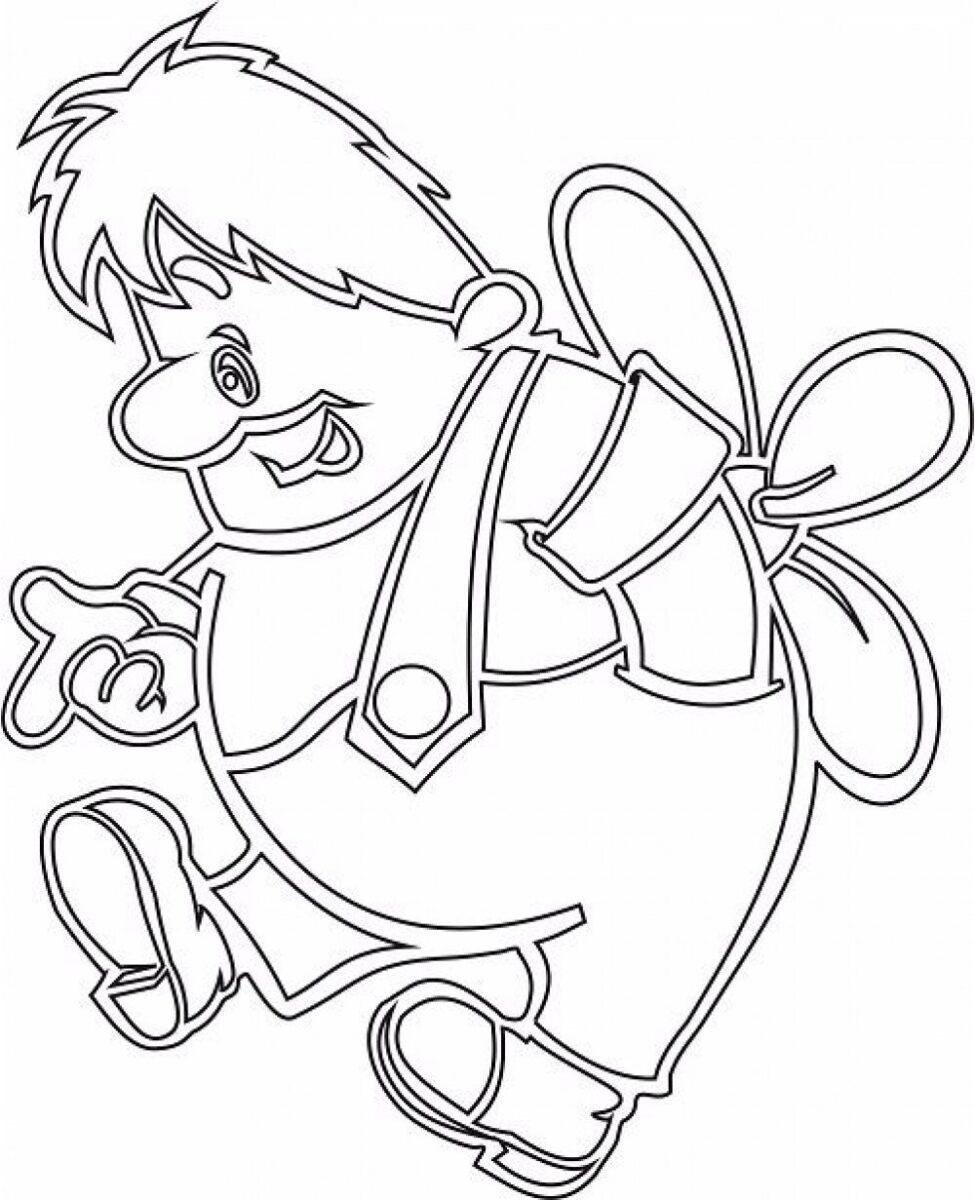
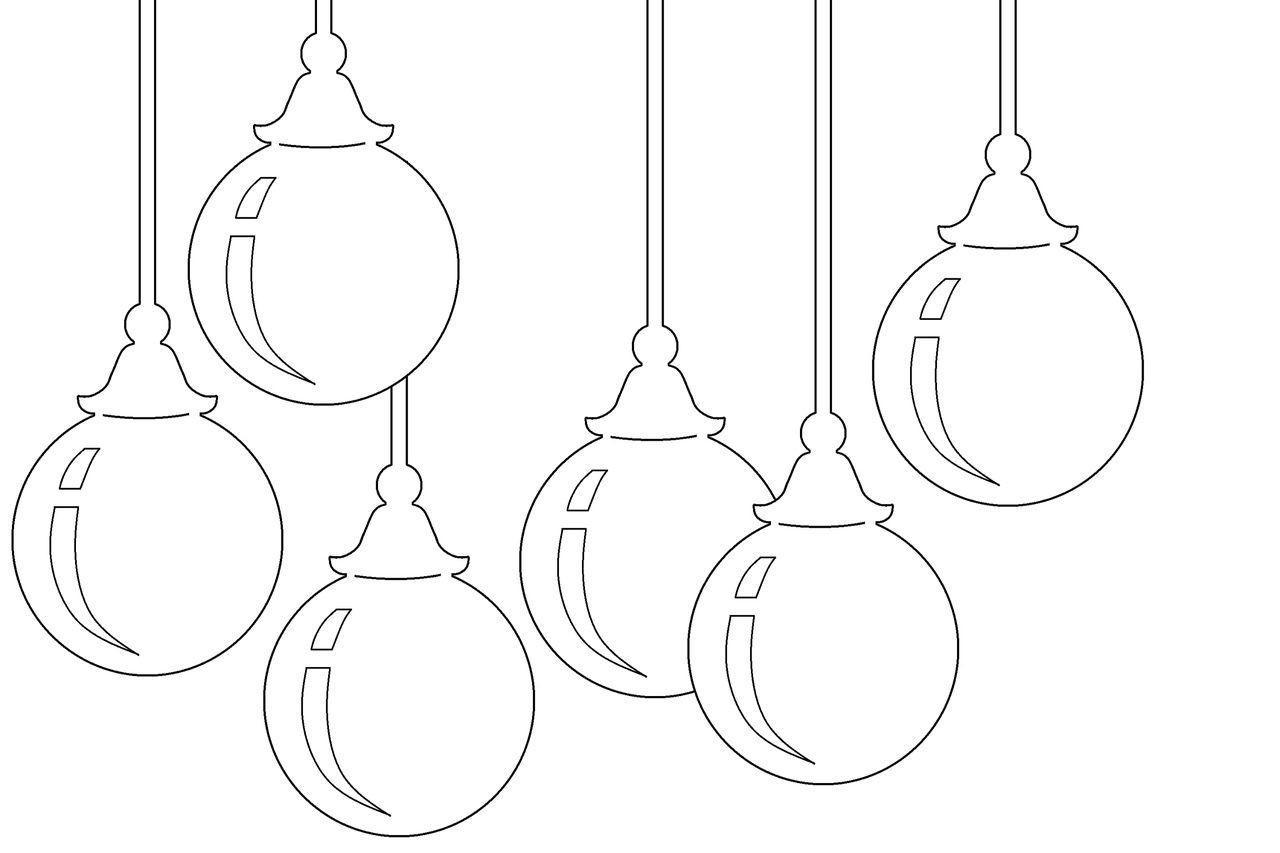
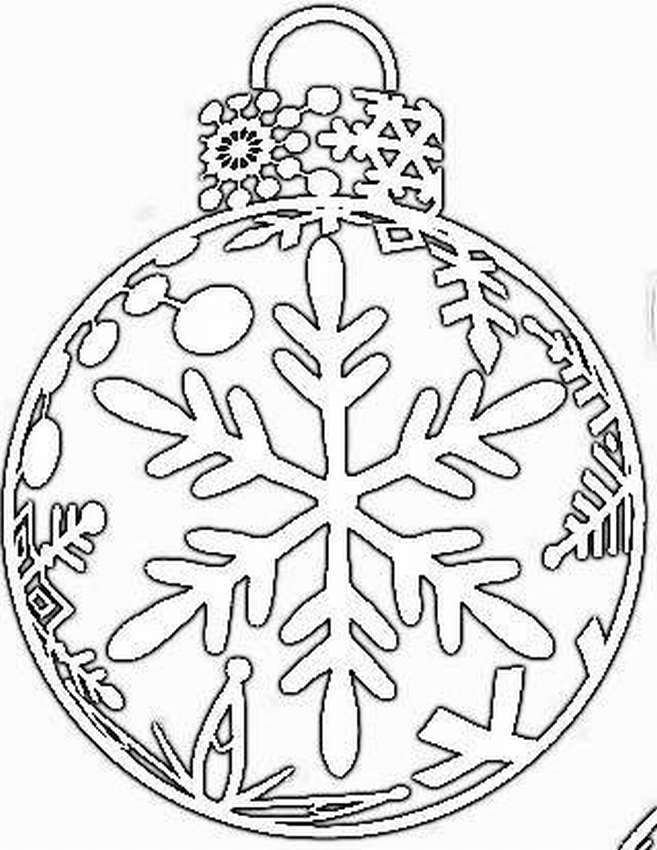
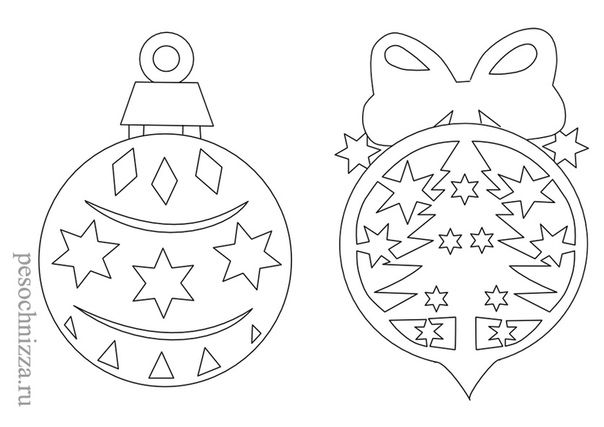
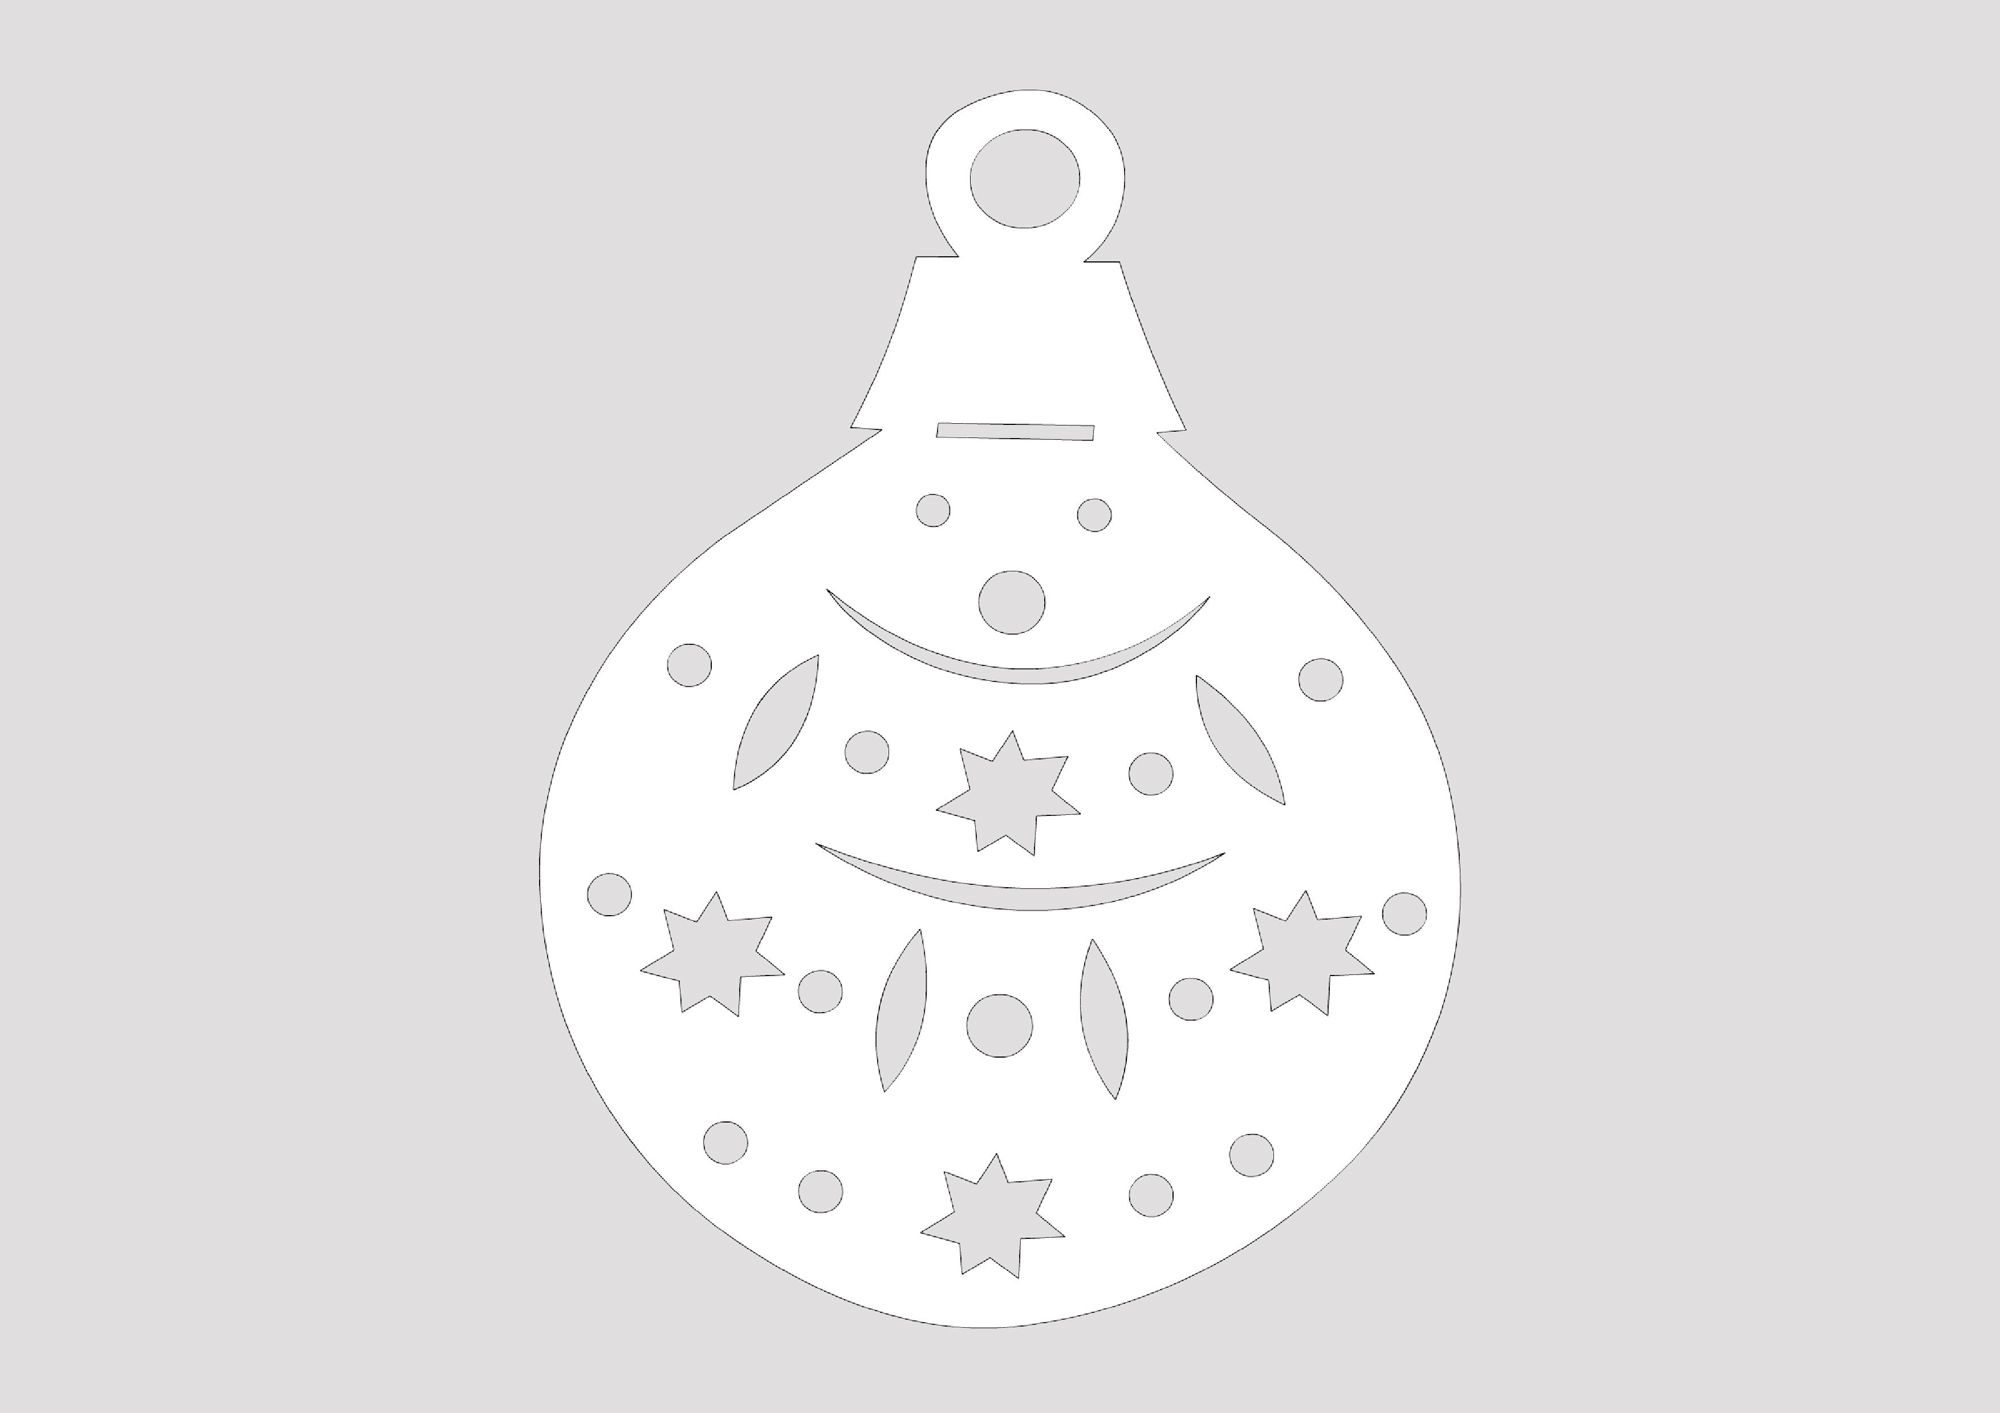
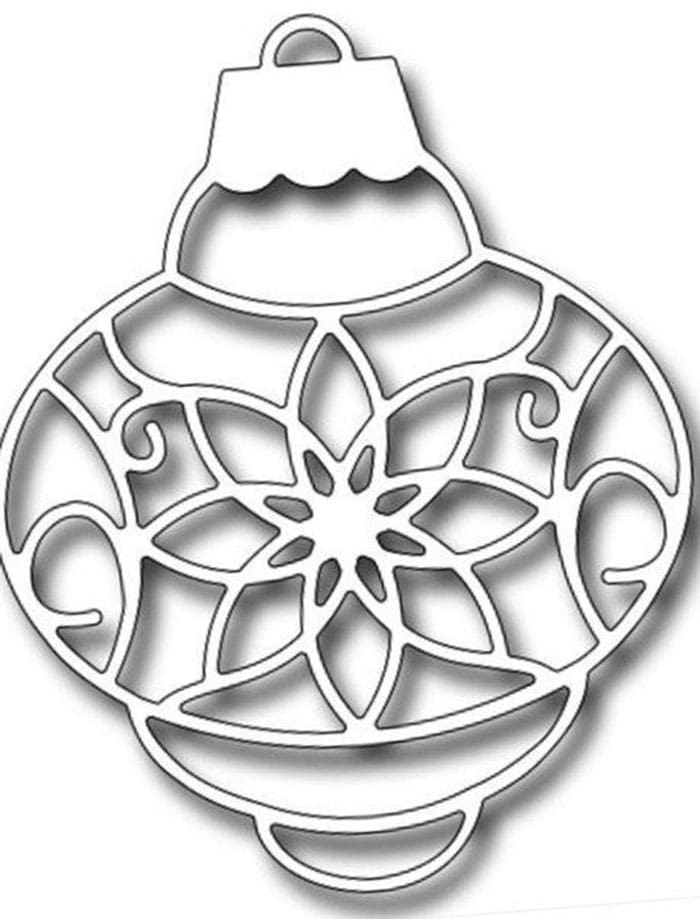
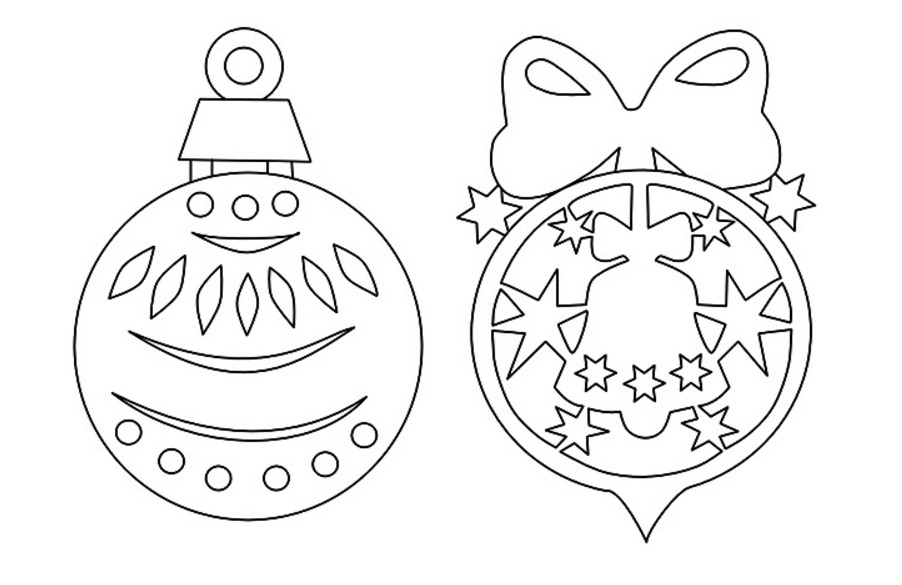
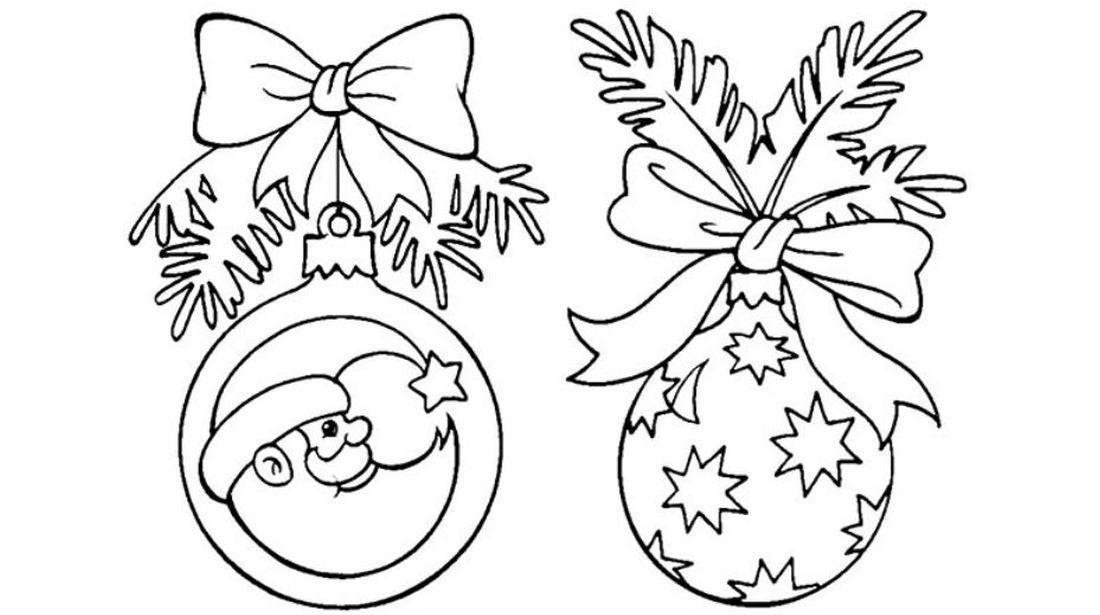
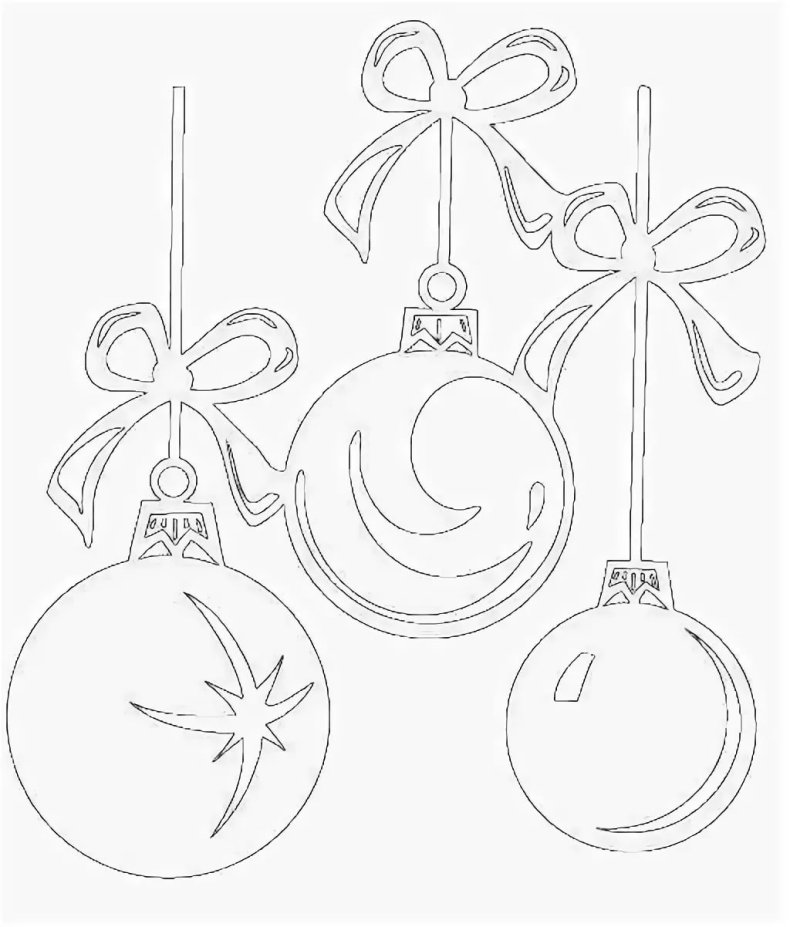
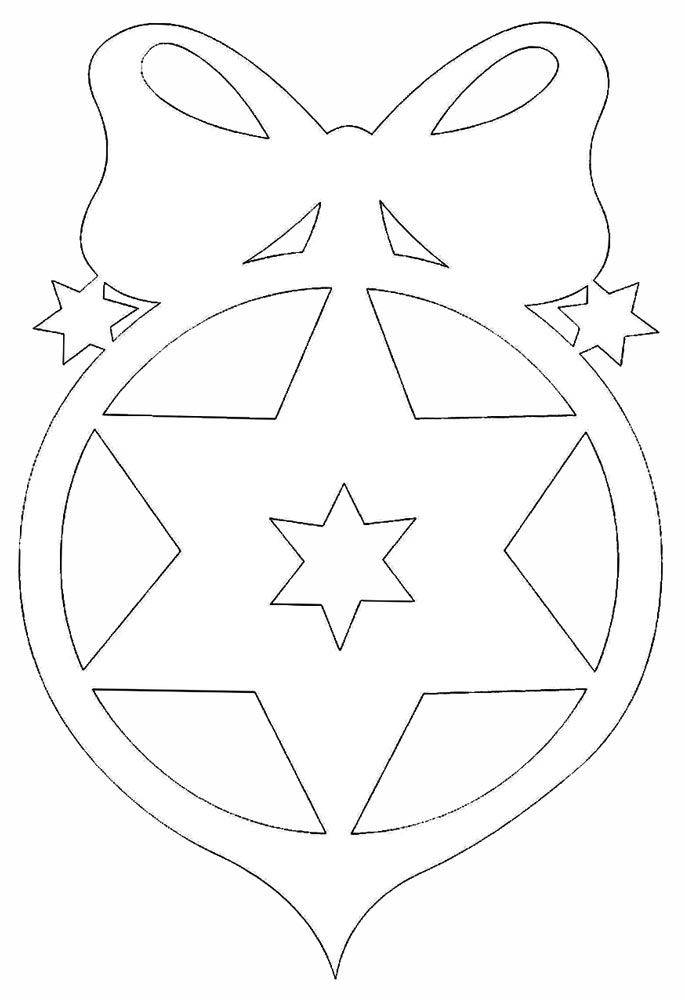
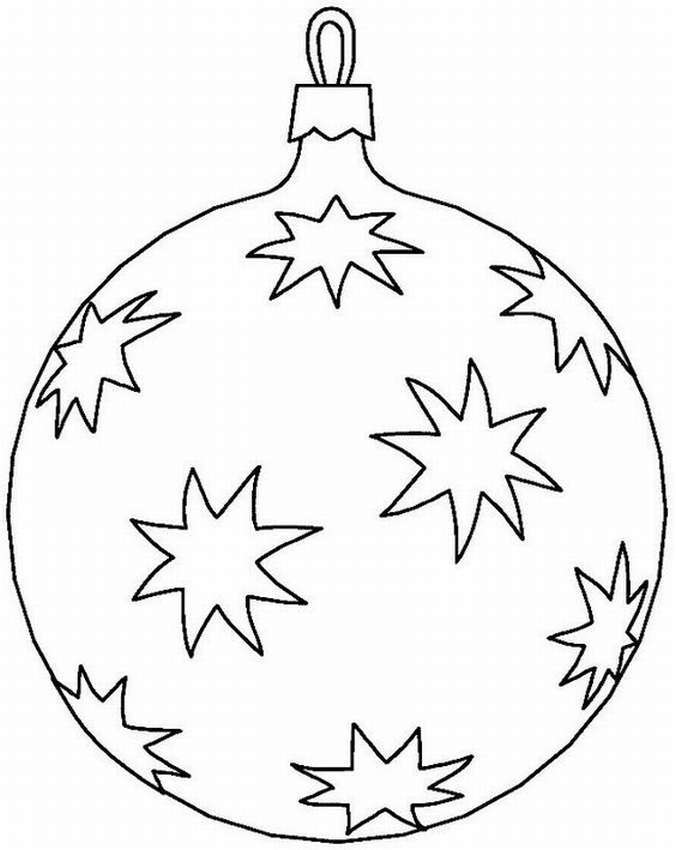
Templates of New Year's balls for the window
Balls are an essential attribute of New Year's decoration. Create stencils with images of balls of different sizes and styles. Cut them out and place them on the windows of your home. Use different colors and patterns to create a bright and festive decoration.
Here are some options for Christmas ball templates for window decoration:
- Round ball
- Christmas ball
- Ball with a snowman
- Ball with Christmas tree
- Christmas Confetti Ball
Simply print out the template of your choice, cut it out and use it to outline the window. You can then color the balloons with special window markers or use washable paint.









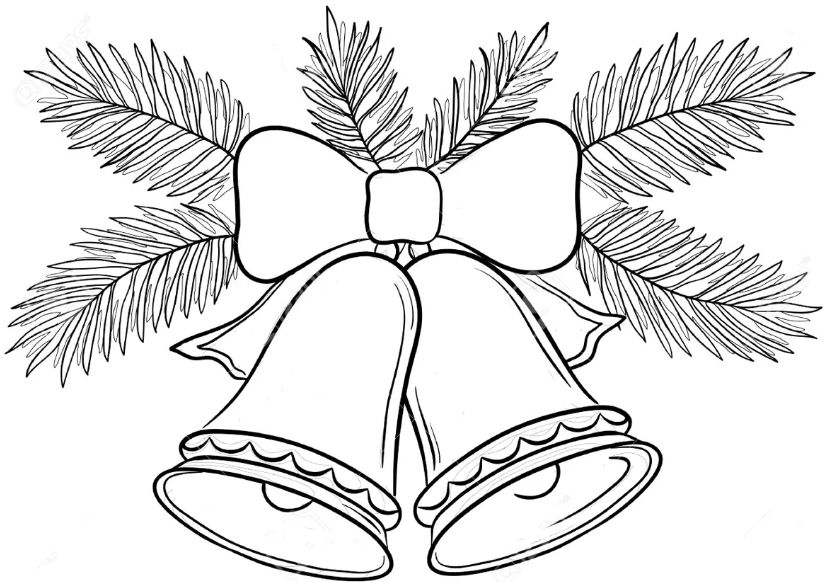
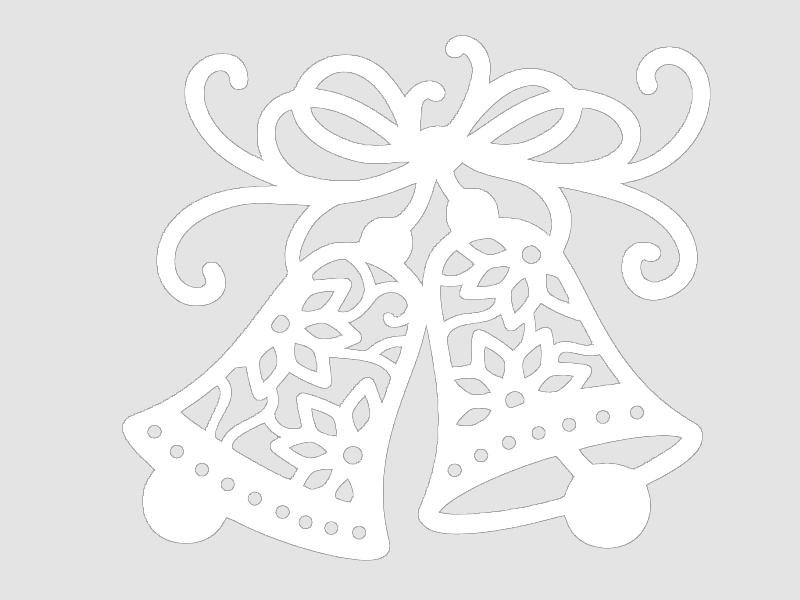
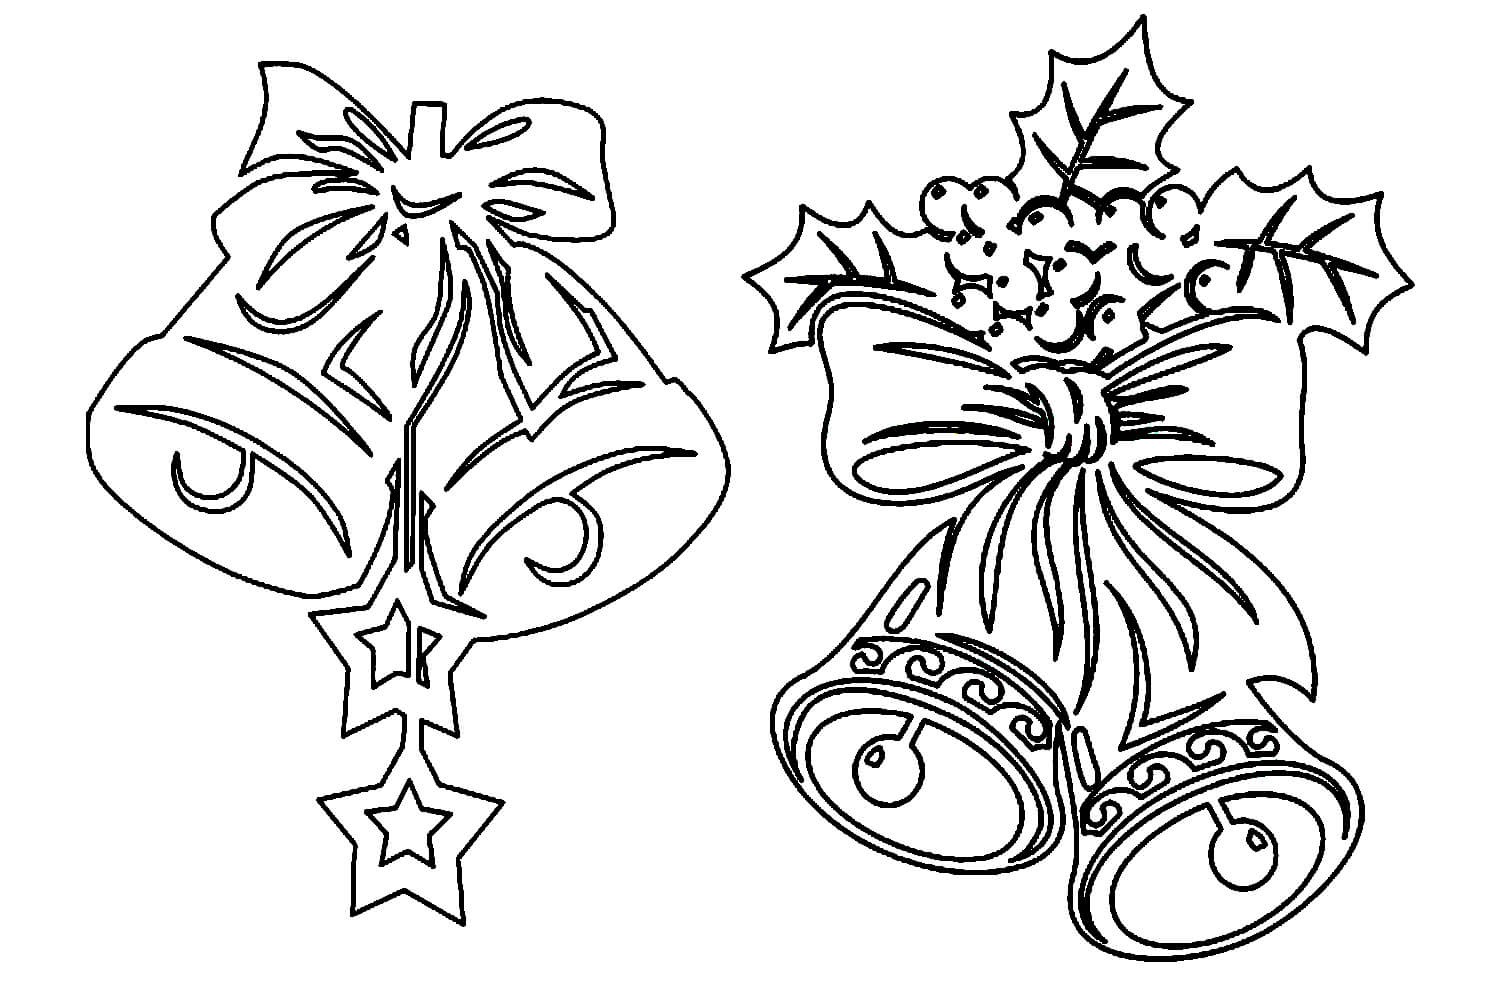
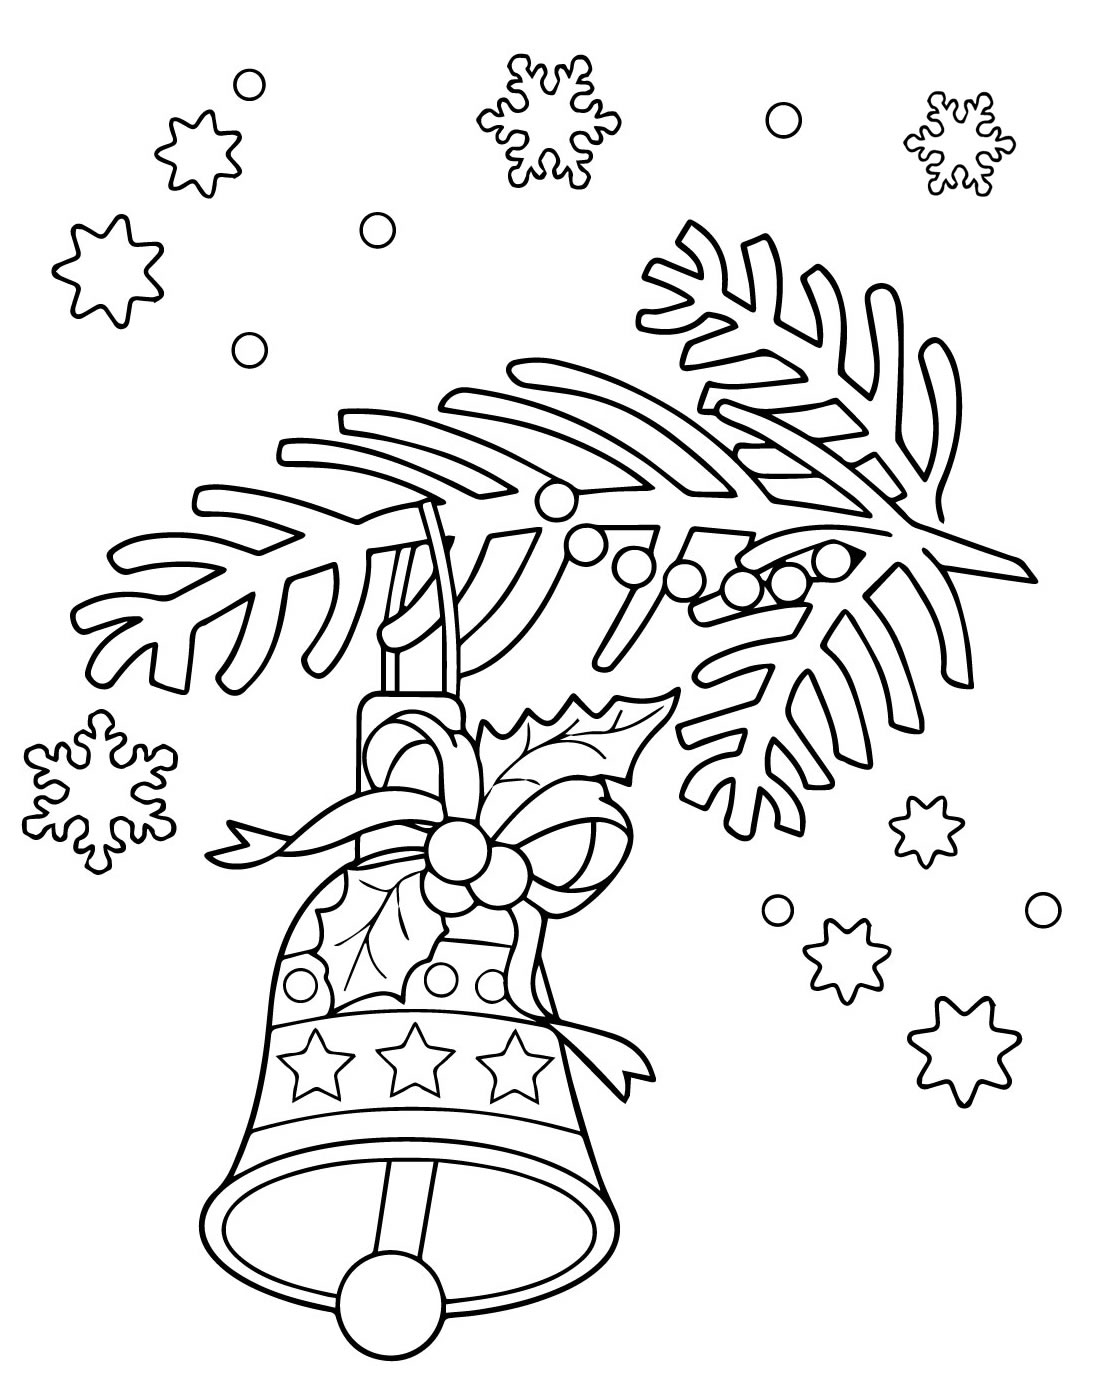
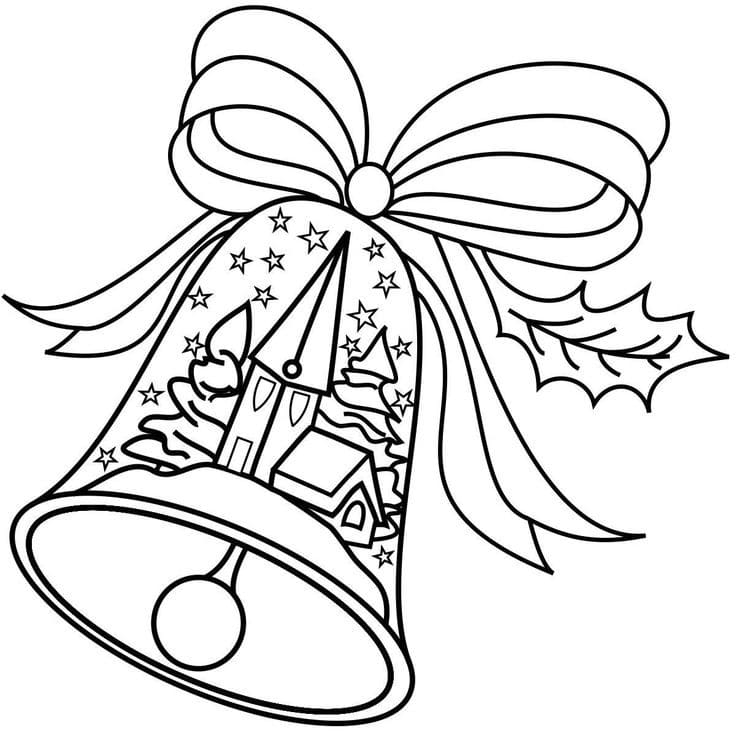
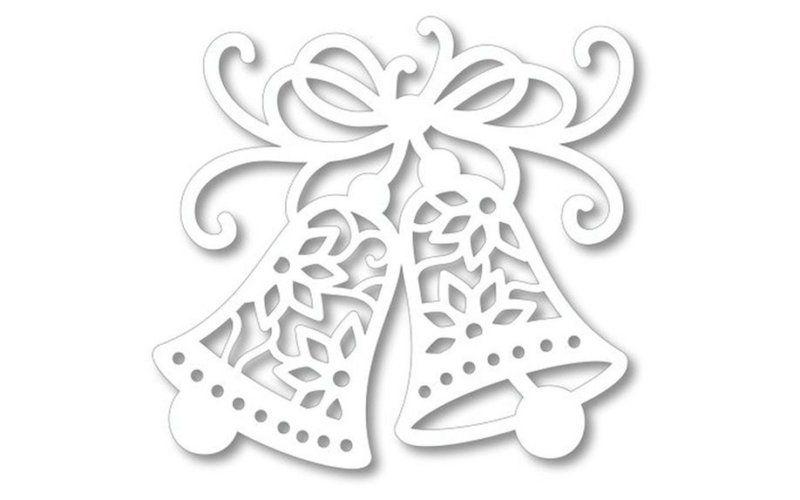
New Year's bells on windows A4
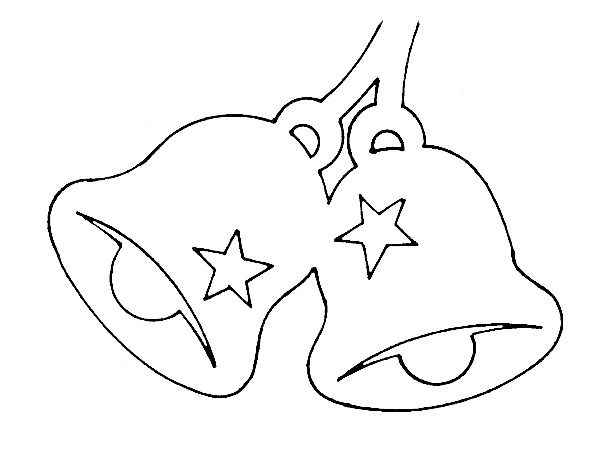
Bells are a symbol of joy and the ringing sound of the New Year. Cut out stencils with bells on an A4 sheet of paper. Place them on the windows and create an atmosphere of joy and happiness.
You can choose bells with snowflakes, Christmas trees, snowmen or other New Year symbols. They can be bright and colorful, or soft and pastel, matching your overall holiday concept.




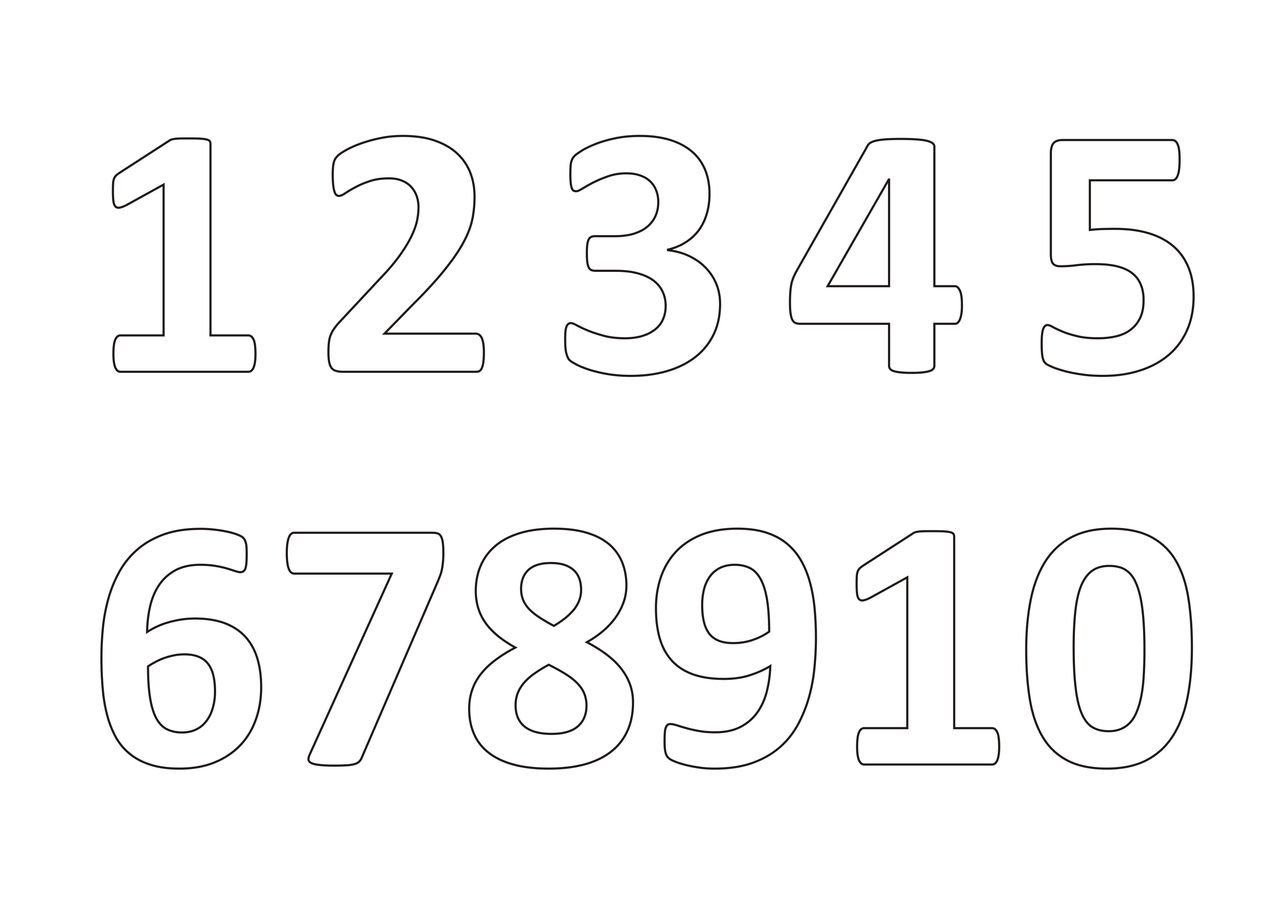
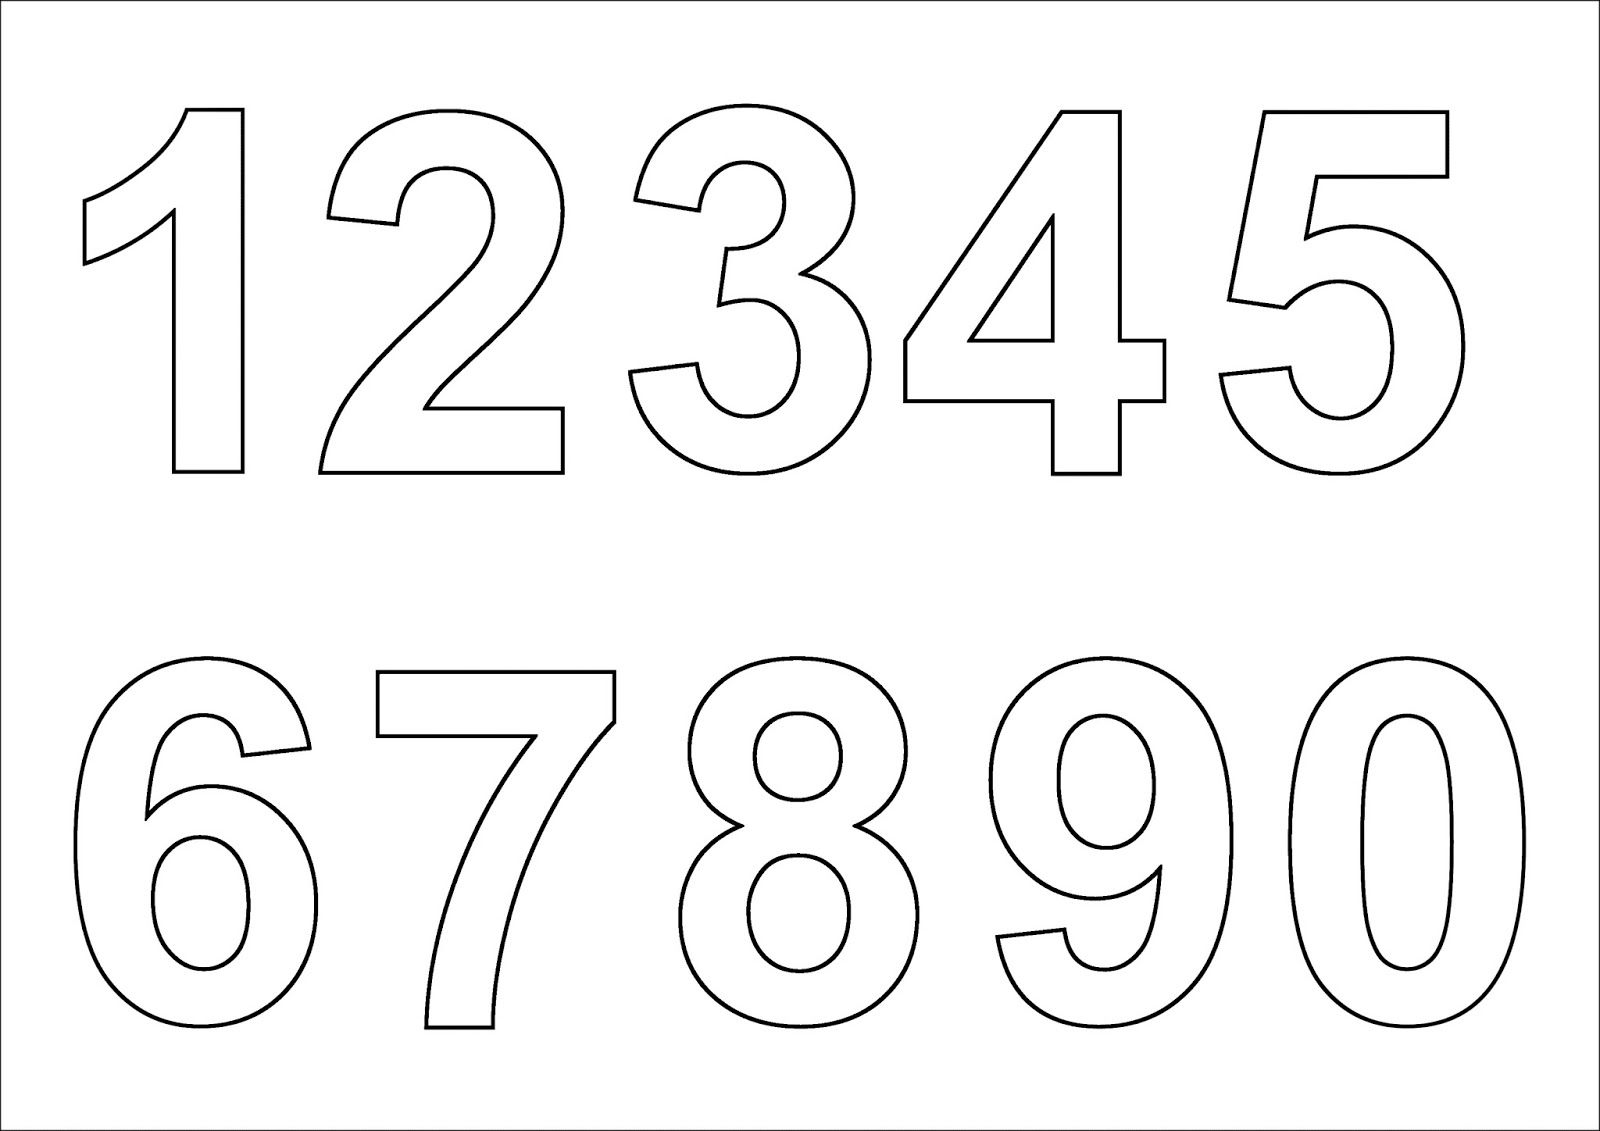
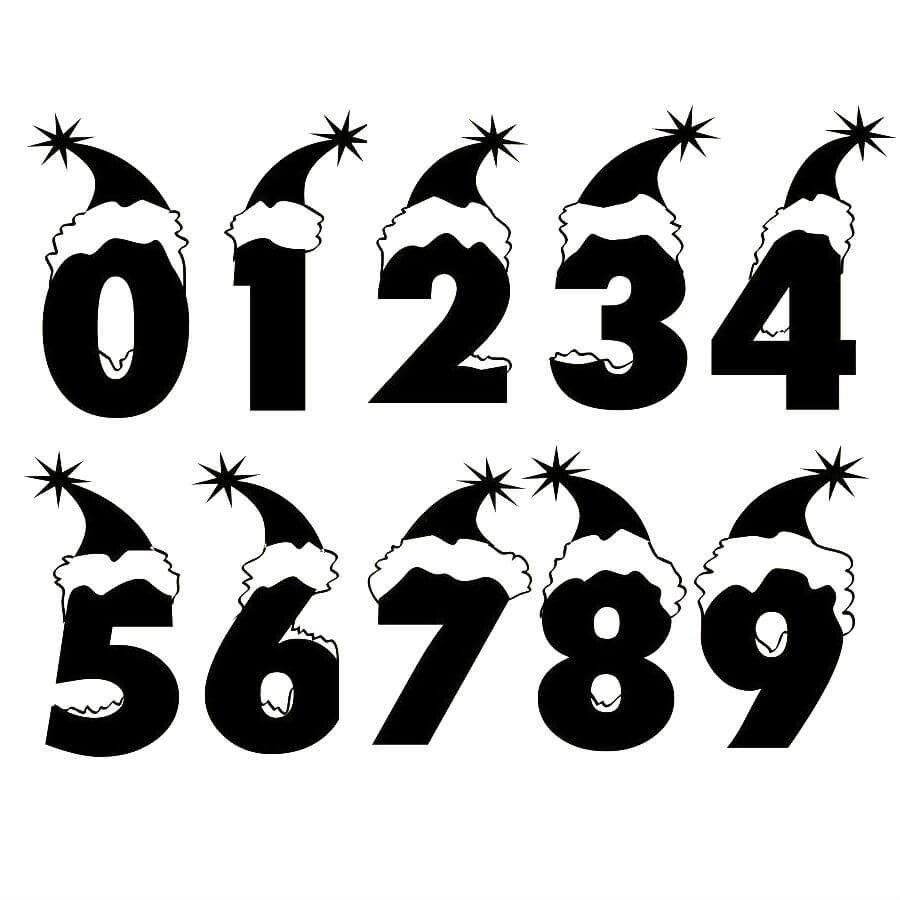
Templates with numbers on the window
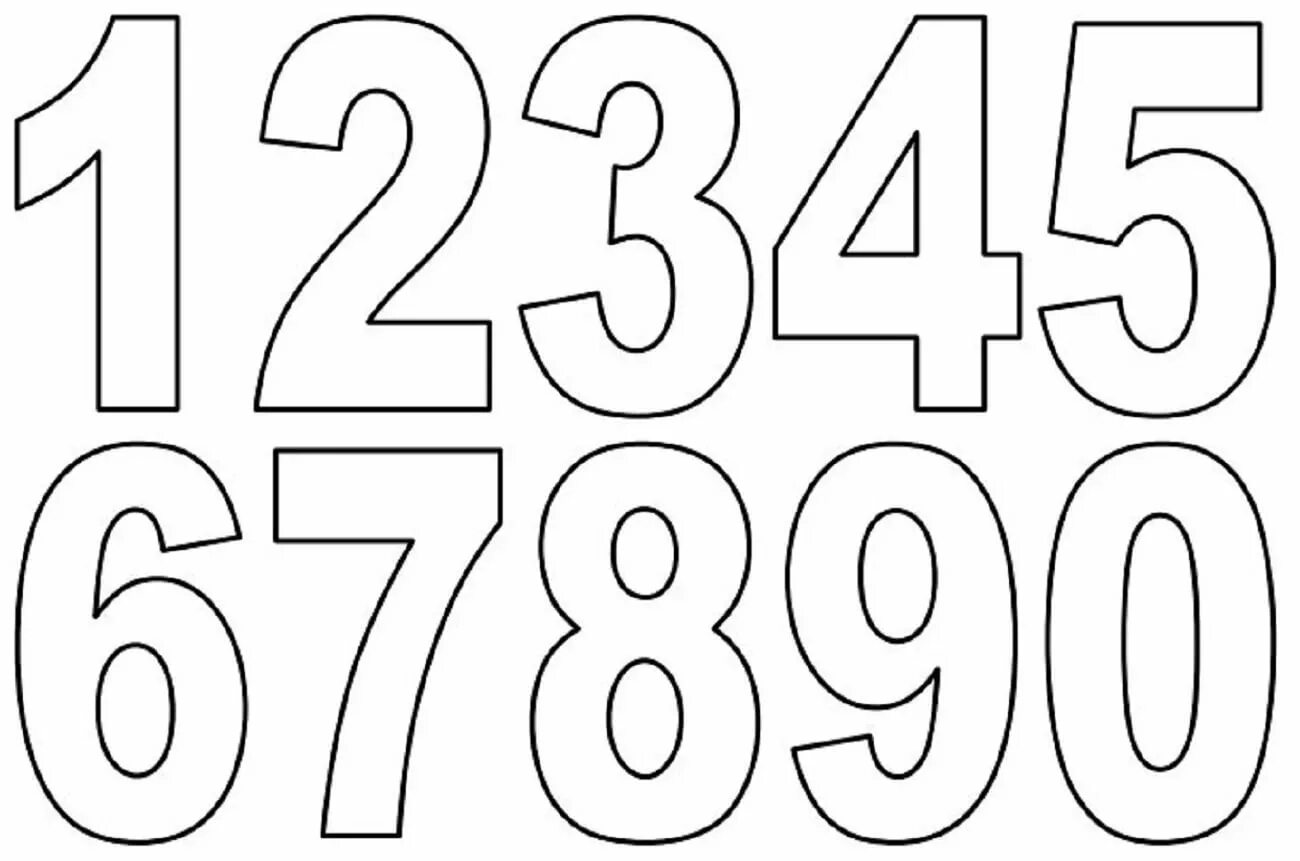
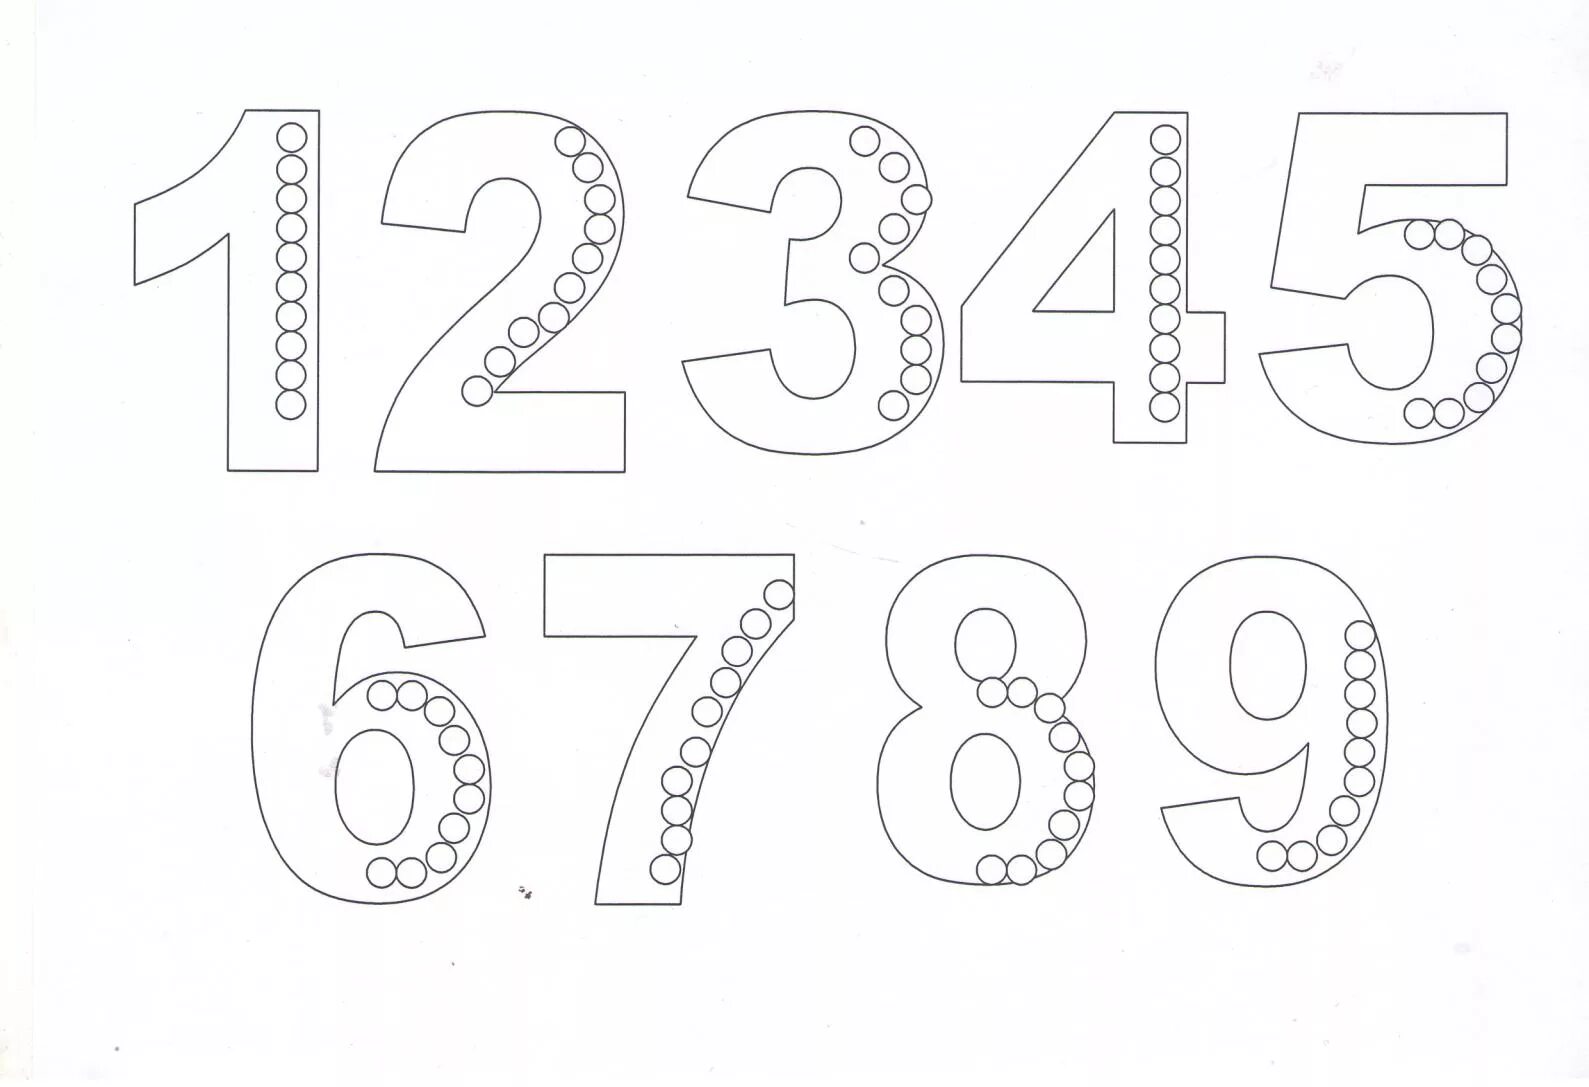
Numbers are a great way to count down to the New Year and create an atmosphere of anticipation. Cut out stencils with numbers from 1 to 31 and place them on the windows. Each day you can cross out one number, counting down to the holiday itself.
Here are some more templates you can try:
- Snowflake Numbers: Cut out numbers 0-9 from paper or plastic to look like snowflakes. You can arrange the numbers in any order you like or create a countdown to the new year.
- Numbers with Christmas patterns: Print or draw the numbers 0-9 on cardboard or paper. Then, border each number with Christmas patterns such as stars, trees, bells, etc. Cut out the numbers along the outline and glue them to the window. This template will add a festive mood to your interior.
- Number Garlands: Use flexible plastic tape or thin wire to create the outline of the numbers 0 through 9. Then wrap the tape or wire with Christmas lights or colored ribbon to make the numbers look like garlands. Secure the garlands to the window using clear tape or suction cups.
- Glass Window Effect Numbers: Draw or print numbers 0-9 on transparent window film. Then use special liquid window outliners to trace each number. The outlines will create the effect of a glass window. Once the outlines are dry, remove the unnecessary parts of the film and stick the numbers on the window.


Conclusion
New Year 2025 stencils are a great way to create a festive atmosphere and decorate the windows in your home. Following the detailed instructions for cutting stencils and using a variety of designs, you can bring your ideas to life. We hope that the ideas presented in the article will inspire you to create unique and beautiful stencils for windows in a New Year style. Let your home be filled with magic and joy on the eve of the New Year 2025!





Оставить Комментарий